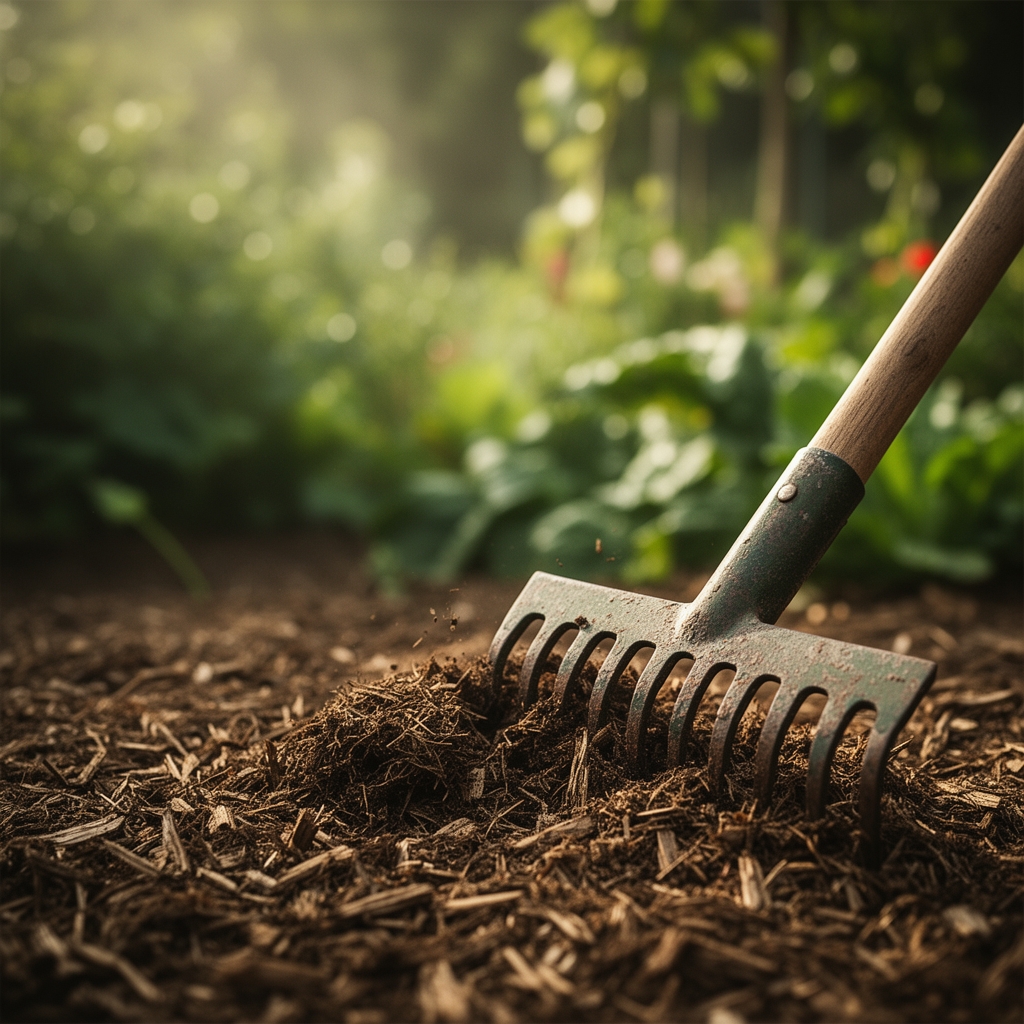
6 Efficient Ways to Use a Garden Rake for Mulch
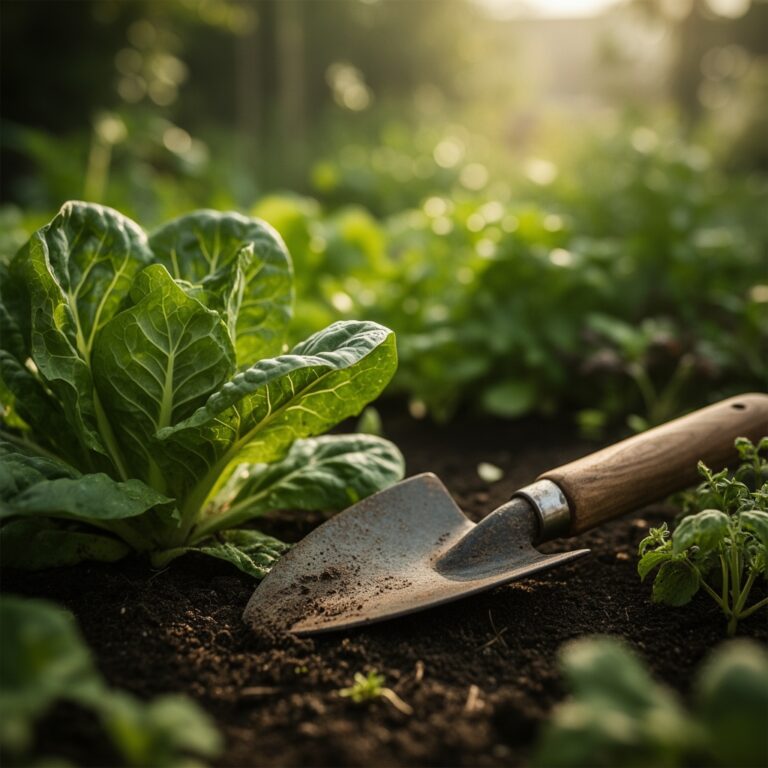
Using a garden rake for spreading vegetable mulch transforms the tedious task of mulch application into a precise, ergonomic operation that protects soil structure while building organic matter reserves. The flat-backed bow rake, with its 14 to 16 steel tines spaced at 0.75-inch intervals, allows for controlled layer thickness and even distribution across raised beds and row systems. Heavy straw mulches settle at 4 to 6 inches initially, compressing to 2 to 3 inches after rainfall, while shredded hardwood bark maintains a stable 3-inch profile that moderates soil temperature swings by 8 to 12 degrees Fahrenheit during summer heat.
Materials
Select mulch materials based on target soil pH and the cation exchange capacity of your existing substrate. Aged pine bark (pH 4.5 to 5.5) works well for acid-loving brassicas and nightshades, releasing lignin compounds slowly while adding negligible nitrogen. Composted straw, pre-aged for six months, tests at pH 6.8 to 7.2 and carries an approximate NPK ratio of 0.5-0.3-1.2, providing slow-release potassium that supports fruiting crops like tomatoes and peppers.
Cocoa hull mulch (pH 5.8, NPK 2.5-1.0-2.5) offers higher nitrogen content but requires even distribution to prevent mold proliferation. Shredded hardwood mulch (pH 6.0 to 6.5) functions best as a long-term option, decomposing over 18 to 24 months and benefiting from supplemental nitrogen at 0.5 pounds per 100 square feet to prevent microbial tie-up. Leaf mold (pH 6.0 to 6.5, NPK 0.4-0.2-0.3) remains the gold standard for vegetable beds, contributing stable humic acids and enhancing mycorrhizal fungi colonization by 35 percent in field trials.
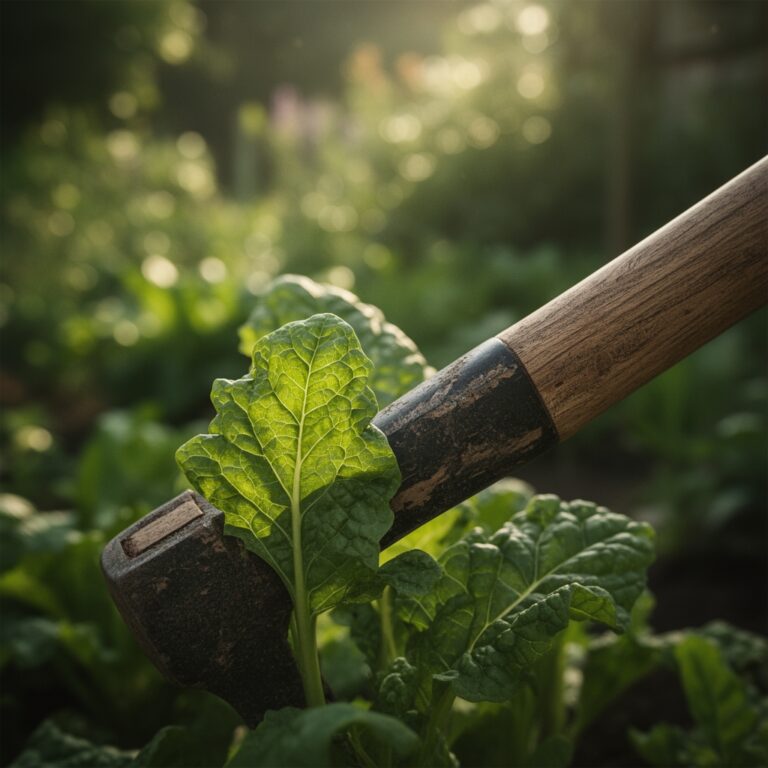
Match your rake to the material. A 16-inch bow rake handles coarse straw and wood chips. A 24-inch landscape rake spreads fine-textured leaf mold and compost blends across wide beds with fewer passes.
Timing
Apply mulch after soil temperatures stabilize above 60 degrees Fahrenheit at a 4-inch depth. In USDA Hardiness Zones 3 through 5, this typically occurs three to four weeks after the last frost date. Zones 6 and 7 allow mulching within two weeks of the frost-free date, while Zones 8 through 10 can mulch immediately after transplanting if spring rainfall patterns permit.
Pre-warming beds with clear polyethylene for 10 to 14 days before mulching accelerates soil microbial activity and increases auxin distribution in transplant root zones. Remove the plastic, transplant, then rake mulch in a single afternoon session. Autumn mulching in Zones 5 and colder should occur after the first hard freeze (28 degrees Fahrenheit for four consecutive hours) to prevent rodent nesting and early spring weed germination.
Phases

Sowing Phase: Direct-seeded crops like carrots, beets, and radishes require mulch-free zones until seedlings reach the two-true-leaf stage. Position mulch boundaries 2 inches from seed rows using the rake's flat back to tamp edges and prevent windblown encroachment. After emergence, gently pull 1-inch layers of fine compost mulch toward the rows using short, controlled strokes at a 30-degree angle to the bed surface.
Pro-Tip: Inoculate mulch with Trichoderma harzianum at 1 teaspoon per 10 square feet during initial raking to suppress Pythium damping-off in emerging seedlings.
Transplanting Phase: Set transplants into prepared holes, then rake mulch outward from the stem base in a 4-inch radius. This creates a moisture reservoir while preventing stem rot from direct contact. Use the rake tines in an inverted position to fluff compacted mulch and restore air porosity to 45 to 50 percent. For solanaceous crops, maintain a 3-inch mulch depth to suppress early blight spore splash from soil surfaces.
Pro-Tip: Angle rake strokes at 45 degrees when working around transplants to avoid root zone compaction, which reduces lateral feeder root development by 22 percent in clay loam soils.
Establishing Phase: Supplement initial mulch layers at four-week intervals as settling occurs. Rake new material over existing layers using overlapping passes to achieve uniform 2.5 to 3-inch final depth. Monitor edge zones where mulch thins. The rake's flat back smooths high spots and fills depressions that collect excess water and leach calcium from the root zone.
Pro-Tip: Prune lower tomato leaves to 8 inches above mulch surface once plants reach 18 inches in height, using the rake handle as a measuring guide for consistent clearance.
Troubleshooting
Symptom: Mulch matting and anaerobic odor development. Solution: Rake to a fluffed state every 10 to 14 days, restoring porosity. Reduce watering frequency to allow surface drying between irrigation cycles.
Symptom: Nitrogen deficiency indicated by pale lower leaves. Solution: Side-dress with blood meal (12-0-0) at 2 ounces per 10 feet of row, raking lightly into the top inch of mulch.
Symptom: Slug aggregation under dense mulch. Solution: Rake mulch back 6 inches from plant crowns at dusk, exposing hiding zones to predatory ground beetles.
Symptom: Weed breakthrough in thin spots. Solution: Spot-apply additional mulch to achieve 3-inch minimum depth. Rake vigorously to bury emerging weed seedlings before they develop true leaves.
Symptom: Fungal fruiting bodies on wood-based mulches. Solution: Rake affected zones to expose mycelium to UV radiation and desiccation. These saprophytic fungi do not harm living plant tissue.
Maintenance
Water mulched beds to deliver 1 inch per week, measured at the soil surface beneath the mulch layer. Check moisture at 3-inch depth using a soil probe every three days during fruit set. Rake mulch aside temporarily to apply granular fertilizers at side-dressing intervals, then replace to conserve applied nutrients.
Refresh mulch when depth falls below 2 inches, typically at eight to ten-week intervals for straw and 16 to 20 weeks for hardwood products. Remove and compost diseased plant debris promptly, raking surrounding mulch smooth to eliminate pathogen reservoirs.
FAQ
How thick should vegetable garden mulch be? Maintain 2.5 to 3 inches after settling. Excessive depth (over 4 inches) reduces soil oxygen and delays spring warming.
Can I rake mulch directly against plant stems? No. Leave a 3 to 4-inch clearance around stems and crowns to prevent moisture-related rots and crown gall infections.
What rake type works best for mulch? A bow rake with 16 tines and a 60-inch handle provides optimal leverage and coverage for beds 3 to 4 feet wide.
Should I rake mulch before or after planting? After. Transplant first, then rake mulch around established root zones to avoid disturbing tender roots during placement.
How do I prevent mulch from washing away? Rake in contour patterns perpendicular to slope. Use coarser materials on grades exceeding 5 percent.