6 Pro Tips How to Grow Comfrey Root
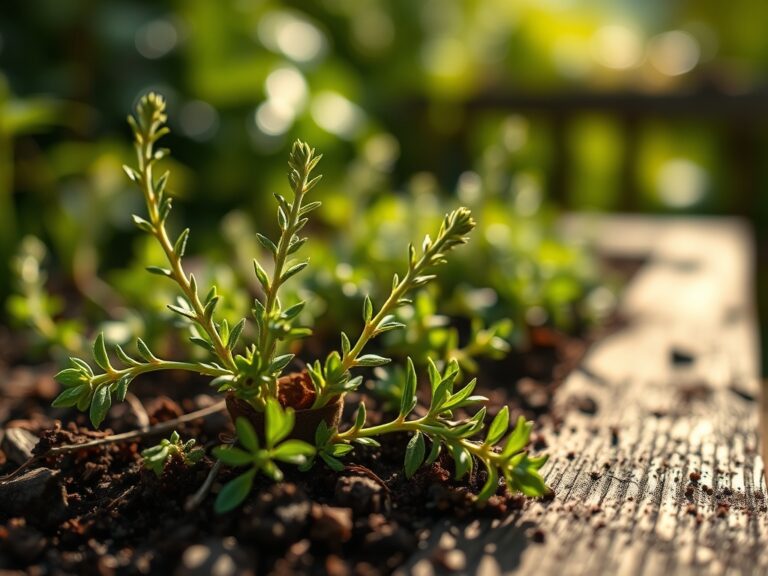
Crushing a fresh leaf between your fingers releases a scent of bruised cucumber and wet silt; this is the physical reality of a plant built for biomass. Symphytum officinale is a powerhouse of the rhizosphere that demands deep soil and high nitrogen availability. To master how to grow comfrey root, you must understand its role as a dynamic accumulator. It utilizes a massive taproot system to pull minerals from the subsoil into the leaf tissue. Success requires more than just burying a crown; it requires managing soil density and moisture to ensure maximum turgor pressure within the cellular walls. This plant is a biological engine. If you provide the correct structural foundation, it will produce high-protein foliage for decades. You are not just gardening; you are managing a nutrient cycle that begins six feet underground.
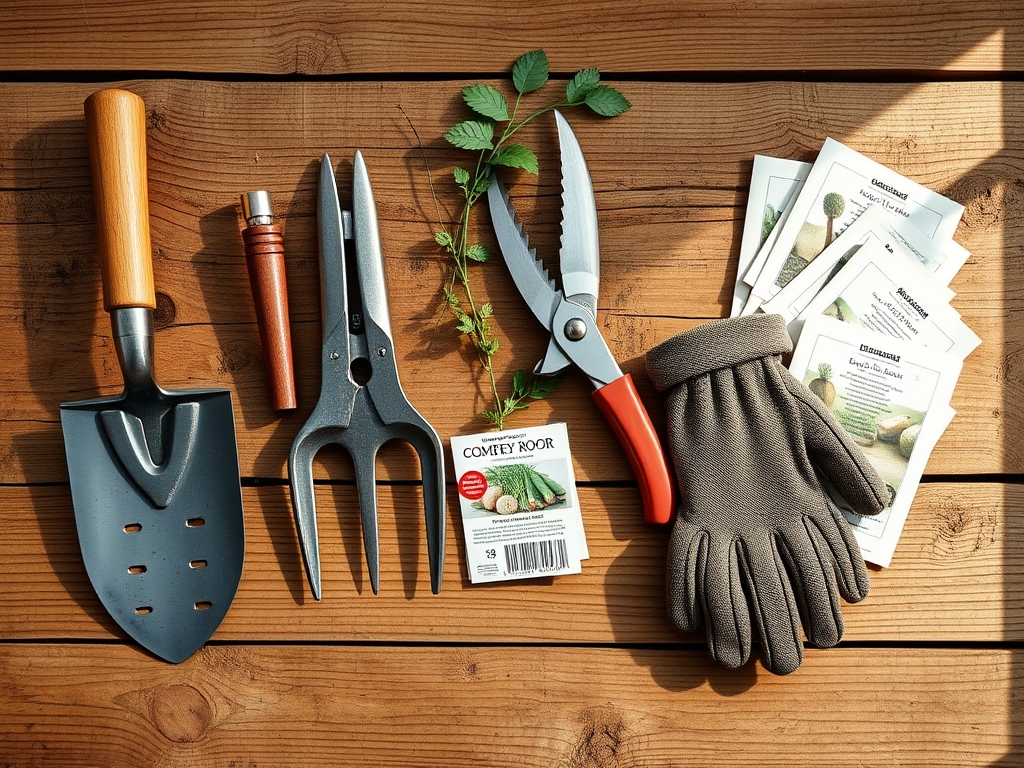
Materials:
Comfrey is indifferent to minor soil variations but thrives in a **friable loam** with a **pH between 6.0 and 7.0**. The soil must have a high Cation Exchange Capacity (CEC) to hold onto the heavy doses of nutrients the plant consumes. Before planting, incorporate organic matter to increase the soil’s ability to retain positively charged ions like potassium and magnesium.
The ideal NPK ratio for establishing comfrey is 10-10-10 during the first year to support both root expansion and leaf canopy. Once established, the plant transitions to a nitrogen-heavy requirement of 20-10-10 to fuel rapid regrowth after harvesting. Ensure the substrate is free of large stones. Obstructions in the soil profile can cause the primary taproot to fork; this reduces the plant's ability to reach deep mineral reserves.
Timing:
Comfrey is exceptionally hardy, performing well in Hardiness Zones 3 through 9. The optimal window for planting root cuttings or crowns is early spring, approximately two to four weeks before the last frost. This allows the root to establish in cool, moist soil before the summer heat triggers rapid transpiration.
The biological clock of comfrey is driven by the photoperiod. As day lengths increase, the plant moves from its initial vegetative stage into a reproductive phase characterized by the emergence of flowering stalks. To maximize root energy, most growers intervene before the plant reaches full senescence in the autumn. In warmer climates (Zones 8-9), comfrey may remain evergreen, but in northern zones, the foliage will die back completely after the first hard freeze. This period of dormancy is essential for the plant to consolidate carbohydrates in the root system for the following spring surge.
Phases:

Sowing and Root Cuttings
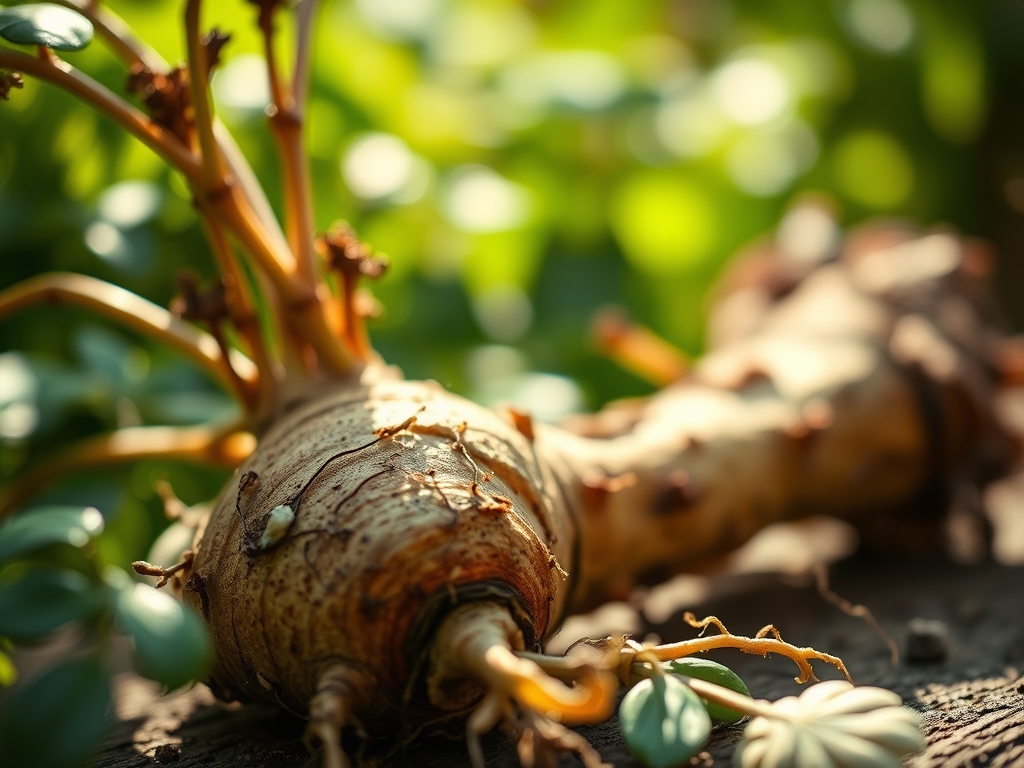
Most professional growers use Bocking 14 cultivar root cuttings rather than seeds because it is sterile and will not invade the garden via seed dispersal. Place root cuttings 2 to 3 inches deep horizontally in the soil. Space plants at least 3 feet apart to account for the mature diameter of the crown.
Pro-Tip: Ensure the root cutting has maximum soil contact to trigger adventitious bud development. This biological process allows non-meristematic tissue to differentiate into new shoot growth through the activation of endogenous hormones.
Transplanting
If you are moving established crowns, use a hori-hori knife to slice cleanly through the root mass. Dig a hole 12 inches deep and twice as wide as the root ball. Backfill with a mix of native soil and aged compost to ensure the rhizosphere is inoculated with beneficial microbes.
Pro-Tip: Apply a mycorrhizal inoculant during transplanting. This creates a mycorrhizal symbiosis where fungal hyphae extend the root's reach; this increases the uptake of phosphorus and water during the critical first six weeks.
Establishing
During the first season, the goal is to prevent the plant from flowering. Use bypass pruners to remove any emerging flower stalks. This redirects the plant's energy from seed production back into the root system.
Pro-Tip: This technique utilizes auxin suppression. By removing the apical meristem (the flower bud), you disrupt apical dominance; this forces the plant to allocate sugars to the roots and lateral buds, creating a more robust crown.
The Clinic:
Physiological disorders in comfrey are often related to site selection or nutrient imbalances. Observe the foliage closely for deviations from the standard deep-green color.
Symptom: Interveinal chlorosis on older leaves.
Solution: This indicates a magnesium deficiency. Apply Epsom salts (magnesium sulfate) at a rate of 1 tablespoon per gallon of water to restore chlorophyll production.
Symptom: Stunted growth and pale yellow new leaves.
Solution: This is Nitrogen chlorosis. The plant is unable to synthesize enough protein for leaf expansion. Apply a high-nitrogen liquid fertilizer or a top-dressing of blood meal to boost vegetative vigor.
Symptom: Wilting despite moist soil.
Solution: This may indicate root rot (Phytophthora) caused by poor drainage. Comfrey requires water but cannot tolerate anaerobic soil conditions. Improve drainage by incorporating perlite or moving the plant to a raised bed.
Fix-It: For general vigor issues, check the soil pH. If the pH drops below 5.5, manganese toxicity can occur; this causes necrotic spots on the leaves. Add dolomitic lime to raise the pH and stabilize the soil chemistry.
Maintenance:
Precision is required for high-yield comfrey management. Use a soil moisture meter to ensure the root zone stays consistently hydrated. Comfrey requires approximately 1.5 inches of water per week delivered at the drip line. Avoid overhead irrigation to minimize the risk of fungal pathogens on the leaves.
Mulch the base of the plants with 3 inches of organic straw or wood chips. This regulates soil temperature and prevents the soil from crusting; crusting can impede the gas exchange necessary for root respiration. In the second year, you can begin harvesting. Use bypass pruners to cut the foliage back to 2 inches above the ground. Do not harvest more than three or four times per season to avoid exhausting the plant's carbohydrate reserves.
The Yield:
Harvesting for biomass or mulch should occur just as the first flower buds appear. At this stage, the nutrient concentration in the leaves is at its peak. Use a sharp scythe or heavy-duty shears for large stands.
To maintain "day-one" freshness for immediate use as a soil amendment, process the leaves within two hours of cutting. If the leaves are allowed to wilt, they lose turgor and begin the process of cellular breakdown. For long-term storage or use in liquid fertilizers, pack the leaves tightly into a weighted container to begin anaerobic decomposition. The resulting liquid is a concentrated source of potassium, ideal for fruiting crops.
FAQ:
How deep do comfrey roots grow?
Mature comfrey taproots can reach depths of 6 to 10 feet. This allows the plant to access minerals and water from subsoil layers that are unreachable by shallow-rooted garden vegetables.
Can I grow comfrey in a container?
It is not recommended. The massive taproot requires significant vertical space. A container restricts the rhizosphere, leading to stunted growth, nutrient deficiencies, and a high risk of the plant becoming root-bound within one season.
How often should I fertilize comfrey?
Apply a high-nitrogen top-dressing in early spring and again after each harvest. Because comfrey is a heavy feeder, providing consistent nutrients ensures the plant can regenerate its canopy three to four times per year.
Is comfrey invasive?
Common comfrey (Symphytum officinale) can spread via seed. However, the Bocking 14 hybrid is sterile. It will only spread if the root system is physically disturbed or chopped, as each root fragment can grow a new plant.
When is the best time to take root cuttings?
The ideal time is during dormancy in late autumn or just before the spring growth surge. Cuttings should be 2 to 6 inches long and taken from roots that are at least 0.5 inches in diameter.