6 Steps to Build a Simple Wooden Garden Deck
The sharp scent of wet cedar and the damp, mineral tang of disturbed earth signal the beginning of a structural shift in the landscape. A garden deck is not merely a platform; it is a strategic intervention in the rhizosphere that dictates how light and moisture distribute across the soil surface. Mastering the steps for building a garden deck requires an understanding of how timber interacts with the biological environment. You must account for the turgor pressure of the surrounding vegetation and the compressive strength of the substrate. A poorly planned deck can compact the soil, suffocating the aerobic bacteria essential for nutrient cycling. Conversely, a well-executed structure provides a stable microclimate for shade-tolerant species beneath the joists. By elevating the walking surface, you preserve the soil structure from the shearing forces of foot traffic. This guide treats the construction process as a surgical operation on the garden, ensuring that the final structure supports both human utility and the physiological needs of the local flora. Success depends on the precise calibration of materials, timing, and mechanical execution.
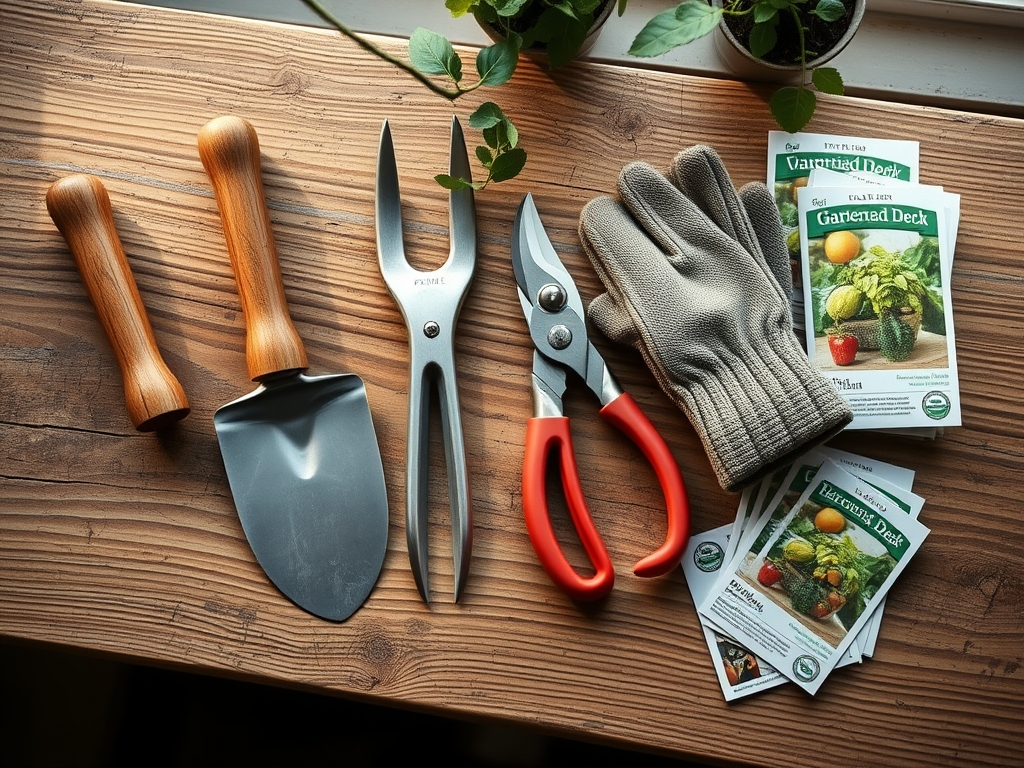
Materials:
The foundation of any garden structure begins with the soil. Before the first post is set, analyze the **Cation Exchange Capacity (CEC)** of the site. A high CEC indicates a heavy clay content that may retain excessive moisture, leading to fungal rot in wooden supports. The ideal substrate for the surrounding area is a **friable loam** with a pH between **6.0 and 7.0**. For the construction itself, you require pressure-treated 4×4 posts, 2×6 joists, and 5/4-inch decking boards.
Soil health must be maintained around the perimeter. Incorporate a balanced 10-10-10 NPK ratio fertilizer into the backfill of any disturbed garden beds to compensate for nitrogen immobilization caused by wood mulch or sawdust. Ensure the soil texture allows for a drainage rate of at least 2 inches per hour. If the soil is excessively acidic, below 5.5 pH, apply dolomitic lime to stabilize the chemistry and prevent the leaching of heavy metals that could compromise the integrity of the wood fasteners.
Timing:
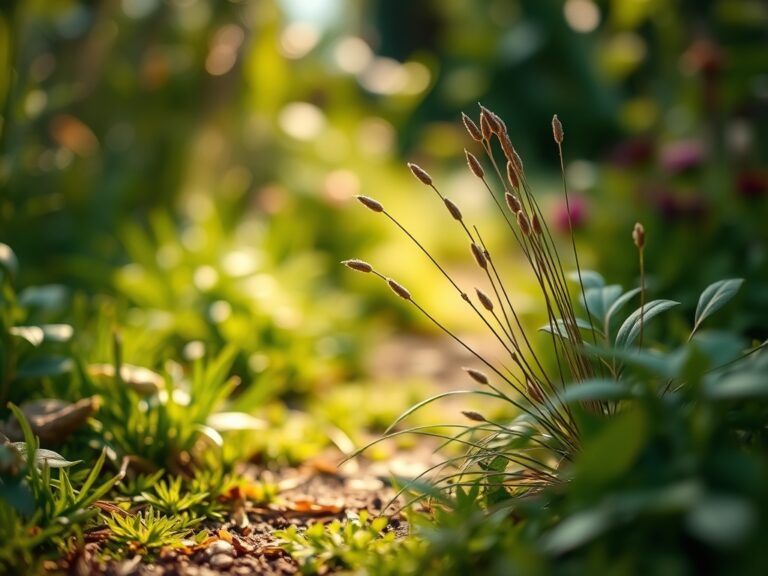
Construction must align with the local Hardiness Zone and the biological clock of your perennial plantings. In Zones 5 through 7, the optimal window for building is late autumn or early spring when the ground is not frozen but the plants are in dormancy. This prevents the disruption of the vegetative stage and avoids the peak transpiration periods of mid-summer.
Monitor the "Biological Clock" of your garden. Avoid heavy construction during the transition from vegetative to reproductive stages (flowering), as the physical stress and dust can inhibit pollination. Aim for a window where the soil temperature is consistently between 45 and 55 degrees Fahrenheit. This ensures the soil is workable without being a slurry of mud, which would lead to severe compaction and the destruction of the mycorrhizal networks essential for plant health.
Phases:

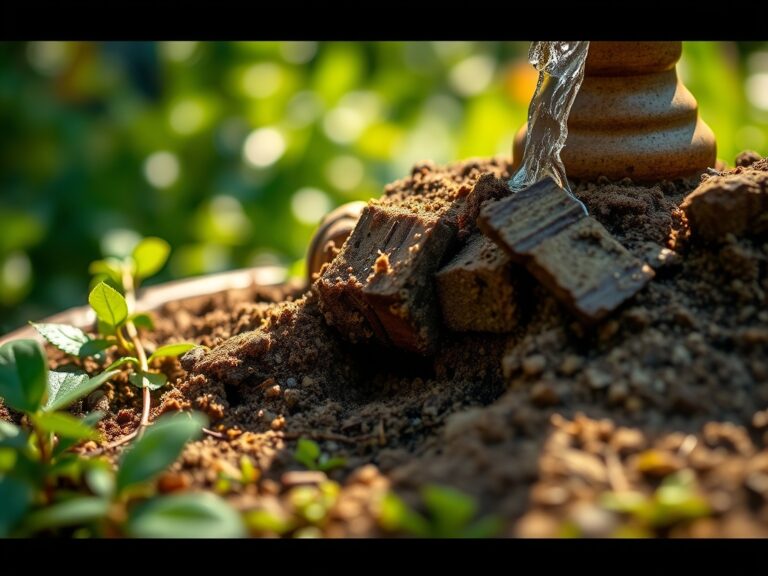
Sowing the Foundation
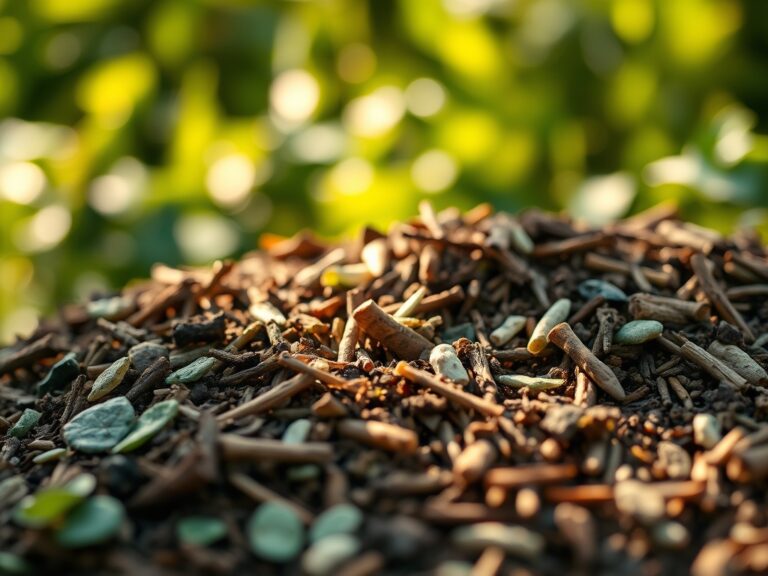
Clear the area of all organic debris and excavate to a depth of 6 inches. Lay a heavy-duty geotextile fabric to suppress weed growth. This barrier prevents the phototropic response of dormant seeds in the seed bank. Fill the excavation with 4 inches of compacted 3/4-inch minus crushed rock.
Pro-Tip: Proper drainage prevents anaerobic soil conditions. When soil pores are filled with water instead of oxygen, root respiration ceases; this leads to the production of ethanol and hydrogen sulfide, which are toxic to the plant.
Transplanting the Support Posts
Dig post holes to a depth of 24 inches or below the local frost line. Set the 4×4 posts in concrete, ensuring they are perfectly plumb. The spacing between posts should not exceed 8 feet to maintain structural rigidity and prevent sagging, which could alter the runoff patterns of rainwater.
Pro-Tip: Use a soil moisture meter to ensure the surrounding earth maintains a consistent hydration level during the concrete curing process. Rapid shifts in moisture can cause the soil to pull away from the footings, creating gaps that harbor pests.
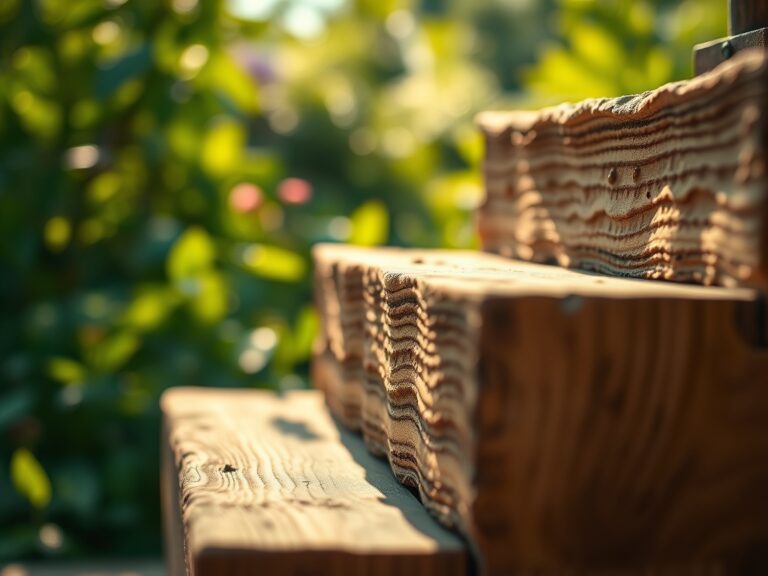
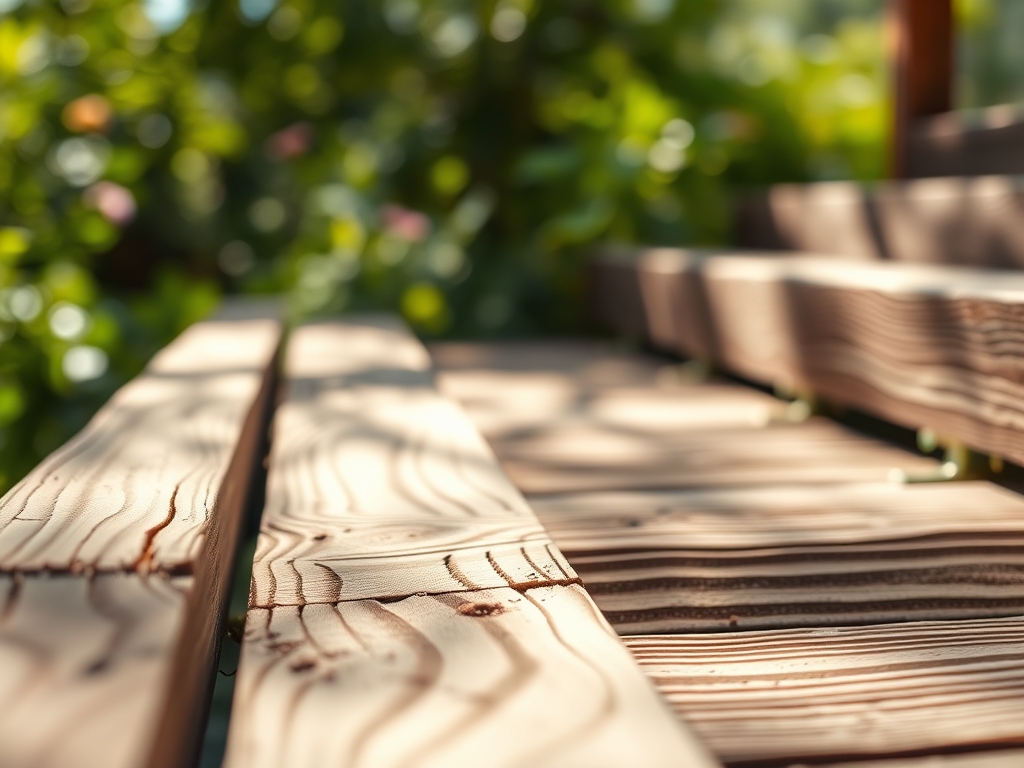
Establishing the Framework and Surface
Install the 2×6 rim joists and internal joists at 16-inch centers. Secure the decking boards with 2.5-inch stainless steel screws, leaving a 1/8-inch gap between boards for expansion and drainage. This gap is critical for preventing the buildup of organic matter that can lead to wood-decay fungi.
Pro-Tip: Align the boards to minimize the shadowing effect on nearby plants. Proper spacing allows for filtered light to reach the ground, preventing auxin suppression in low-growing species. Auxins are hormones that regulate plant growth; their imbalance can cause leggy, weak stems.
The Clinic:
Physiological disorders in the garden often manifest after the physical environment is altered by construction.
Symptom: Yellowing of older leaves with green veins (Interveinal Chlorosis).
Solution: This often indicates a Magnesium deficiency caused by localized soil compaction during the build. Aerate the soil with a garden fork and apply Epsom salts at a rate of 1 tablespoon per gallon of water.
Symptom: Leaf scorch or marginal necrosis on nearby shrubs.
Solution: This is likely due to excessive salt runoff from pressure-treated lumber or concrete dust. Flush the soil with 2 inches of water to leach the salts below the root zone.
Symptom: Stunted growth and dark purple coloration on undersides of leaves.
Solution: This indicates Phosphorus deficiency, often exacerbated by cold, wet soil under the new deck. Incorporate bone meal into the top 3 inches of soil to boost phosphorus availability.
Fix-It for Nitrogen Chlorosis: If the entire leaf turns pale yellow, the plant lacks nitrogen. Apply a quick-release high-nitrogen fertilizer (20-10-10) to restore chlorophyll synthesis and turgor.
Maintenance:
A garden deck requires rigorous maintenance to ensure it does not become a biological liability. Inspect the structure annually for signs of senescence in the surrounding timber. Use a hori-hori knife to clear debris from the gaps between boards; this prevents the formation of a "perched water table" on the wood surface.
Irrigation management is paramount. Ensure the garden receives 1.5 inches of water per week at the drip line of the deck. Use a soil moisture meter to verify that the area under the deck is not becoming a dust bowl or a swamp. Prune any encroaching vegetation with bypass pruners to maintain a 6-inch clearance between the wood and the foliage. This airflow is essential for preventing the spread of powdery mildew and other fungal pathogens.
The Yield:
If your deck incorporates built-in planters for edibles or flowers, harvest timing is critical for nutrient density. For leafy greens, harvest in the early morning when turgor pressure is at its peak. This ensures the cell walls are fully hydrated, providing a crisp texture. Use a sharp, sterilized blade to make clean cuts, reducing the risk of pathogen entry.
For flowers, harvest when the buds are in the "tight-fisted" stage. Immediately plunge the stems into 100-degree Fahrenheit water to remove air bubbles from the xylem. This technique, known as conditioning, extends the post-harvest life by maintaining the flow of water to the blooms. Store harvested produce in a cool, dark environment to slow the rate of respiration and preserve "day-one" freshness.
FAQ:
How deep should deck posts be buried?
Posts should be buried at least 24 inches deep or 6 inches below the frost line. This prevents "frost heaving," where the freezing and thawing of soil moisture physically displaces the structure and disrupts the local root systems.
Can I build a deck over existing plants?
It is not recommended. The deck will block the photoperiod necessary for photosynthesis, leading to plant death and soil souring. Relocate all specimens using a hori-hori knife to preserve the root ball before beginning construction.
What is the best wood for a garden deck?
Cedar and redwood are superior due to their natural resistance to decay and insects. Pressure-treated pine is a cost-effective alternative, but it requires careful management of chemical runoff to protect the soil pH and microbial health.
How do I prevent weeds under the deck?
Install a high-grade geotextile weed barrier covered with 3 inches of gravel. This eliminates light penetration, stopping the germination of seeds by preventing the activation of phytochromes, the light-sensitive proteins that trigger growth.
How often should I seal the deck?
Apply a UV-resistant sealant every 2 to 3 years. This prevents the wood fibers from breaking down due to photo-oxidation and keeps moisture from penetrating the grain, which protects the structural integrity and the surrounding soil from rot.