6 Steps to Prepare a Level Garden Fountain Site
The smell of damp earth and the scent of crushed petrichor signal the readiness of the soil for structural modification. When the turgor pressure of surrounding vegetation is high, the ground holds its form without collapsing or turning to mud. Understanding how to prepare a site for a garden fountain requires more than a shovel; it demands an analysis of soil compaction and drainage. You must stabilize the ground to prevent the settling that cracks stone basins.
A stable fountain site begins with the rhizosphere. If you ignore the underlying soil structure, the weight of the water will compress the pore spaces; this leads to anaerobic conditions and structural failure. The goal is to create a foundation that resists the freeze-thaw cycle while maintaining the integrity of the surrounding landscape. You are not just placing an ornament; you are integrating a heavy hydraulic system into a living biological environment. Success depends on the transition from loose, friable loam to a compacted, inorganic sub-base that supports several hundred pounds of pressure per square foot.
Materials:
The ideal substrate for the area surrounding your fountain is a friable loam with a pH between 6.0 and 7.0. This acidity range ensures that any perimeter plantings can access nutrients without the interference of mineral lockout. For the structural base, you require inorganic materials that do not contain organic matter subject to decomposition.
- Crushed Limestone or 3/4-inch Minus Gravel: Provides a high Cation Exchange Capacity (CEC) for drainage while offering structural stability.
- Sand: Used for fine-leveling adjustments.
- Fertilizer: Apply a 5-10-5 NPK ratio to the surrounding soil to encourage root growth in the "repair zone" without overstimulating foliage.
- Landscape Fabric: A non-woven geotextile to prevent the migration of fines into the gravel base.
- Paver Base: High-density aggregate for heavy basins.
Timing:
Work should commence when the soil temperature is consistently above 50 degrees Fahrenheit (10 Celsius). In Hardiness Zones 5 through 7, the window opens between late March and early May. You must complete the excavation before the biological clock of local perennials shifts from the vegetative stage to the reproductive stage.
Avoid site preparation during the spring thaw when the soil is "plastic." If you compress soil with high moisture content, you destroy the macro-pores essential for gas exchange. The best time to level the site is ten days after the last frost, ensuring the soil has reached a manageable moisture level. This timing prevents the "puddling" effect that occurs when heavy equipment or foot traffic compacts wet silt.
Phases:

Sowing the Foundation
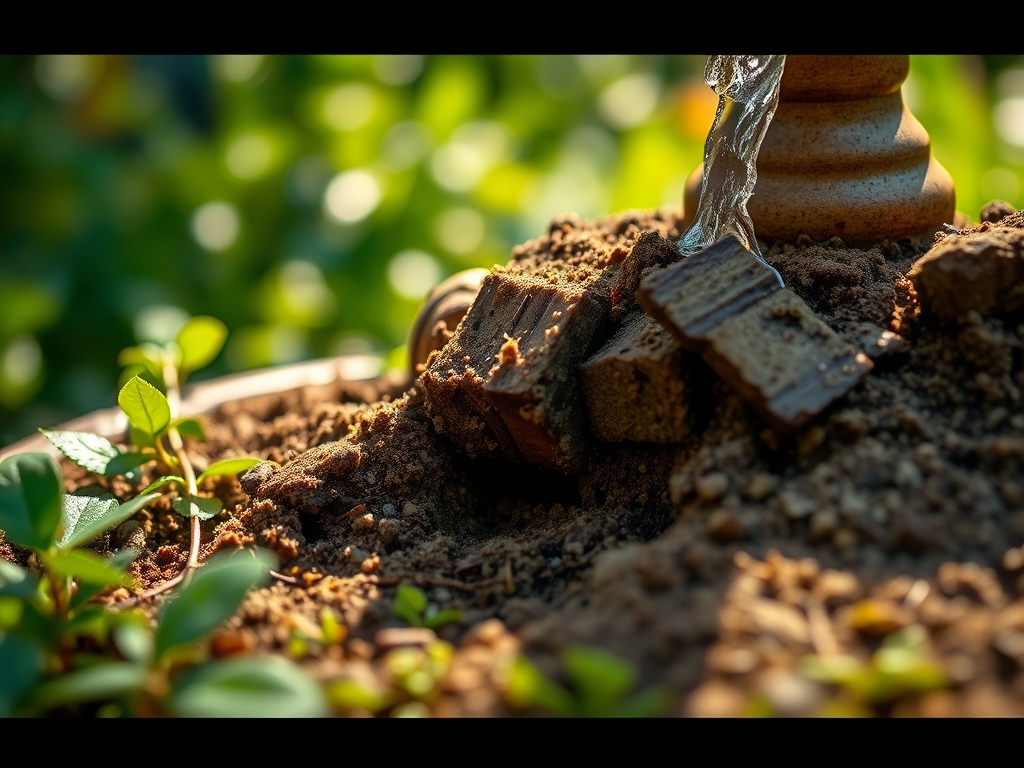
Begin by removing all organic turf and topsoil within a diameter 12 inches wider than the fountain base. Dig to a depth of 6 to 8 inches. This removes the O-horizon of the soil, which is prone to shifting as organic matter decays.
Pro-Tip: Removing the organic layer prevents mycorrhizal symbiosis disruption in the surrounding area. By keeping the excavation localized, you preserve the fungal networks that provide phosphorus to nearby plants while ensuring the fountain sits on stable, inorganic subsoil.
Transplanting the Base
Fill the excavation with 4 inches of compacted gravel. Use a plate compactor or hand tamper until the surface does not yield under a boot heel. Add 2 inches of leveling sand on top of the gravel. Use a 4-foot level to ensure the site is perfectly horizontal.
Pro-Tip: Precise leveling is a requirement for auxin suppression in surrounding decorative plants. If a fountain leaks due to an uneven tilt, the resulting soil saturation can trigger stress hormones in nearby roots; this leads to stunted growth or root rot.
Establishing the Perimeter
Once the fountain is set, backfill the edges with the original loam mixed with 10% compost. Ensure the soil is sloped away from the fountain at a 2% grade to prevent water from pooling at the base.
Pro-Tip: Proper grading manages phototropism. When water is directed away from the fountain, it encourages roots to grow outward toward the moisture; this creates a wider, more stable root system for the plants framing the water feature.
The Clinic:
Physiological disorders in the landscape often arise from improper site preparation. Monitor the following symptoms in the plants immediately adjacent to your new fountain site.
- Symptom: Nitrogen Chlorosis. Yellowing of older leaves while veins remain green.
- Solution: This often occurs when high-carbon mulch is mixed into the soil during fountain installation. Add a high-nitrogen (20-0-0) water-soluble fertilizer to restore the balance.
- Symptom: Edema. Small bumps or blisters on the undersides of leaves.
- Solution: This indicates the soil is too wet due to fountain splash or poor drainage. Improve the percolation rate by incorporating more grit into the soil.
- Symptom: Leaf Scorch. Brown, crispy edges on foliage.
- Solution: Reflected light from the water can increase transpiration. Increase irrigation to 2 inches per week to maintain turgor.
Maintenance:
Maintaining a fountain site requires monitoring both the mechanical and biological components. Use a soil moisture meter twice weekly to ensure the soil at the drip line of surrounding plants stays between 20% and 40% moisture.
Use a hori-hori knife to remove any deep-taproot weeds that attempt to penetrate the gravel base. If you notice salt buildup on the fountain stone, it may indicate high mineral content in your water source; this can alter the soil pH over time. Test the soil every two years to ensure the pH has not drifted above 7.5. Prune any encroaching roots with bypass pruners to prevent them from lifting the leveled base.
The Yield:
If you have integrated water-loving herbs like mint or watercress around the fountain splash zone, harvest them during the morning when turgor pressure is at its peak. Use sharp shears to cut just above a node to encourage lateral branching. To maintain "day-one" freshness, immediately submerge the stems in 40-degree Fahrenheit water to slow the rate of senescence. The high humidity near the fountain often results in more succulent, tender tissue compared to plants in drier parts of the garden.
FAQ:
How deep should I dig for a fountain base?
Excavate 6 to 8 inches deep. This depth allows for 4 inches of compacted aggregate and 2 inches of leveling sand. Removing the organic topsoil layer prevents the fountain from tilting as the ground settles over time.
Can I put a fountain directly on the grass?
No. Grass and organic matter will decompose; this creates air pockets that lead to sinking. You must remove the turf and reach the mineral subsoil to provide a stable, non-shifting foundation for the weight of the water.
What is the best material for leveling?
Coarse leveling sand is the standard. It allows for micro-adjustments that gravel cannot provide. Sand also facilitates drainage, preventing water from trapped beneath the fountain, which could cause heaving during winter frost cycles.
How do I prevent the fountain from leaning over time?
Ensure the base material is mechanically compacted. Use a tamper every 2 inches of material added. Extending the base 6 inches beyond the fountain's edge distributes the weight across a larger surface area of soil.