6 Steps to Prepare Your Garden for a Protective Fence Around Your Vegetables
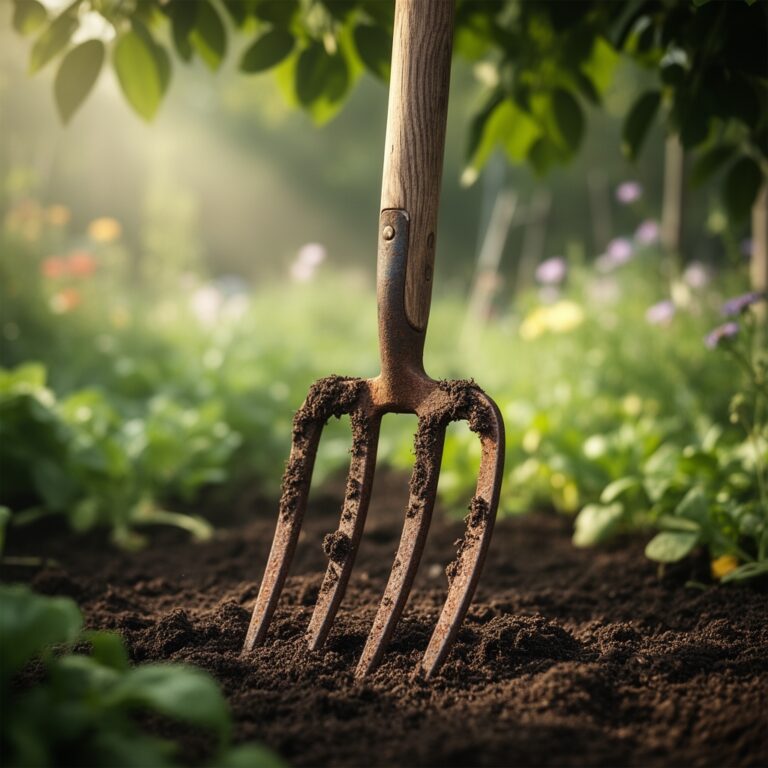
Learning how to prepare a garden for a fence around vegetables begins with understanding that the fence line creates a distinct microclimate and root disturbance zone. Posts driven 24 to 36 inches deep sever feeder roots within their immediate radius. Wire mesh or picket barriers alter wind speed by 40 to 60 percent on the leeward side, raising humidity and changing transpiration rates. Vegetables planted too close to fence foundations compete with structural elements for moisture and nutrients. Proper preparation accounts for these variables before a single post enters the soil.
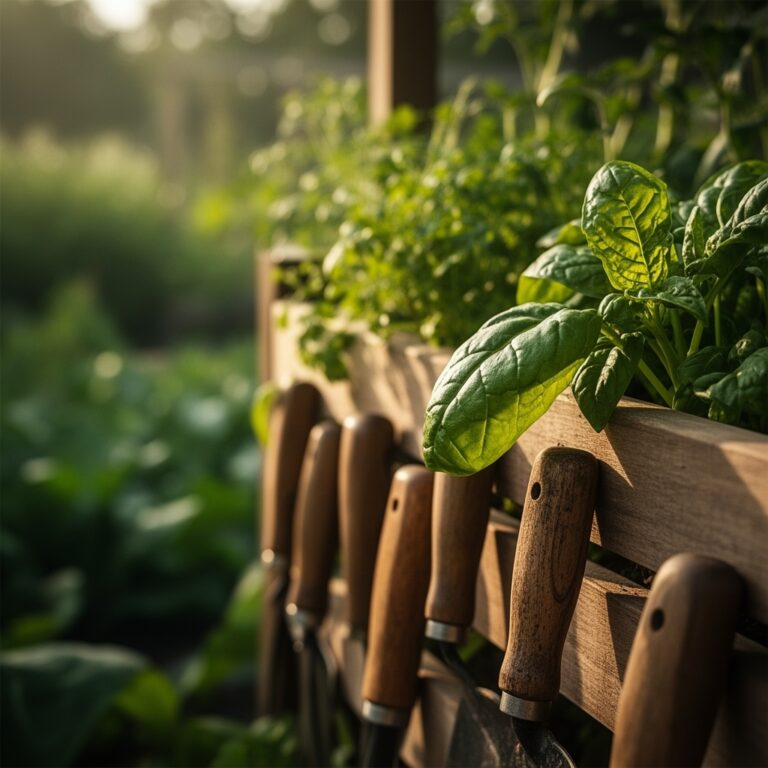
Materials
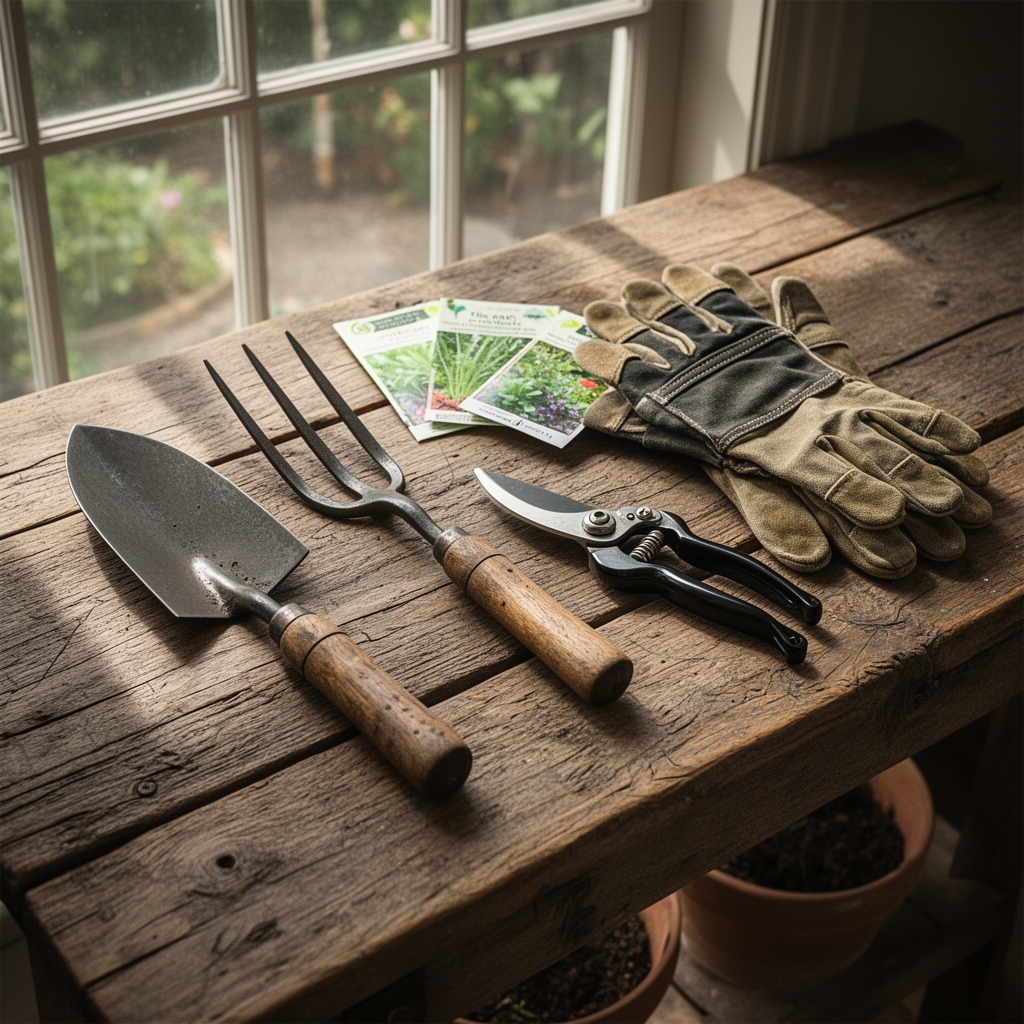
Assemble materials based on your native soil pH and existing nutrient profile. Test kits measuring pH between 6.0 and 7.0 indicate the optimal range for most vegetable crops. If pH falls below 5.8, incorporate dolomitic lime at 5 pounds per 100 square feet. For alkaline soils above 7.2, elemental sulfur at 1 pound per 100 square feet lowers pH over a 60-day period.
Balanced organic fertilizer rated 4-4-4 provides steady nitrogen, phosphorus, and potassium without salt burn. Apply at 2 pounds per 100 square feet two weeks before fence installation. Composted manure aged 12 months or longer adds organic matter and improves cation exchange capacity, the soil's ability to hold onto nutrient ions. Mycorrhizal fungi inoculant, applied at the rate printed on the package, colonizes root zones and extends phosphorus uptake by 300 percent in some trials.
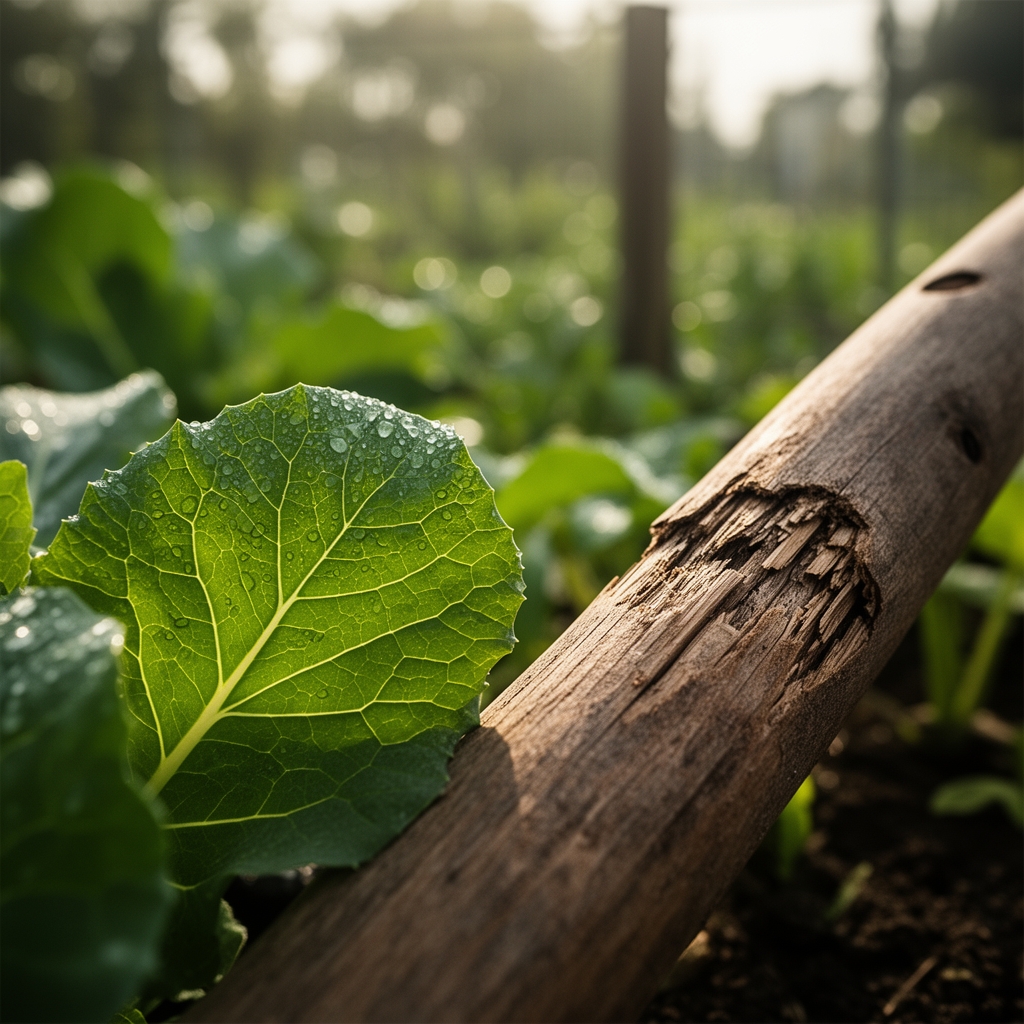
For the fence itself, rot-resistant cedar or black locust posts last 15 to 20 years in contact with soil. Galvanized welded wire with 2-by-4-inch openings excludes rabbits and groundhogs. Pressure-treated posts rated for ground contact offer 25-year longevity but leach copper compounds in the first two seasons. Maintain a 12-inch buffer between treated wood and edible crops.
Timing
Fence installation and garden preparation align with hardiness zone frost dates. In USDA Zones 3 through 5, complete fence work between late April and mid-May, after the final hard freeze but before transplanting tender crops like tomatoes and peppers. Zones 6 and 7 permit installation from late March through early April. Zones 8 through 10 enjoy a broader window from February through March.
Soil temperature matters more than air temperature. Use a soil thermometer to confirm 50 degrees Fahrenheit at 4 inches deep before turning beds adjacent to planned fence lines. Cold soil below 45 degrees slows microbial activity and delays decomposition of organic amendments. Warm soil above 55 degrees accelerates auxin distribution, the hormone governing root initiation, and ensures transplants establish within 10 days.
Phases

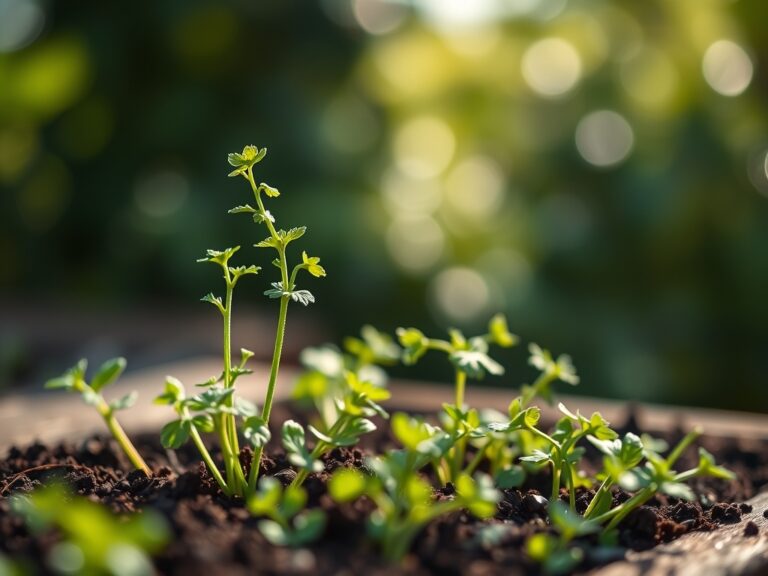
Sowing Phase
Mark fence post locations with stakes and string. Measure 18 inches outward from each post position and flag this zone as a no-plant buffer. Till or broad-fork the remaining bed area to a depth of 8 inches. Incorporate the 4-4-4 fertilizer and compost at the rates listed above. Rake the surface smooth and allow two weeks for microbial populations to process raw organic matter.
Pro-Tip: Inoculate legume seeds (peas, beans) with Rhizobium bacteria powder at sowing. This symbiotic relationship fixes atmospheric nitrogen at rates equivalent to 40 pounds of synthetic N per acre.
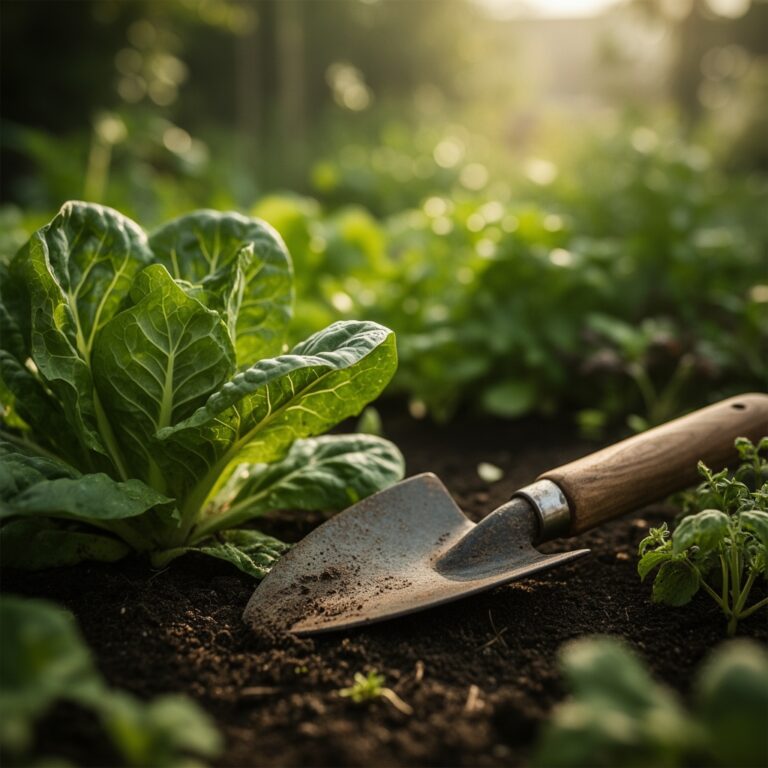
Transplanting Phase
Install fence posts first. Dig holes 10 inches in diameter and set posts in tamped gravel or concrete. Allow concrete to cure 72 hours before attaching wire or boards. This prevents shifting that damages nearby root systems.
Transplant seedlings of tomatoes, peppers, eggplants, and cucurbits 24 inches from the fence line. Water each transplant with 1 pint of water containing 1 tablespoon of soluble kelp extract per gallon. Kelp provides cytokinins that reduce transplant shock by 30 percent in controlled studies.
Pro-Tip: Prune tomato transplants at a 45-degree angle just above the second true leaf. This stimulates lateral branching and increases fruit set by 15 to 20 percent.
Establishing Phase
Mulch around transplants with 3 inches of shredded leaves or straw once soil reaches 60 degrees. Earlier mulching insulates cold soil and delays root growth. Attach wire mesh or pickets to posts, keeping the bottom edge 2 inches above soil level to prevent rust and rot.
Monitor soil moisture with a tensiometer or your finger. When the top 2 inches feel dry, water to a depth of 6 inches. This equals approximately 1 inch of water per week in temperate climates, adjusted upward by 0.5 inch in arid regions.
Pro-Tip: Train vining crops (cucumbers, pole beans) onto the fence structure using soft cotton twine. This vertical growth increases air circulation and reduces foliar disease incidence by 40 percent.
Troubleshooting
Symptom: Yellowing lower leaves on tomatoes adjacent to fence posts.
Solution: Nitrogen immobilization from fresh wood chips or sawdust. Side-dress with blood meal (12-0-0) at 0.5 pound per plant.
Symptom: Stunted growth and purple leaf veins near treated posts.
Solution: Copper toxicity from pressure-treated lumber. Transplant affected crops 18 inches farther from posts and amend soil with 2 inches of compost to bind excess copper ions.
Symptom: Wilting on the leeward side of the fence during afternoon heat.
Solution: Reduced airflow concentrates heat. Install shade cloth rated for 30 percent reduction on south or west-facing fences from June through August.
Symptom: Root-knot nematode galls on carrot and beet roots near fence corners.
Solution: Solarize soil under clear plastic for six weeks in midsummer. Temperatures above 120 degrees at 6 inches kill nematode eggs.
Symptom: Blossom-end rot on peppers planted closest to fence.
Solution: Calcium deficiency from inconsistent moisture. Mulch heavily and water every three days to maintain even soil hydration. Apply gypsum (calcium sulfate) at 2 pounds per 10 feet of row.
Maintenance
Irrigate deeply once per week to deliver 1 inch of water, measured with a rain gauge placed at soil level. Sandy soils require two 0.5-inch applications spaced three days apart. Clay soils absorb 1 inch over a six-hour drip cycle.
Fertigate monthly with fish emulsion diluted to 2 tablespoons per gallon. Apply 1 quart per plant for fruiting crops, 1 pint per plant for leafy greens. Prune fence-trained vines every 10 days, removing tendrils that weave into wire mesh and constrict stem growth.
Inspect fence posts for frost heave each spring. Posts shifted more than 1 inch vertically require resetting. Check wire tension annually. Loose mesh allows rabbits to push through; tighten with fence staples or hog rings.
FAQ
How far should vegetables be planted from a new fence?
Plant root crops and leafy greens 18 inches from posts. Fruiting crops like tomatoes and peppers require 24 inches to avoid root competition and ensure adequate sunlight.
Can I plant immediately after fence installation?
Yes, if posts are set in gravel. Wait 72 hours after concrete curing to transplant within 3 feet of posts.
Does a fence change fertilizer needs?
Fences reduce wind, lowering transpiration and nitrogen uptake by 10 to 15 percent. Reduce fertilizer applications by one-quarter on the leeward side.
What fence height protects against deer?
Eight-foot fences exclude white-tailed deer in 95 percent of trials. Six-foot fences suffice for smaller rabbit and groundhog pressure.
Should I treat soil differently along the fence line?
Yes. Add 20 percent more compost along fence rows to offset compaction from foot traffic during installation and maintenance.