6 Tool Selection Steps for Repotting a Moth Orchid
The white roots of a Phalaenopsis pushing through saturated bark signal the need for fresh media. Compressed sphagnum moss loses its air pockets, starving roots of oxygen while salt accumulates on pot rims. Recognizing these cues and following systematic steps for repotting a moth orchid preserves the mycorrhizal relationships essential to blooming cycles. Each tool serves a defined role in minimizing root damage and reestablishing proper cation exchange capacity in the new substrate.
Materials
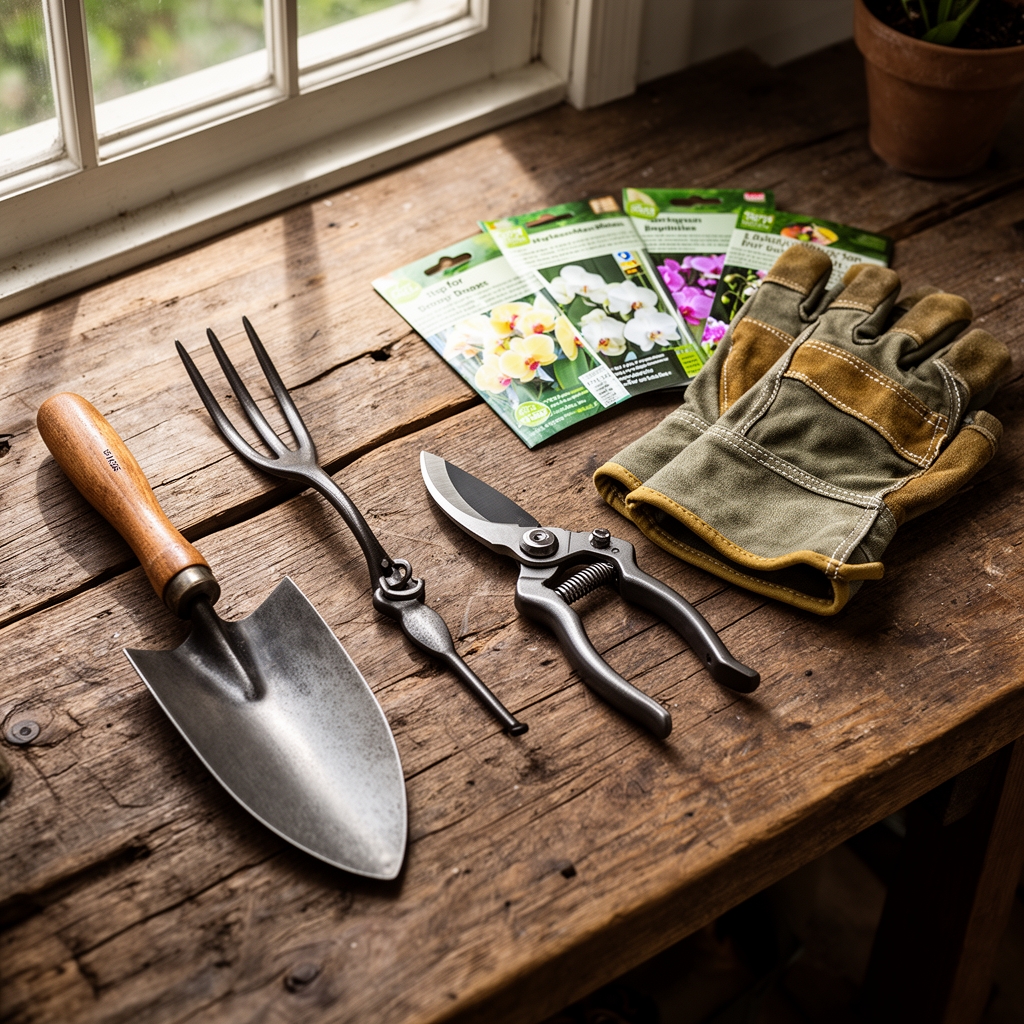
Orchid bark in medium grade (1/2 to 3/4 inch chips) provides the primary structure. Fir bark maintains a pH of 5.5 to 6.5, matching Phalaenopsis preference. Sphagnum moss holds moisture but must be New Zealand grade to resist decomposition. Perlite improves aeration without altering pH. A 5-10-5 orchid-specific fertilizer delivers phosphorus for root development without excess nitrogen that promotes leaf growth at the expense of flowers.
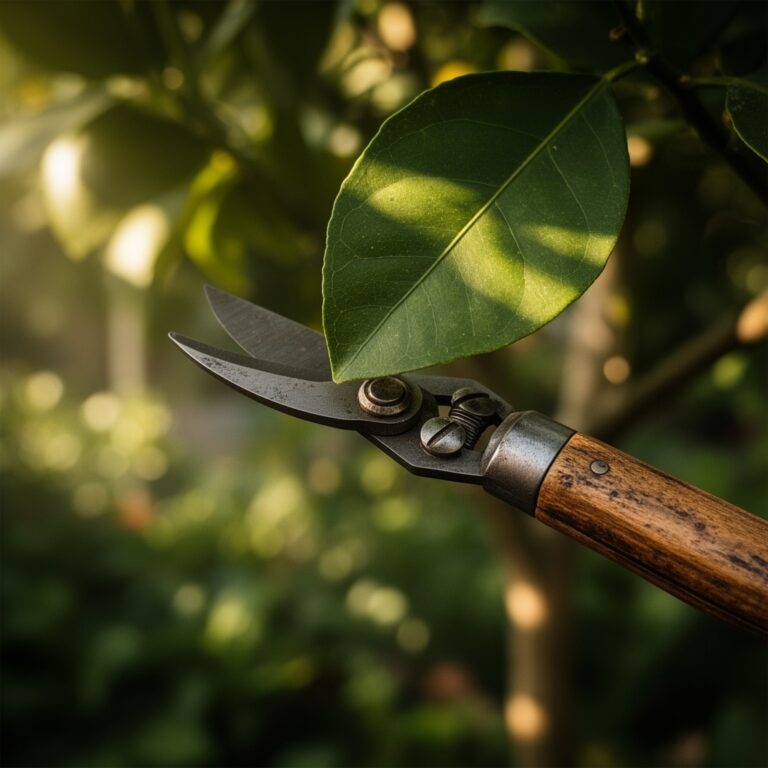
Sharp bypass pruning shears with stainless steel blades cut cleanly through dead roots. Sterilize blades in 70 percent isopropyl alcohol for 30 seconds between plants to prevent viral transmission. A transparent plastic pot with multiple drainage holes allows light penetration to roots, which contain chlorophyll and participate in photosynthesis. Diameter should exceed the root mass by one inch. Wooden skewers test moisture depth without disturbing roots. Hydrogen peroxide at 3 percent concentration disinfects roots compromised by bacterial soft rot.
Activated charcoal chunks absorb decomposition byproducts and buffer pH fluctuations. Mix one part charcoal to ten parts bark. Ground cinnamon acts as a natural fungicide on cut root surfaces. Mycorrhizal inoculant powder introduces beneficial fungi that extend root surface area by 100 to 1,000 times, improving nutrient uptake in low-fertility media.
Timing
Phalaenopsis repotting occurs after the final bloom spike fades, typically April through June in USDA Hardiness Zones 10 through 12 where outdoor acclimatization is possible. Indoor growers in Zones 3 through 9 repot when new root tips show bright green growth, indicating active cell division. Avoid repotting during bud formation or flowering, as auxin distribution redirects from reproductive to vegetative tissues under stress. The plant requires 60 to 75 degrees Fahrenheit ambient temperature for three weeks post-repotting to reestablish root-to-media contact.
Monitor the media rather than a calendar. Bark degraded to fragments smaller than 1/4 inch no longer provides adequate drainage. Roots circling the pot interior three times indicate binding. Salt crust thicker than 1/8 inch on pot rims signals accumulated fertilizer salts exceeding the substrate's buffering capacity.
Phases
Extraction and Assessment
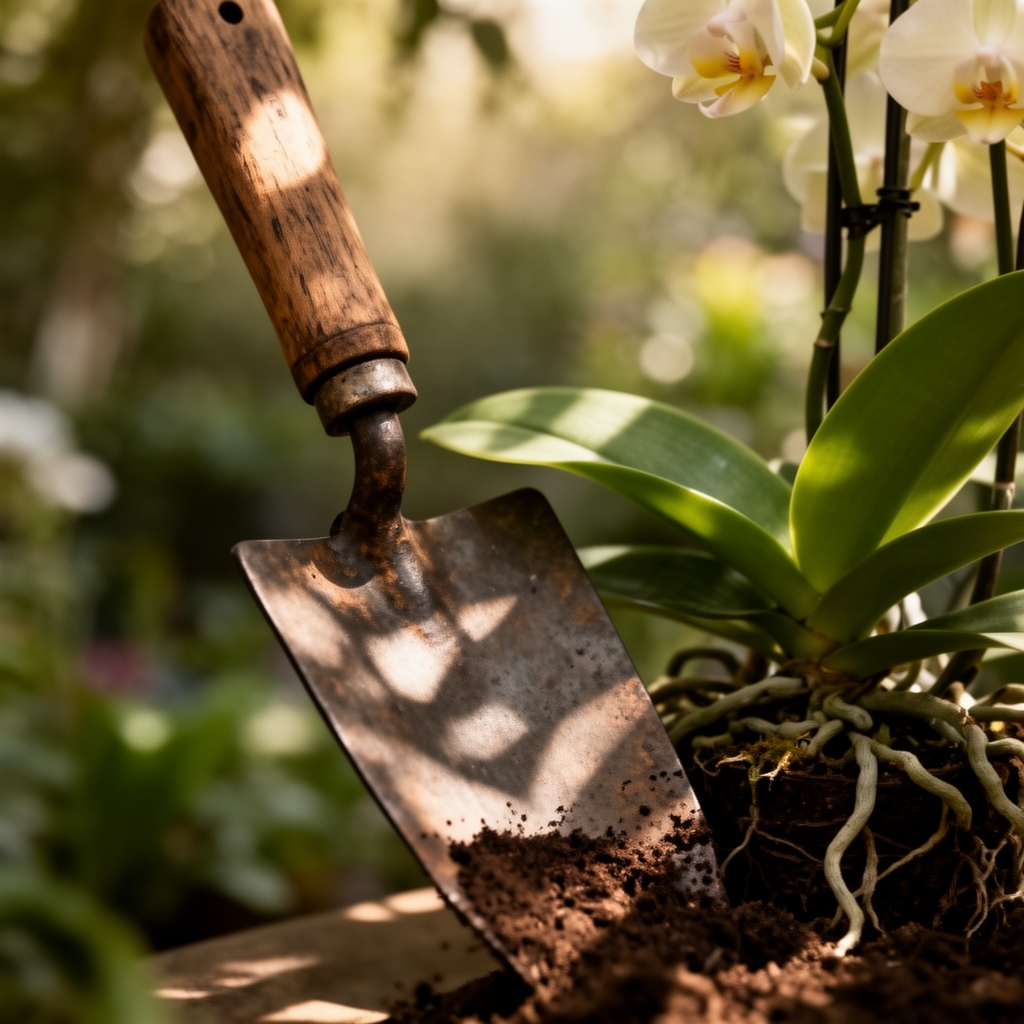
Soak the root ball in room-temperature water for 15 minutes to soften adherent bark. Invert the pot and slide the plant free, supporting the crown. Examine roots under bright light. Healthy roots appear silvery-green when dry, green when wet, and firm to touch. Black or brown mushy roots indicate Pythium or Phytophthora infection. Yellow roots suggest nitrogen deficiency or natural senescence.
Pro-Tip: Dust exposed roots with mycorrhizal inoculant immediately after removal. Fungal hyphae colonize root cortex within 48 hours if applied to moist tissue.
Pruning and Sanitization
Remove all dead roots by cutting 1/4 inch into living tissue where white or green coloration begins. Make cuts at 45-degree angles to maximize surface area for callus formation. Discard roots with hollow cores, a symptom of vascular collapse. Trim damaged leaves at their base where they attach to the crown, never mid-blade. Apply ground cinnamon to cuts exceeding 1/2 inch diameter.
Rinse remaining roots in diluted hydrogen peroxide solution (one part peroxide to four parts water) for 10 minutes to eliminate bacterial populations. Pat dry with sterile paper towels. Air-dry the plant for one hour in 50 percent humidity to seal cut surfaces.
Pro-Tip: Orient cut surfaces downward during drying to prevent water accumulation in the crown, which causes crown rot.
Repotting and Establishment
Layer one inch of bark in the pot bottom. Position the plant so the lowest leaf sits one inch below the rim. Fill sides with bark, tapping the pot on a hard surface to settle media around roots without compacting. Leave aerial roots exposed above the media surface. Insert a wooden skewer to the pot bottom to gauge moisture during the establishment phase.
Water thoroughly until liquid drains freely, then withhold water for seven days. This forces roots to seek moisture, promoting outward growth into new media. Resume watering when the skewer emerges dry after 24 hours insertion. Apply half-strength fertilizer (2.5-5-2.5) at weekly intervals for four weeks, then return to standard concentration.
Pro-Tip: Add one tablespoon of activated charcoal beneath the crown to intercept decomposition acids as lower bark layers age.
Troubleshooting
Symptom: Roots blacken within two weeks of repotting.
Solution: Overwatering in poorly aerated media. Replace with coarser bark and water only when top two inches dry completely.
Symptom: Leaves wrinkle and fold along the midrib.
Solution: Severe dehydration from root damage. Mist leaves twice daily and enclose plant in a clear bag to maintain 70 percent humidity. Remove bag once new roots extend 1 inch.
Symptom: White cottony masses at leaf axils.
Solution: Mealybug infestation. Dab insects with cotton swabs soaked in 70 percent isopropyl alcohol. Apply horticultural oil at 2 percent concentration weekly for three applications.
Symptom: Silver streaks on petals and buds drop prematurely.
Solution: Thrips damage. Yellow sticky traps capture adults. Spray spinosad at labeled rates, targeting flower spikes at dusk when thrips feed.
Symptom: Crown turns brown and softens.
Solution: Bacterial crown rot from water accumulation. Excise diseased tissue to healthy white cells. Dust with sulfur powder and reduce humidity to 40 percent.
Maintenance
Water Phalaenopsis when the top two inches of bark dry, approximately every seven to ten days in 65 to 75 percent humidity. Apply water until 20 percent of the volume drains from the pot, ensuring complete media saturation. Fertilize with 20-10-20 formulation at one-quarter teaspoon per gallon every other watering during active growth. Reduce to monthly applications in winter when light levels drop below 1,000 foot-candles.
Maintain daytime temperatures of 70 to 80 degrees Fahrenheit and nighttime temperatures of 60 to 65 degrees. This 10 to 15 degree differential triggers spike initiation. Provide 12 to 14 hours of indirect light at 1,500 to 2,500 foot-candles. Rotate pots 90 degrees weekly to equalize light exposure and prevent leaning.
Repot every 18 to 24 months regardless of visible root growth. Bark decomposes internally while maintaining external structure, suffocating roots through reduced oxygen diffusion.
FAQ
How deep should I plant a moth orchid?
Position the lowest leaf base one inch below the pot rim. Never bury the crown, where leaves emerge, as this invites bacterial soft rot.
Can I use garden soil for repotting?
No. Garden soil retains excessive moisture and compacts under pot conditions, eliminating the air pockets epiphytic orchids require. Use only chunky bark media.
When will my repotted orchid bloom again?
Phalaenopsis typically bloom eight to twelve months after repotting once root systems reestablish. Provide the required temperature drop to initiate spike formation.
Why are my orchid's roots growing out of the pot?
Aerial roots are normal for epiphytic species. They absorb atmospheric moisture and perform photosynthesis. Do not force them into media.
Should I remove the flower spike after repotting?
Cut spent spikes to the second node from the base. Secondary spikes may emerge from dormant buds, blooming within eight weeks if the plant maintains adequate reserves.