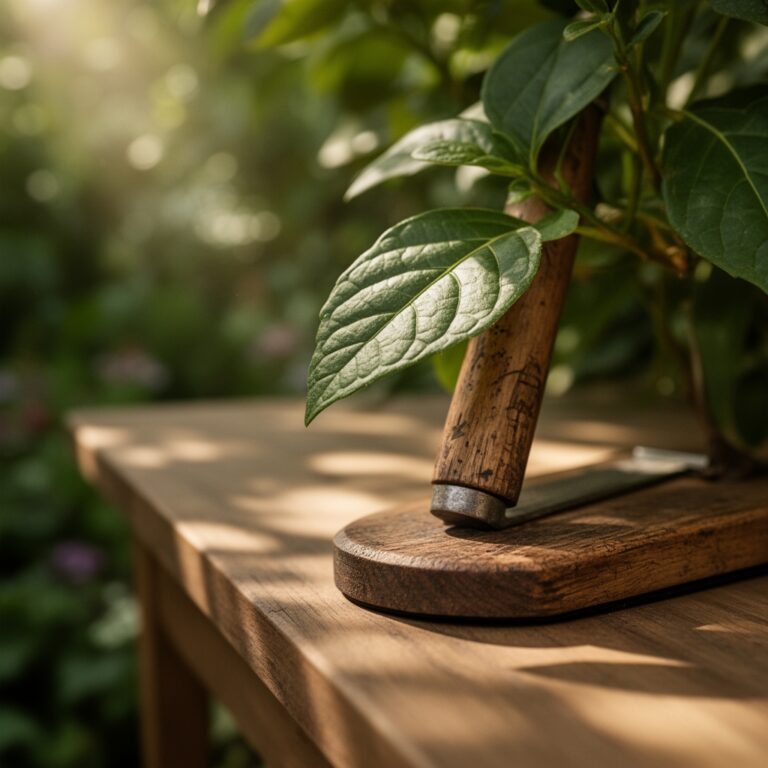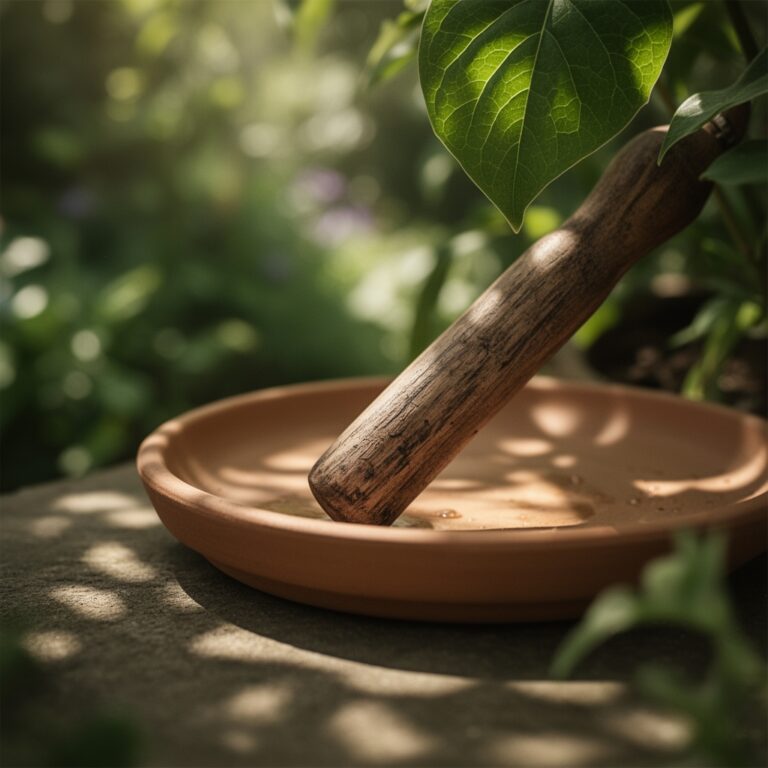
7 Charcoal Steps to Prepare a Closed Terrarium Layer
The first time you lift a sealed glass vessel and see condensation bead on the inside walls, cycling moisture through moss and fern roots without intervention, you understand why precision matters at every substrate level. Knowing how to prepare a charcoal layer for terrariums transforms a decorative jar into a self-regulating ecosystem. Activated horticultural charcoal serves three critical functions: it adsorbs volatile organic compounds that accumulate in closed systems, prevents anaerobic decomposition by maintaining aerobic conditions, and hosts beneficial bacteria that process nitrogenous waste.
Materials
Select activated horticultural charcoal with particle sizes between 0.25 and 0.5 inches. Avoid briquettes treated with petroleum binders or lighter fluid residues. The carbon content must exceed 85 percent for adequate cation exchange capacity. Rinse 2 cups of charcoal under cold water to remove dust that can cloud the glass and clog substrate pores.
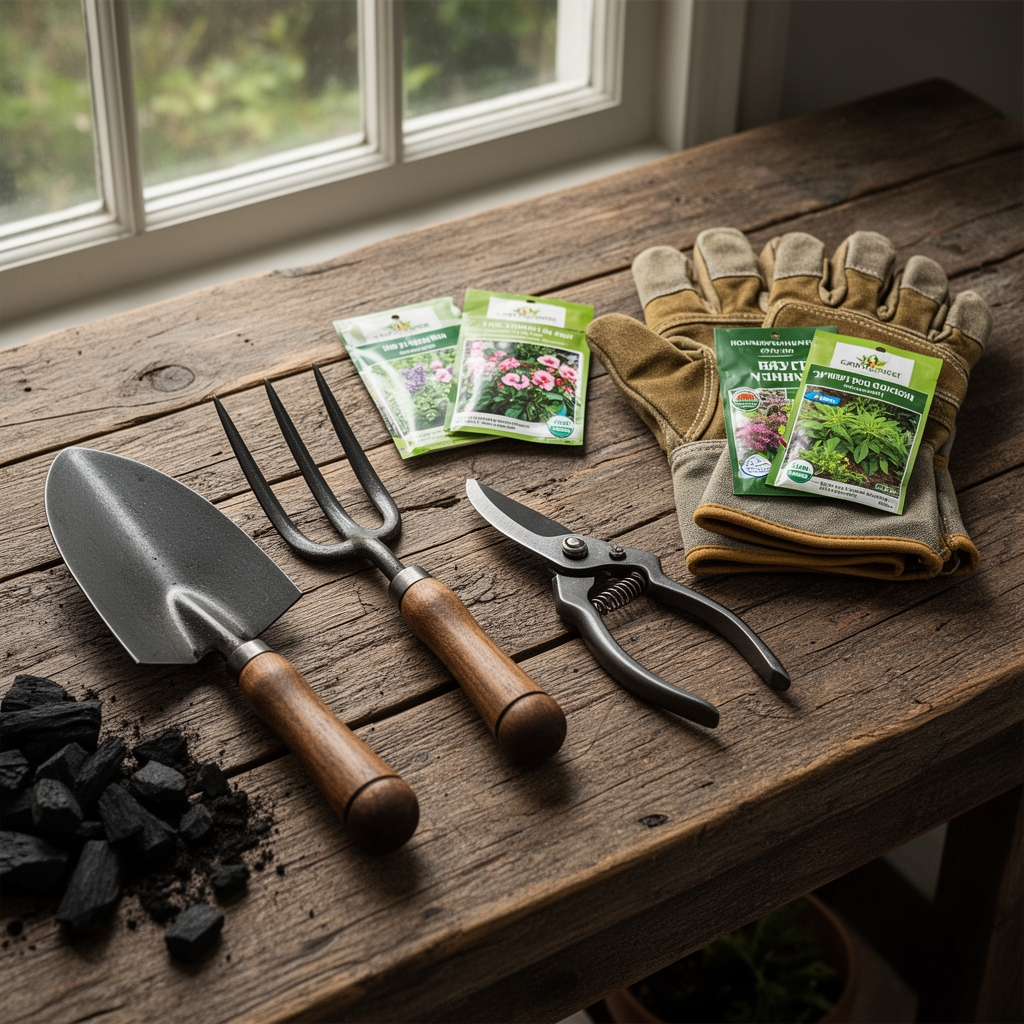
Pair charcoal with coarse horticultural sand (1.0 to 2.0 mm grain size) and sphagnum moss. The sand maintains drainage pathways. The moss acts as a physical barrier between charcoal and soil layers. For planted terrariums, prepare a growing medium at pH 5.5 to 6.5. Mix 40 percent coconut coir (pH 5.5), 30 percent aged leaf mold (approximate NPK 0.5-0.5-0.3), 20 percent perlite, and 10 percent worm castings (NPK 1-0-0). This blend offers moderate nutrient availability without the salts that synthetic fertilizers introduce into closed systems.
Optional amendments include mycorrhizal inoculant at 0.15 ounces per quart of substrate. Arbuscular mycorrhizae colonize fern and moss roots, extending phosphorus uptake range by a factor of ten.
Timing
Closed terrariums bypass hardiness zones because internal temperatures remain stable. Ambient indoor conditions between 65 and 75 degrees Fahrenheit suit tropical and temperate species year-round. Assemble terrariums in early spring (March through April) when nurseries stock ferns, Fittonia, and Selaginella. Avoid late summer assembly. High ambient humidity during August can introduce fungal spores before the substrate stabilizes.
If sourcing plants from outdoor environments, quarantine specimens for 14 days. Inspect for springtails, fungus gnats, and aphid eggs. Even a single gravid female aphid can establish a population of 600 individuals within three weeks under terrarium conditions.
Phases
Step 1: Vessel Preparation
Sterilize the glass container with a 10 percent bleach solution (1 part household bleach to 9 parts water). Rinse thoroughly and air-dry for 24 hours. Residual chlorine can inhibit nitrifying bacteria essential for nitrogen cycling.
Step 2: Drainage Foundation
Pour 1 to 1.5 inches of coarse horticultural sand or fine gravel into the vessel base. This layer prevents water from pooling at the root zone. The depth ratio should equal one-eighth of the total container height for vessels under 12 inches tall, one-tenth for taller vessels.
Step 3: Charcoal Deployment
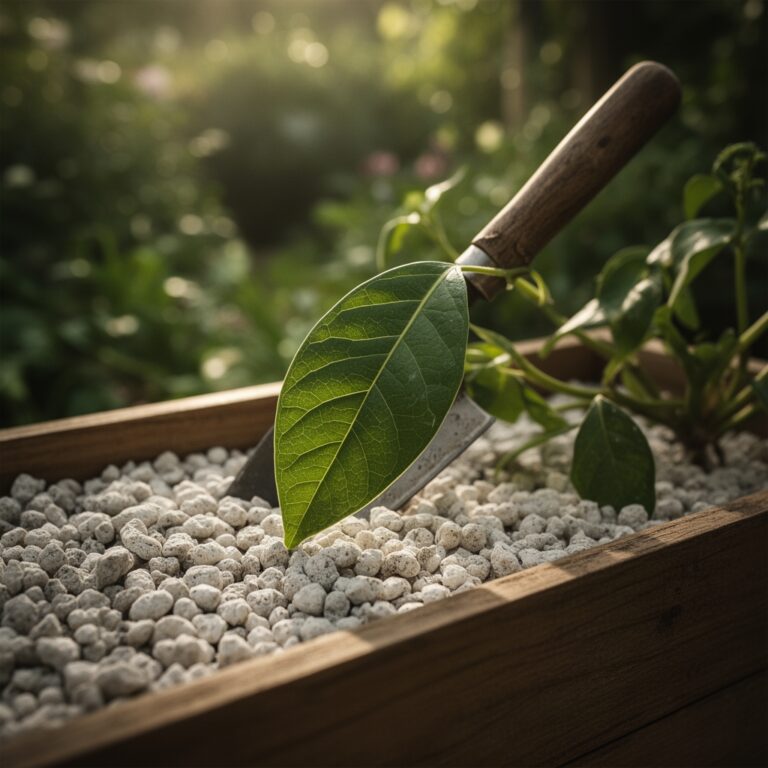
Spread a 0.5-inch layer of rinsed activated charcoal across the drainage substrate. Distribute evenly. Gaps allow anaerobic pockets to form. The charcoal surface area must contact both the drainage layer below and the moss barrier above to facilitate gas exchange.
Pro-Tip: Pre-soak charcoal in dechlorinated water for 15 minutes before placement. Saturated charcoal particles release trapped air, preventing flotation when you add moisture later.
Step 4: Moss Barrier Installation
Lay living or dried sphagnum moss across the charcoal. Overlap edges by 0.25 inches. This prevents soil migration into the charcoal layer, which reduces adsorption capacity by 40 percent within six months.
Pro-Tip: Use long-fiber sphagnum rather than milled peat. Fiber length above 2 inches creates a more effective physical barrier and decomposes 50 percent slower.
Step 5: Substrate Addition
Add 2 to 3 inches of prepared growing medium. Slope the soil toward the front viewing pane at a 15-degree angle. This improves visual depth and encourages root growth toward the back glass, where condensation provides consistent moisture.
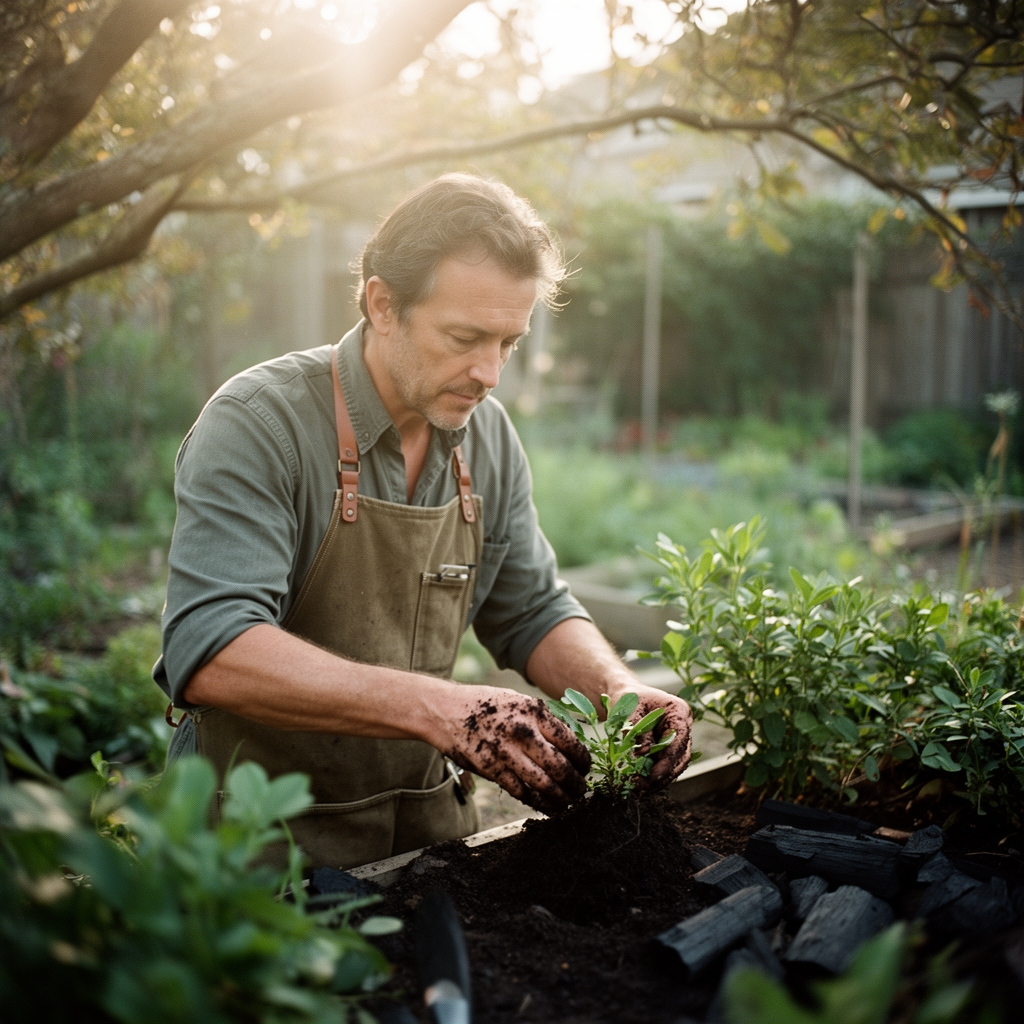
Step 6: Planting
Select species with mature heights under 8 inches. Space plants 1.5 inches apart. Compress soil gently around root balls to eliminate air pockets that cause desiccation. Tilt plants 5 degrees toward the light source to counteract phototropic bending.
Pro-Tip: Trim roots to one-third their original length before planting. This stimulates auxin distribution and accelerates lateral root formation in confined spaces.
Step 7: Initial Watering and Sealing
Mist the substrate with 4 to 6 ounces of distilled water. The soil should feel damp but not saturated. Seal the vessel. Condensation should cover one-third of the glass surface each morning. If condensation exceeds 50 percent coverage, remove the lid for 2 hours daily until equilibrium stabilizes.
Troubleshooting
Symptom: White mold on charcoal surface.
Solution: Remove lid for 48 hours. Reduce watering by 50 percent. The mold is saprophytic and consumes residual organics. It will disappear once substrates stabilize.
Symptom: Yellowing lower leaves with green veins.
Solution: Iron deficiency caused by alkaline drift. Add 0.1 ounces chelated iron (Fe-EDTA) dissolved in 8 ounces distilled water.
Symptom: Algae film on glass.
Solution: Excess light. Move terrarium 3 feet from windows. Algae compete with plants for carbon dioxide in sealed systems.
Symptom: Soil subsidence after three months.
Solution: Organic matter decomposition. Top-dress with 0.25 inches of fresh substrate. Avoid disturbing roots.
Maintenance
Inspect weekly for condensation balance. Wipe interior glass monthly with a microfiber cloth to prevent mineral deposits. Fertilize once every six months with liquid kelp solution diluted to one-quarter strength (0-0-1 NPK). Apply 2 tablespoons per gallon of soil volume. Prune dead foliage immediately. Decaying plant matter releases ethylene gas, which accelerates senescence in neighboring plants.
FAQ
How often should I replace charcoal?
Replace every 18 to 24 months. Adsorption capacity declines as pores fill with organic molecules.
Can I use charcoal from a fireplace?
No. Wood ash contains potassium carbonate that raises pH above 8.0. Use only activated horticultural charcoal.
What if my terrarium smells sour?
Anaerobic bacteria indicate oversaturation. Remove lid for 72 hours. Check that the charcoal layer remains intact and that drainage pathways remain open.
Do I need charcoal for open terrariums?
No. Open systems exchange gases freely. Charcoal benefits closed environments where volatile compounds accumulate.
How deep should charcoal be in large terrariums?
Maintain 0.5 inches regardless of vessel size. Thickness beyond 0.75 inches wastes material without improving function.