7 Simple Steps to Plant Chervil Herbs
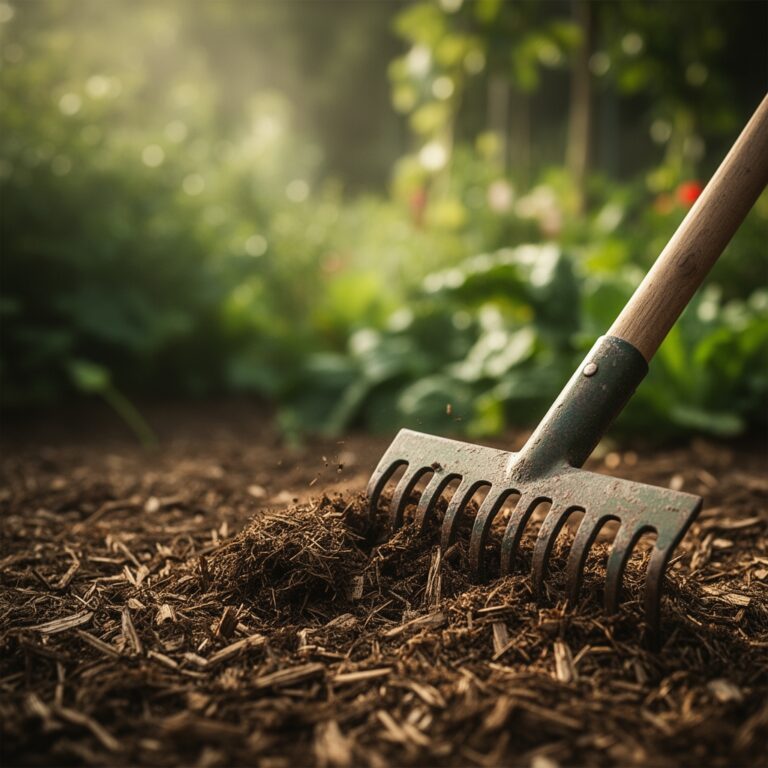
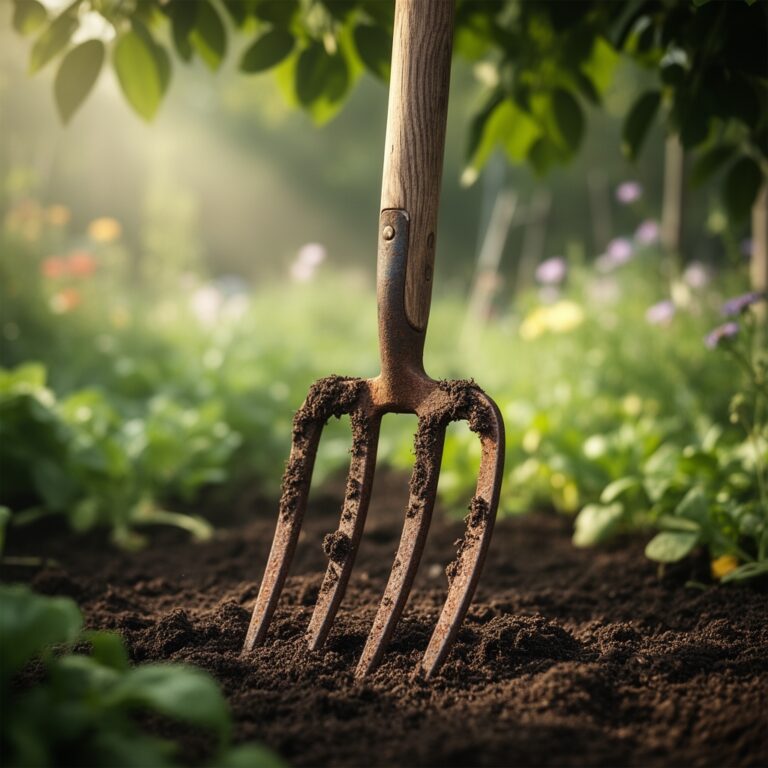
Damp earth yields a distinct, metallic scent when its microbial activity is high. This scent signals the readiness of the rhizosphere for Anthriscus cerefolium. Chervil is a delicate annual that requires precise environmental triggers to maintain leaf turgor and prevent premature bolting. To succeed, you must follow specific steps to plant chervil herbs while respecting the plant's sensitivity to light and heat. Mastery of this herb depends on understanding its rapid lifecycle and its preference for cool, dappled light environments.
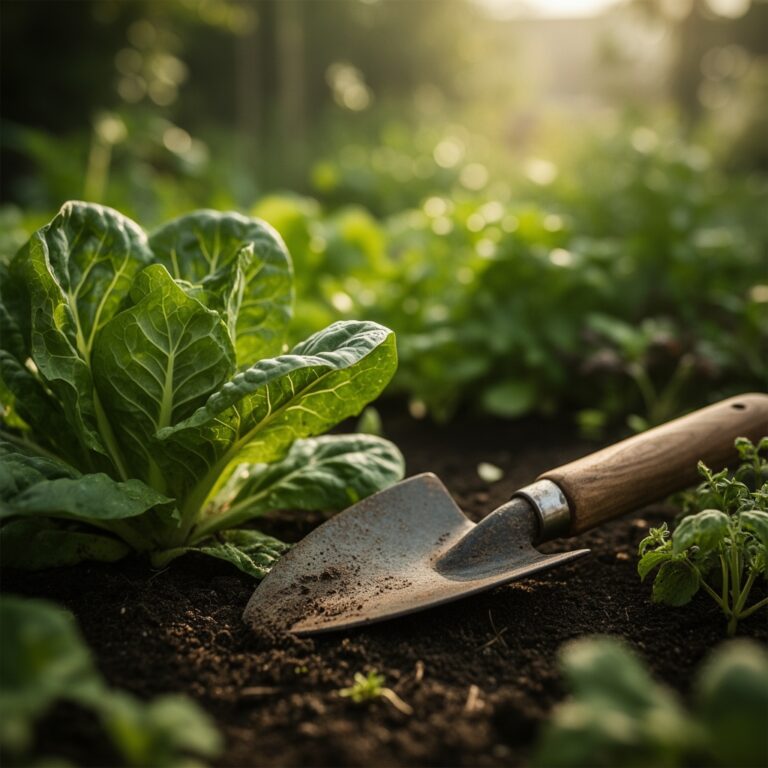
A healthy chervil leaf should exhibit a crisp, lace-like structure with a deep matte finish. If the leaf feels limp, the plant has lost cellular turgor pressure; this is often a result of root zone dehydration or excessive transpiration in high temperatures. Because chervil has a long taproot, it resists transplanting. Direct sowing into a prepared bed is the standard for professional results. You are aiming for a plant that remains in its vegetative stage for as long as possible before the inevitable onset of senescence. By controlling the substrate composition and the sowing window, you can extend the harvest of these anise-scented leaves well into the late spring or early autumn.
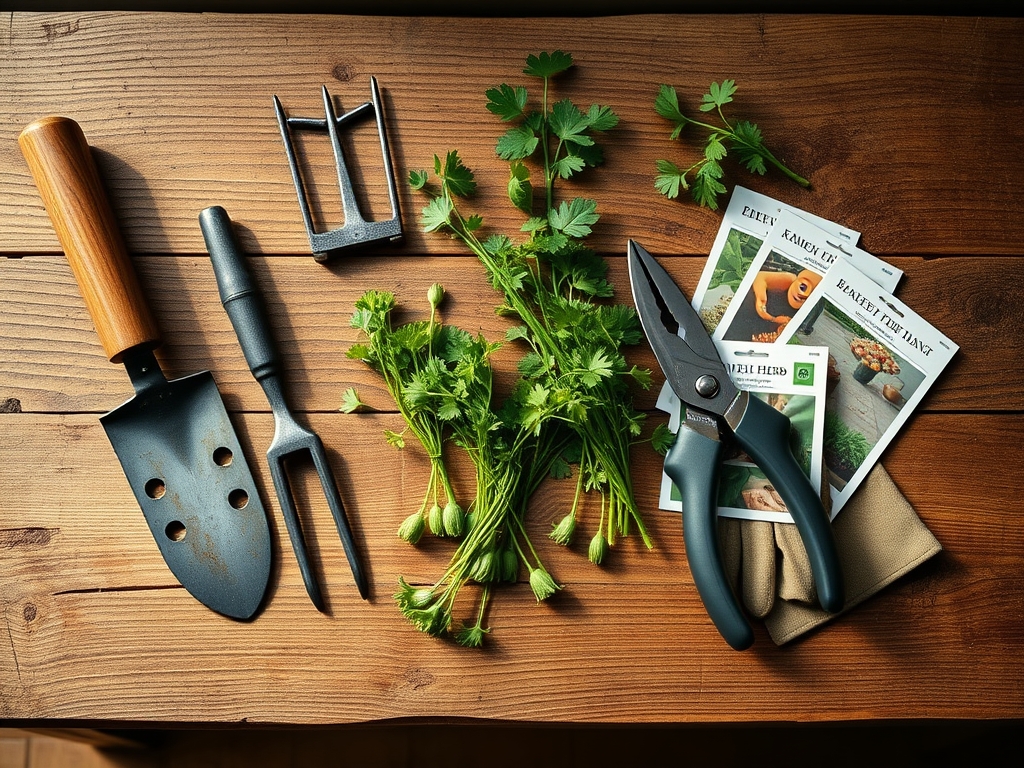
Materials:
The success of your chervil crop begins with the chemical and physical properties of the substrate. Chervil thrives in a **friable loam** that allows for easy taproot penetration while retaining enough moisture to prevent hydraulic failure.
- Soil pH: Target a range between 6.0 and 6.7. Use a digital pH probe to ensure the soil is slightly acidic to neutral; this range optimizes the availability of micronutrients like iron and manganese.
- NPK Ratio: Incorporate a balanced, slow-release organic fertilizer with a 5-5-5 or 4-4-4 ratio. High nitrogen spikes (above 10) can lead to rapid, weak growth that is susceptible to fungal pathogens.
- Cation Exchange Capacity (CEC): Aim for soil with a high organic matter content (at least 5 percent) to improve the CEC. This ensures the soil can hold onto essential cations like Calcium (Ca2+) and Magnesium (Mg2+).
- Texture: The substrate must be porous. If your soil is heavy clay, amend it with coarse sand or perlite to prevent anaerobic conditions in the root zone.
Timing:
Chervil is a cool-season specialist. It performs best in USDA Hardiness Zones 3 through 7 during the spring and autumn. In Zones 8 and 9, it must be grown exclusively as a winter crop. The biological clock of chervil is dictated by the photoperiod and temperature. Once daytime temperatures consistently exceed 70 degrees Fahrenheit (21 degrees Celsius), the plant shifts from vegetative leaf production to reproductive flowering (bolting).
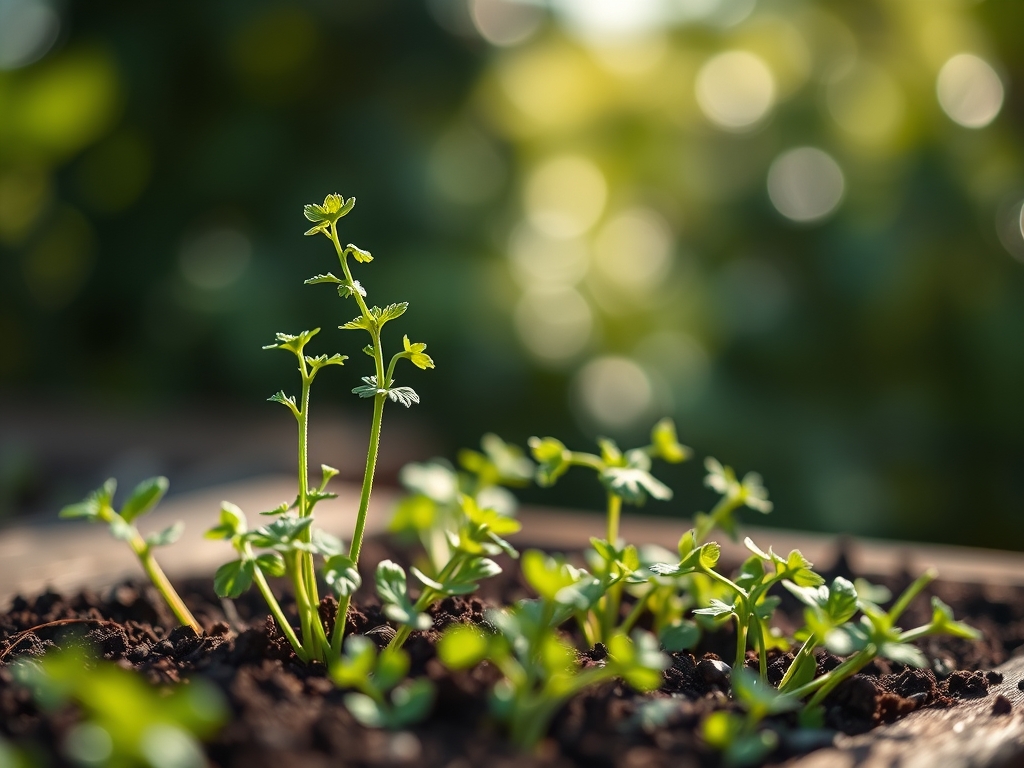
For a spring harvest, sow seeds 3 to 4 weeks before the last frost date. For a fall harvest, sow in late August or September when soil temperatures begin to drop below 65 degrees Fahrenheit. Chervil seeds require a period of light to trigger germination; do not bury them deeply. The transition from germination to the first true leaf stage typically takes 10 to 14 days under optimal conditions.
Phases:
Sowing the Seed
Prepare the bed by raking the soil until it is fine and free of clods. Sow seeds on the surface or cover them with a mere 1/8 inch of fine compost. Space the seeds approximately 1 inch apart in rows spaced 12 inches apart. Firm the soil gently with the flat of your hand to ensure good seed-to-soil contact.
Pro-Tip: Chervil seeds are positively photoblastic. They require exposure to the red-light spectrum to break dormancy. If you bury them deeper than 0.25 inches, germination rates will drop by over 60 percent due to the lack of light-stimulated phytochrome activation.
Thinning and Establishing
Once the seedlings reach 2 inches in height, thin them to a final spacing of 6 to 9 inches. Use small snips rather than pulling the plants to avoid disturbing the delicate root systems of the remaining herbs. During this phase, maintain consistent soil moisture to support the development of the primary taproot.
Pro-Tip: Thinning reduces competition for light and nutrients, preventing "leggy" growth. By increasing airflow between plants, you reduce the humidity in the microclimate, which suppresses the germination of fungal spores like Erysiphe heraclei (powdery mildew).
Managing the Canopy
As the plant grows, it will develop a basal rosette of leaves. Avoid overhead watering during the heat of the day to prevent leaf scald and fungal issues. Instead, apply water directly to the soil surface. If the plant begins to send up a central stalk, it is entering the reproductive phase.
Pro-Tip: To delay bolting, employ auxin suppression by pinching off the very early flower buds. However, once the photoperiod reaches 14 hours of light, the plant's hormonal shift toward senescence is largely irreversible.
The Clinic:
Physiological disorders in chervil are often related to environmental stress or nutrient imbalances.
- Symptom: Nitrogen Chlorosis. Older leaves turn pale yellow while veins remain slightly green.
- Solution: Apply a liquid seaweed extract or fish emulsion (low NPK) to provide immediate bioavailable nitrogen to the rhizosphere.
- Symptom: Tip Burn. The edges of new leaves become brown and necrotic.
- Solution: This is often a calcium transport issue caused by inconsistent watering. Maintain a steady moisture level to ensure calcium moves through the xylem via transpiration.
- Symptom: Sudden Wilting. The plant collapses despite moist soil.
- Solution: Check for crown rot. Ensure the soil has a high enough sand content to facilitate drainage and prevent waterlogged, anaerobic conditions.
- Symptom: Purple Foliage. Lower leaves take on a reddish or purple hue.
- Solution: This indicates Phosphorus deficiency, often caused by soil temperatures below 50 degrees Fahrenheit. Use a soil thermometer; if the soil is warm, check the pH, as P becomes locked at levels below 5.5.
Maintenance:
Precision is required for chervil maintenance. Provide exactly 1.5 inches of water per week at the drip line. Use a soil moisture meter daily to ensure the top 2 inches of soil do not desiccate. If the meter reads below 30 percent capacity, irrigate immediately.
Weeding must be done by hand or with a sharp hori-hori knife to slice weeds at the soil line. Do not dig deeply near the chervil, as you will damage the lateral roots. Apply a 1-inch layer of fine bark mulch or straw to regulate soil temperature and prevent moisture evaporation. If you notice any yellowing or dead material, use bypass pruners to remove the affected stems at the base, ensuring clean cuts that heal quickly.
The Yield:
Harvesting should begin when the plant is 6 to 8 inches tall and has at least three sets of true leaves. Use sharp shears to cut the outer leaves first, leaving the inner heart of the plant to continue growing. This "cut and come again" method works until the plant begins to bolt.
For maximum flavor, harvest in the early morning when the essential oil concentration is at its peak and the plant is at maximum turgidity. Post-harvest, submerge the stems in cold water (40 degrees Fahrenheit) for 15 minutes. Shake dry and store in a sealed container in the refrigerator. This process maintains "day-one" freshness by slowing down the metabolic rate and preventing the loss of volatile oils.
FAQ:
How long does it take for chervil to germinate?
Chervil typically germinates within 10 to 14 days when soil temperatures are between 55 and 65 degrees Fahrenheit. Ensure seeds have access to light, as they are photoblastic and will not sprout in total darkness.
Can I grow chervil in full sun?
In cool climates, chervil tolerates sun, but it prefers partial shade. In temperatures above 70 degrees Fahrenheit, full sun exposure triggers rapid bolting and leaf bitterness. Aim for four hours of morning sun followed by afternoon shade.
Why is my chervil turning yellow?
Yellowing is usually caused by nitrogen deficiency or overwatering. Check the soil moisture with a meter. If the soil is not waterlogged, apply a balanced organic fertilizer to correct nutrient levels in the rhizosphere.
Does chervil grow back after cutting?
Yes, if you harvest only the outer leaves and leave the central growing point intact. This allows the plant to continue producing new foliage until the photoperiod or high temperatures trigger the reproductive flowering stage.