7 Steps to Build a Custom Backyard Wooden Bench
The smell of damp earth after a spring thaw signals the beginning of the structural season. High turgor pressure in nearby perennials indicates the soil is ready to support the weight of permanent fixtures. Proper placement of a seat allows for the observation of leaf senescence and seasonal transitions without compacting the critical rhizosphere. Following specific steps for building a garden bench ensures the structure integrates with the surrounding landscape while maintaining the integrity of the soil profile and root zones.
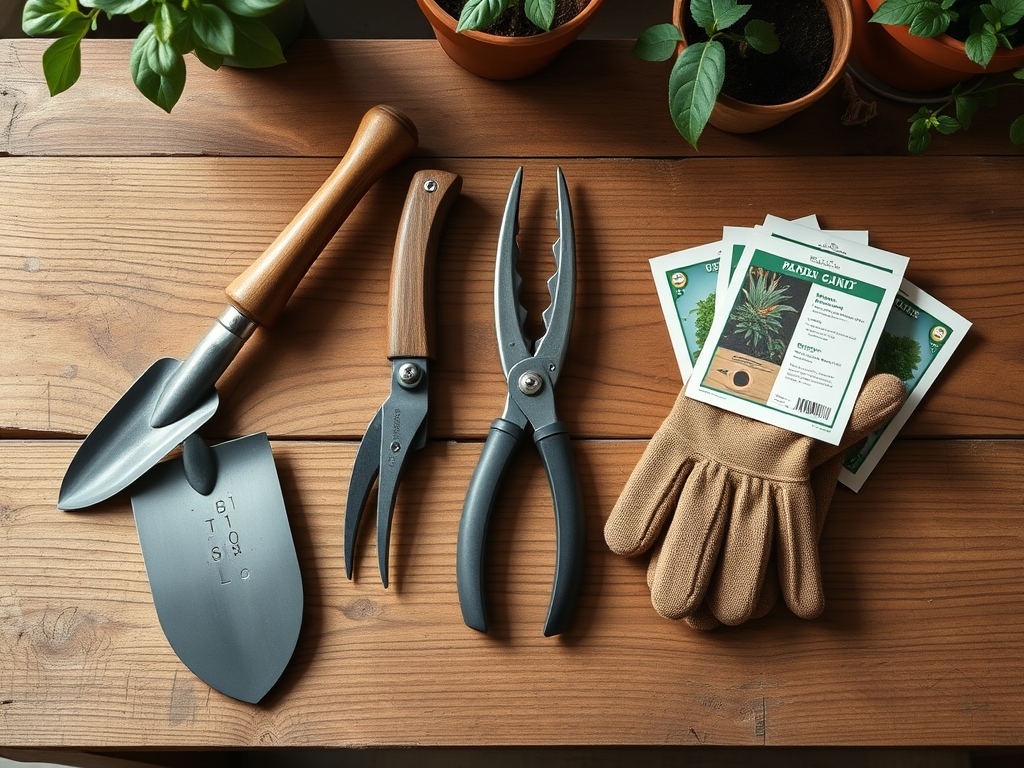
Materials:
The foundation of any garden structure begins with the substrate. For posts or footings, you require a friable loam that allows for adequate drainage to prevent wood rot. If the soil is heavy clay with a low infiltration rate, the wood will fail prematurely. Test your soil pH; a range between 6.0 and 7.0 is ideal to prevent the acceleration of metal fastener corrosion.
Incorporate a balanced NPK ratio of 10-10-10 into the surrounding soil if you plan to plant around the bench base. This ensures the Cation Exchange Capacity (CEC) is optimized for nutrient uptake as the soil settles. Use pressure-treated lumber or naturally rot-resistant species like Western Red Cedar. You will need four 4×4 posts, three 2×6 planks for the seat, and 2.5-inch stainless steel screws to resist the oxidative stress of high-humidity environments.
Timing:
Construction should align with Hardiness Zones 3 through 9 during the dormant season or early spring. Aim for the window after the last hard frost but before the spring flush of vegetative growth. This prevents damage to emerging shoots and avoids soil compaction when the ground is oversaturated.
The biological clock of your garden dictates the placement. Observe the photoperiod of your chosen site. A bench placed in a south-facing aspect will endure higher UV degradation but provides a necessary vantage point for monitoring sun-loving species. Ensure the installation is complete before the transition from vegetative to reproductive stages in your primary cultivars to avoid disturbing pollinators.
Phases:
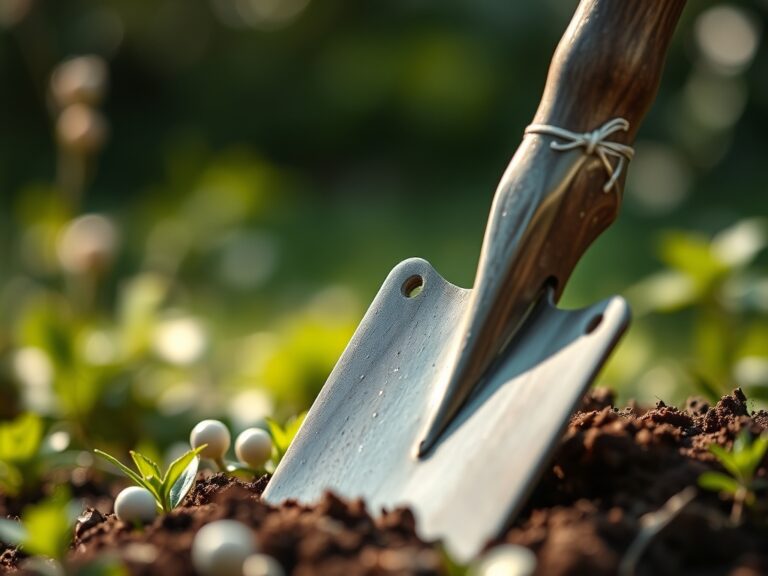
Sowing the Foundation
Excavate two holes to a depth of 18 inches, ensuring you stay below the frost line in colder climates. Line the bottom with 3 inches of crushed stone to facilitate drainage away from the wood grain.
Pro-Tip: When digging, avoid shearing the soil sidewalls. Smooth walls create a "pot effect" that restricts lateral root growth of nearby plants. Roughing the edges maintains mycorrhizal symbiosis by allowing fungal hyphae to penetrate the disturbed soil easily.
Transplanting the Structure
Set the 4×4 posts into the holes. Use a level to ensure vertical accuracy. Backfill with a mix of native soil and gravel. Tamp the soil every 4 inches to eliminate large air pockets that could destabilize the bench during heavy rain events.
Pro-Tip: Apply a copper-based preservative to the buried ends of the wood. This inhibits the growth of wood-decaying fungi that thrive in the moist, anaerobic conditions of the lower soil horizons.
Establishing the Seat
Cut the 2×6 planks to a length of 48 inches. Secure them across the top of the posts, leaving a 1/4-inch gap between each board. This gap is essential for thermal expansion and to prevent water tension from holding moisture between the wood fibers.
Pro-Tip: Use a hori-hori knife to clear any competing weeds or turf around the base after installation. This reduces competition for water and nutrients, allowing your surrounding "benchmark" plants to establish dominance via auxin suppression of secondary buds.
The Clinic:
Physiological disorders in the garden often manifest near new structures. Monitor these symptoms carefully:
- Nitrogen Chlorosis: If surrounding foliage turns pale yellow while veins remain green, the soil microbes may be consuming nitrogen to break down sawdust left from construction. Fix-It: Apply a high-nitrogen fertilizer (NPK 20-10-10) to the affected area.
- Iron Deficiency: High alkalinity in concrete footings can raise soil pH, locking out iron. Fix-It: Apply chelated iron or elemental sulfur to lower the pH to 6.5.
- Etiolation: Plants shaded by the new bench may become leggy and weak. Fix-It: Prune overhanging branches to increase light penetration or relocate shade-intolerant species.
- Adventitious Rooting: Excessive mulch piled against the bench legs can encourage roots to grow above the soil line. Fix-It: Maintain a 2-inch gap between the mulch and the wooden structure.
Maintenance:
A garden bench requires the same precision as a prize specimen. Use a soil moisture meter to check the hydration levels around the bench legs; ensure the area receives 1.5 inches of water per week at the drip line to prevent the soil from pulling away from the footings.
Every autumn, use bypass pruners to clear any perennial dieback that touches the wood. This prevents the transfer of pathogens and maintains airflow. Check all fasteners annually. If the wood begins to gray, it is a sign of lignin degradation; apply a UV-rated sealant when the ambient temperature is between 50 and 80 degrees Fahrenheit.
The Yield:
While a bench does not produce a caloric yield, it serves as the primary tool for monitoring the harvest of other crops. Use the bench as a staging area for cleaning root vegetables or drying herbs. When harvesting, use sharp tools to ensure clean cuts, which promotes rapid wound healing and prevents the entry of opportunistic bacteria. For "day-one" freshness, move harvested greens into a shaded, high-humidity environment immediately after removal from the parent plant to maintain maximum turgor.
FAQ:
What is the best wood for a garden bench?
Select Western Red Cedar or White Oak. These species contain natural tannins and oils that resist fungal decay and insect infestation. They maintain structural integrity in high-moisture environments without the need for heavy chemical treatments.
How deep should I bury the bench posts?
Bury posts at least 18 to 24 inches deep. In colder zones, you must reach below the frost line to prevent "frost heaving," which can displace the structure as the soil freezes and expands.
Does wood type affect soil pH?
Untreated cedar has a negligible effect on soil acidity. However, leaching from some pressure-treated lumbers can introduce alkaline salts. Monitor the rhizosphere with a pH probe annually to ensure a stable range of 6.0 to 7.0.
How do I prevent the bench from sinking?
Install a 3-inch base of compacted gravel at the bottom of each post hole. This distributes the weight across a larger surface area and facilitates drainage, preventing the soil from becoming a plastic, unstable slurry.