7 Steps to Build a Tiered Garden Bed for Slopes
Slopes transform rainwater into erosion. Gravity pulls topsoil, mulch, and nutrients downhill, leaving bare patches and frustrated gardeners. Steps for building a tiered garden bed arrest this process by converting a single steep plane into stacked horizontal terraces. Each tier captures runoff, distributes moisture evenly, and creates microclimates suited to different root architectures. The structure mimics the agricultural terraces of the Andes and Southeast Asian rice paddies, proven systems that sustained civilizations for millennia.
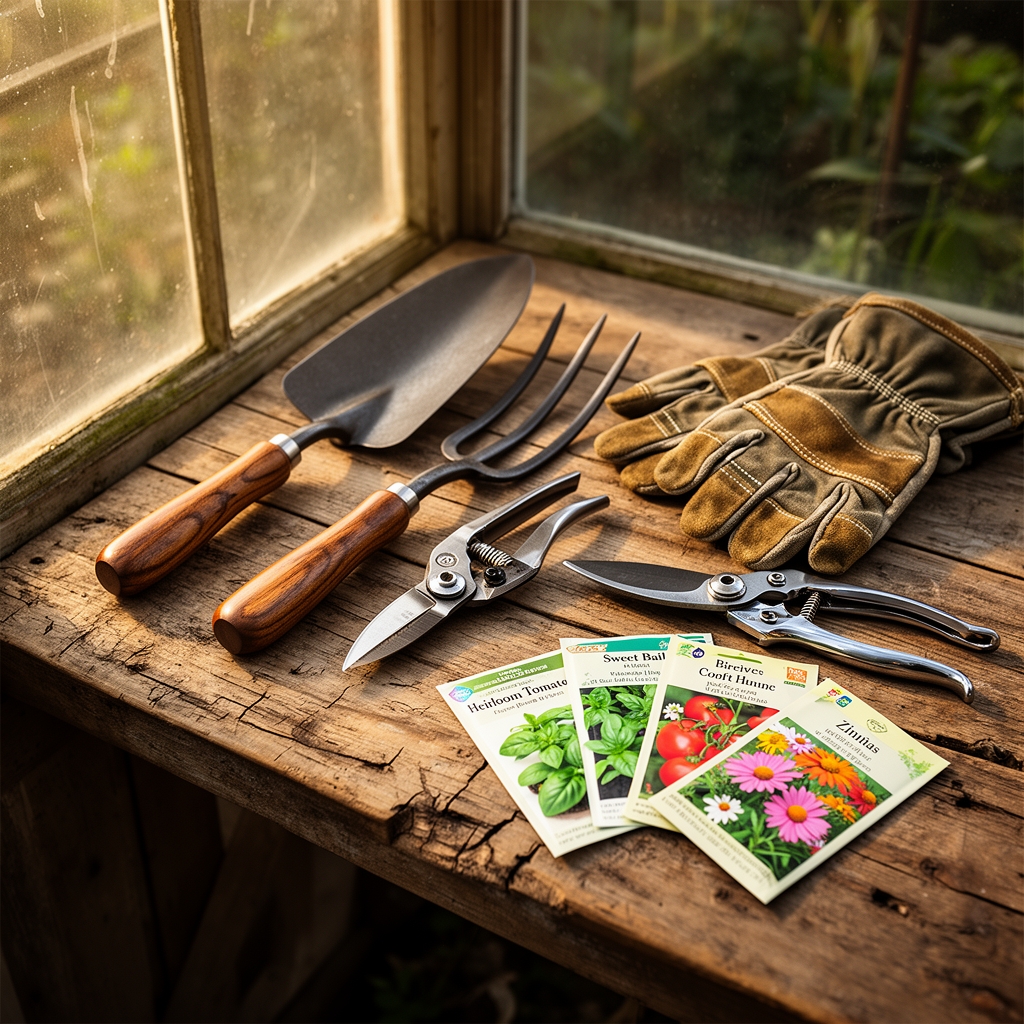
Materials
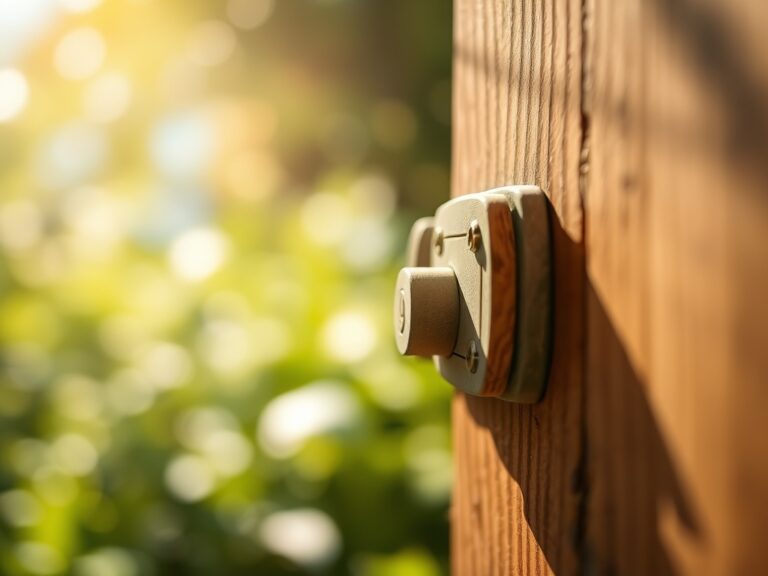
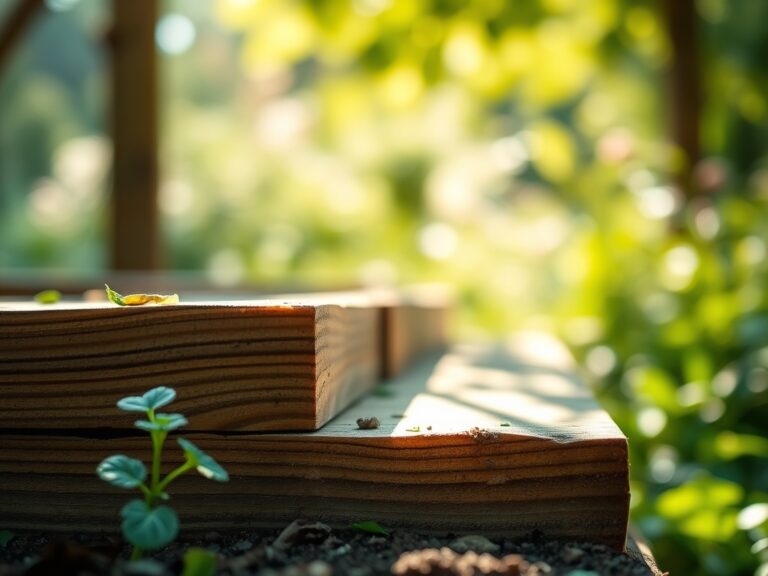
Pressure-treated lumber rated for ground contact forms the primary structure. Use 4×4 posts cut to 24-inch lengths for corner anchors and 2×10 planks for walls. Cedar and redwood resist decay naturally but triple the cost. Galvanized deck screws (3.5 inches) bond lumber without pre-drilling. Landscape fabric (woven polypropylene, 3.2 oz/sq yd) lines each tier to suppress weeds while permitting water infiltration.
Fill begins with 4 inches of crushed gravel (3/8-inch diameter) for drainage. Layer 2 inches of coarse sand to prevent soil from clogging gravel voids. The growing medium requires equal parts aged compost, native topsoil, and peat moss or coconut coir. Amend with a 4-4-4 organic fertilizer blend (feather meal, bone meal, kelp) at 2 pounds per cubic yard. This ratio supports balanced vegetative growth and fruiting without nitrogen excess. Target soil pH between 6.0 and 6.8 to optimize cation exchange capacity. Add dolomitic lime (1 cup per cubic yard) if initial pH falls below 5.5.
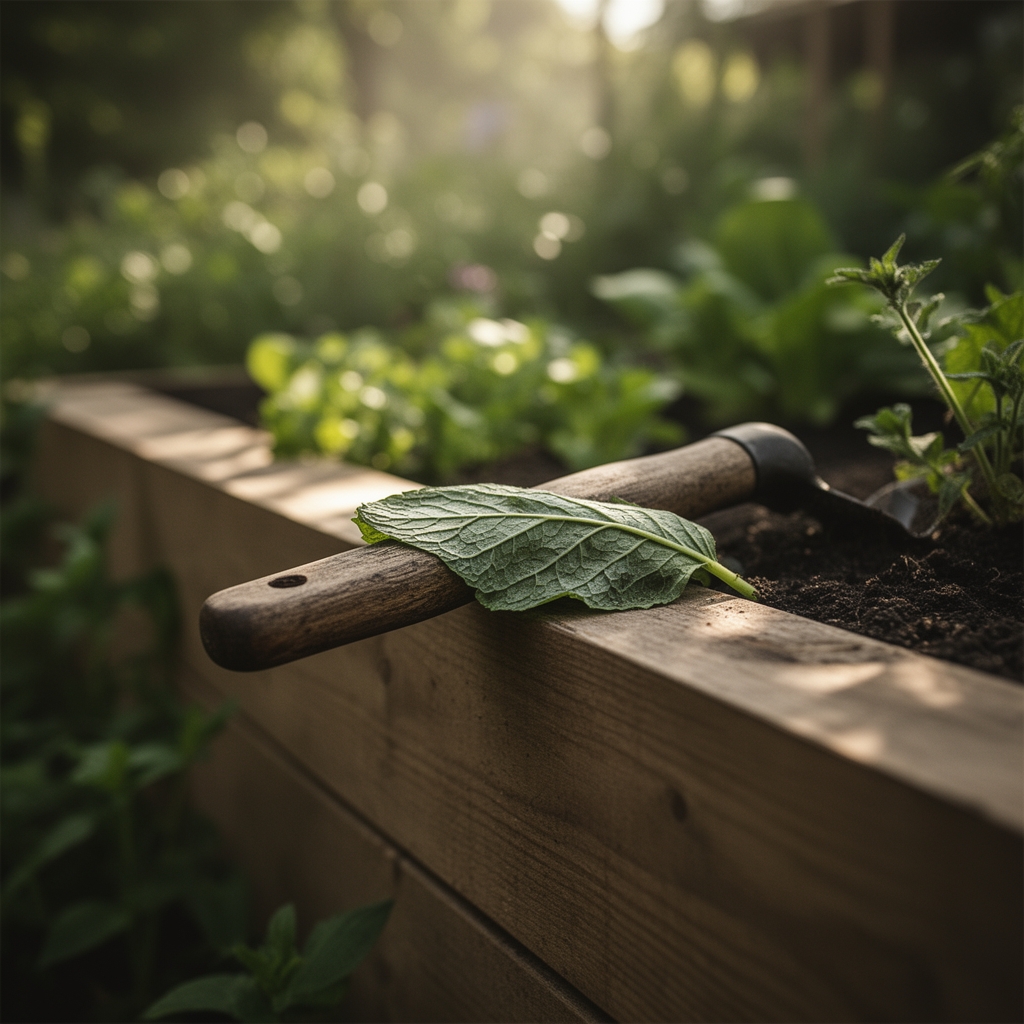
Steel rebar (36 inches, 1/2-inch diameter) pins each tier into the slope. Use two rebar stakes per 4-foot section. A 4-foot level ensures horizontal alignment. Safety equipment includes leather gloves, steel-toed boots, and eye protection for cutting operations.
Timing
Construct tiers when soil is workable but not saturated. In USDA Hardiness Zones 5 through 7, mid-April through May offers stable conditions after final frost. Zones 8 and 9 permit year-round construction, though avoid December through February when heavy rains compromise slope stability. Southern Hemisphere gardeners should reverse the calendar accordingly.
Install beds six weeks before transplanting seedlings. This interval allows soil to settle and microbial populations to stabilize. Mycorrhizal fungi colonize root zones during this period, extending phosphorus uptake by 300 percent compared to non-inoculated beds.
Phases

Site Preparation: Clear vegetation from the slope using a grading rake. Remove rocks larger than 2 inches. Measure the slope angle with a clinometer. Angles exceeding 25 degrees require additional engineering; consult local building codes. Mark tier locations with stakes and string. Bottom tiers should measure 18 inches front-to-back, middle tiers 15 inches, and top tiers 12 inches to account for visual perspective and access.
Pro-Tip: Dig a 6-inch keyway trench into the slope behind each tier location. This notch anchors the back edge of each frame and prevents forward sliding under soil load.
Frame Assembly: Cut lumber to length. Assemble rectangular frames with corners joined at 90 degrees. Pre-drill corner joints to prevent splitting. Drive two 3.5-inch screws per joint. Treat cut ends with copper naphthenate preservative. Position the lowest frame first, leveling side-to-side and front-to-back. Drive rebar stakes through pre-drilled holes in the rear plank at a 30-degree angle into the slope. Repeat upslope, offsetting each tier 6 inches back from the one below.
Pro-Tip: Auxin distribution in young transplants responds to gravity. Tilt transplants 5 degrees toward the upslope direction during installation. Roots will self-correct within 72 hours, establishing stronger anchorage.
Filling and Planting: Line frames with landscape fabric, stapling every 8 inches. Add gravel, then sand, then amended soil. Water each layer to eliminate air pockets. Fill to 1 inch below the top edge to prevent overflow during irrigation. Allow soil to settle for one week, then top off. Inoculate root zones with endo-mycorrhizae (Glomus species) at 1 teaspoon per transplant hole. Plant shallow-rooted herbs and lettuce in top tiers, medium-rooted tomatoes and peppers in middle sections, and deep-rooted brassicas or root vegetables in bottom tiers.
Pro-Tip: Prune tomato suckers at 45-degree angles 1/4 inch above the node. This angle sheds moisture and reduces Botrytis infection by 40 percent in humid climates.
Troubleshooting
Symptom: Soil slumping or bulging walls after heavy rain.
Solution: Add cross-bracing. Install 2×4 planks horizontally across the front face every 3 feet, screwing into vertical supports. Reduce irrigation frequency.
Symptom: Yellowing lower leaves with green veins (interveinal chlorosis).
Solution: Iron deficiency caused by alkaline soil. Apply chelated iron (Fe-EDDHA) at 2 tablespoons per gallon as a soil drench. Retest pH and adjust with sulfur if above 7.2.
Symptom: Wilting despite adequate moisture.
Solution: Root-knot nematodes (Meloidogyne species). Remove affected plants. Solarize soil by covering with clear plastic for 6 weeks during peak summer. Rotate to nematode-resistant varieties.
Symptom: White powdery coating on leaf surfaces.
Solution: Powdery mildew (Erysiphe cichoracearum). Spray with 1 tablespoon baking soda plus 1 teaspoon horticultural oil per gallon of water. Apply at 7-day intervals. Increase air circulation by thinning plant density.
Maintenance
Apply 1 inch of water per week, measured with rain gauges placed in each tier. Water in early morning to reduce fungal pressure. Top-dress with 1/2 inch of compost every 6 weeks during the growing season. Side-dress heavy feeders with blood meal (12-0-0) at 1/4 cup per plant when flowering begins. Mulch paths between tiers with shredded hardwood bark at 3-inch depth to suppress weeds and moderate soil temperature. Inspect frames annually for rot or insect damage. Replace compromised boards immediately to prevent collapse.
FAQ
How deep should each tier be?
Minimum 12 inches for annuals, 18 inches for perennials and fruiting shrubs.
Can I build on slopes steeper than 25 degrees?
Slopes beyond 25 degrees require geotechnical consultation and possible retaining wall integration.
What spacing between tiers is optimal?
Eight to twelve inches vertical drop between tiers allows mower access and prevents shade competition.
Do tiers need irrigation systems?
Drip lines with 1 GPH emitters every 12 inches reduce water waste by 60 percent compared to overhead sprinklers.
How long do wooden tiers last?
Pressure-treated pine lasts 10 to 15 years. Cedar extends to 20 years with annual sealant application.