7 Steps to Install Low-Voltage Pathway Lighting
The smell of damp, friable loam signals a healthy rhizosphere where gas exchange occurs at peak efficiency. When the turgor pressure of your hostas and ferns is high, the garden reaches its structural zenith. Integrating light into this environment requires a surgical touch to avoid root compaction or vascular damage to specimen plants. Following the precise steps for installing a garden light ensures the landscape remains functional after the photoperiod ends without disrupting the delicate biological cycles of the understory.
Materials:

Installation success depends on the substrate. The ideal medium is a **friable loam** with a **pH between 6.0 and 7.0**, which prevents the rapid corrosion of metallic stakes. High Cation Exchange Capacity (CEC) in the soil allows for better moisture retention around the light housing, preventing heat-related root desiccation. Ensure you have a **12V or 15V transformer**, **12-gauge or 14-gauge direct-burial cable**, and LED fixtures. If your soil shows signs of nitrogen chlorosis, apply a **10-10-10 NPK ratio** fertilizer to the surrounding area after installation to compensate for the minor mechanical stress placed on the root systems during trenching.
Timing:
The optimal window for installation is during the dormant season or early spring, specifically between Hardiness Zones 4 and 9 after the final frost. This timing aligns with the "Biological Clock" of most perennials. By installing lights before the transition from vegetative to reproductive stages, you avoid damaging the plant when its metabolic demands for phosphorus and potassium are at their highest. Avoid trenching during the peak of summer; high transpiration rates make plants susceptible to permanent wilting point if even minor root hairs are severed.
Phases:

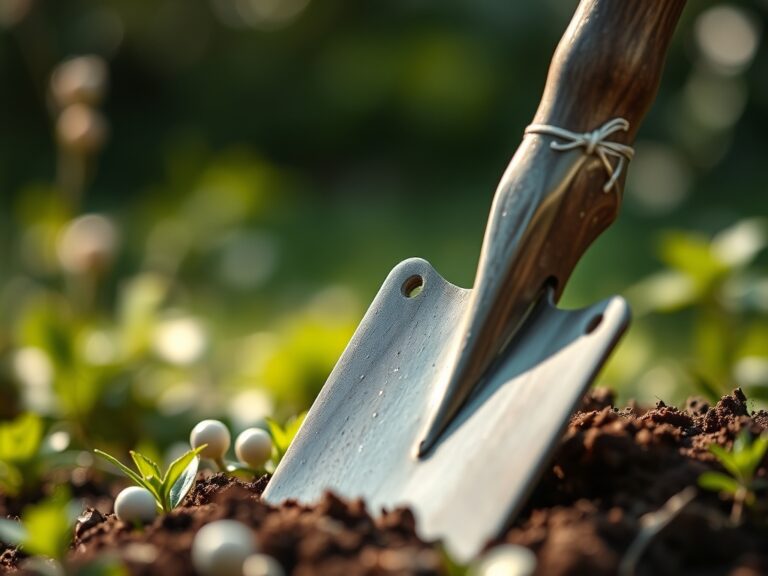
Sowing the Layout
Position your fixtures at least 24 inches away from the base of woody shrubs to protect the critical root zone. Lay the cable along the surface first to visualize the circuit. Ensure the total wattage of all fixtures does not exceed 80 percent of the transformer capacity to prevent voltage drop and heat accumulation.
Pro-Tip: Proper spacing prevents excessive light pollution from interfering with nyctinasty, the circadian rhythmic movement of leaves. Over-illuminating a plant can confuse its internal clock, leading to delayed senescence.
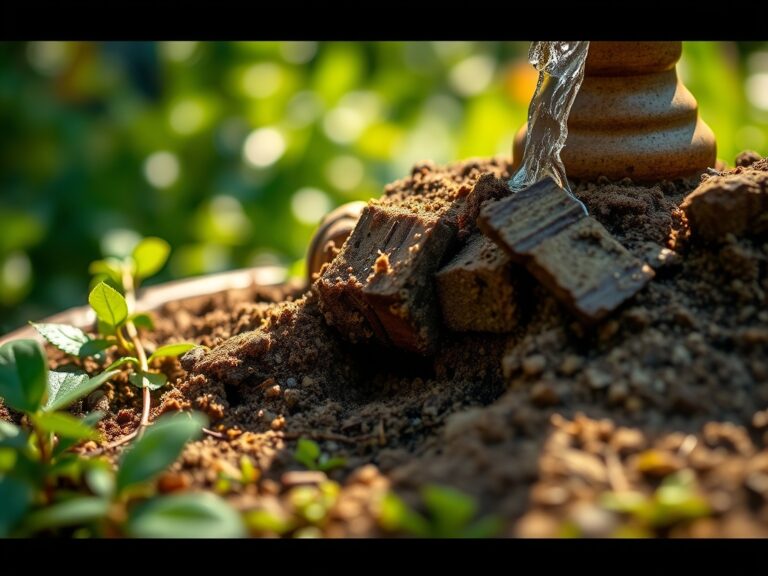
Transplanting the Fixtures
Use a hori-hori knife to cut a clean vertical slit in the turf or mulch. Dig a trench 6 inches deep. This depth is sufficient to protect the cable from aeration equipment while staying above the primary anaerobic layers of the subsoil. Place the fixture stake into the ground, ensuring it is perfectly vertical to maintain the intended beam angle.
Pro-Tip: When backfilling, avoid over-compacting the soil. High bulk density restricts oxygen flow to the rhizosphere, which can lead to opportunistic fungal pathogens like Pythium.
Establishing the Connection
Strip 0.5 inches of insulation from the cable leads and secure them to the transformer terminals. Use waterproof, gel-filled wire connectors for all field splices. Once the circuit is live, bury the cable and hand-tamp the soil. Observe the root structure in the step-by-step photos below to ensure no primary taproots were compromised during the process.
Pro-Tip: Use mulch to cover the disturbed area. This stimulates mycorrhizal symbiosis, as the fungi colonize the slightly damaged root tips and assist the plant in recovering from the mechanical shock of installation.
The Clinic:
Monitoring the physiological response of the plants near your new lights is essential for long-term landscape health.
- Symptom: Interveinal Chlorosis. This appears as yellowing between green veins.
- Solution: Check soil pH. If the light stakes are leaching alkaline minerals, the pH may have spiked, locking out iron. Apply chelated iron to restore chlorophyll production.
- Symptom: Leaf Scorch. Brown, crispy edges on foliage closest to the light source.
- Solution: This is a result of localized heat increasing the transpiration rate beyond what the roots can supply. Move the fixture 6 inches further away or switch to a lower-wattage LED.
- Symptom: Stunted Growth. New leaves are significantly smaller than older ones.
- Fix-It: This indicates a Nitrogen deficiency often caused by soil microbes consuming N while breaking down fresh mulch used to cover trenches. Supplement with a high-nitrogen liquid feed (20-10-10).
Maintenance:
A precise maintenance schedule preserves both the hardware and the flora. Check the alignment of fixtures every quarter, as frost heave in Zones 3 through 6 can push stakes out of the ground. Use bypass pruners to remove any foliage that begins to shroud the light lens; this prevents the "fire-hazard" effect of trapped heat and ensures the plant's phototropism (growth toward light) does not result in a misshapen specimen. Maintain 1.5 inches of water per week at the drip line using a soil moisture meter to verify that the disturbed soil in the trenches is not drying out faster than the surrounding undisturbed earth.
The Yield:
While pathway lighting does not produce a harvestable crop, the "yield" is measured in the extended utility of the garden. For those illuminating edible borders, ensure lights are positioned to highlight the ripening stages of peppers or tomatoes. Harvest these crops when the fruit reaches full color saturation and the abscission layer at the stem naturally weakens. Handle the produce with gloves to maintain the protective waxy cuticle for "day-one" freshness and maximum shelf life.
FAQ:
How deep should I bury the low-voltage cable?
Bury the cable at least 6 inches deep. This depth protects the wire from garden tools like edgers and aerators while keeping it within the aerobic zone of the soil where it will not interfere with deep-rooting structures.
Will LED lights heat up my plants?
LEDs produce minimal infrared radiation, making them safe for most foliage. However, keep fixtures 3 to 5 inches away from delicate leaves to prevent localized transpiration stress or potential heat-related cell wall degradation in high-moisture plants.
What gauge wire is best for garden lighting?
For runs under 100 feet, 12-gauge wire is the industry standard. It provides the necessary conductivity to prevent voltage drop, ensuring that the last fixture on the line receives the same power as the first for uniform illumination.
Can I install lights in heavy clay soil?
Yes, but use a soil moisture meter to monitor drainage. Clay retains water longer, which can lead to anaerobic conditions around the stake. Amend the immediate area with organic matter to improve porosity and prevent stake corrosion.