8 Steps to Prepare for a Professional Patio Install
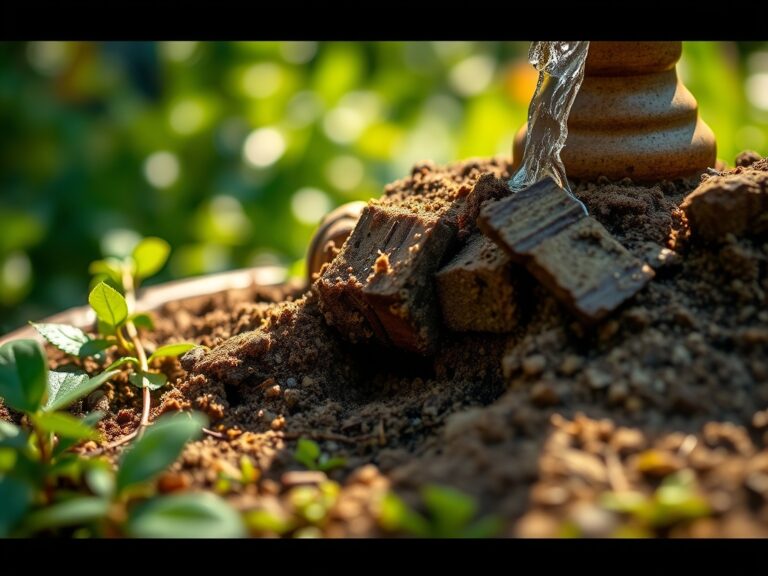
Crushed schist and the sharp scent of disturbed humus signal the transition from a living landscape to a structural one. Success depends on the structural integrity of the rhizosphere and the mechanical stability of the subsoil. When learning how to prepare a garden for a patio, you must treat the earth as a load bearing substrate rather than just a medium for growth. Compaction and drainage are your primary variables. Failure to manage the soil moisture content before the first stone is laid will result in frost heaves and structural failure. You must evaluate the turgor of nearby specimen plants to ensure the excavation does not induce terminal drought stress.
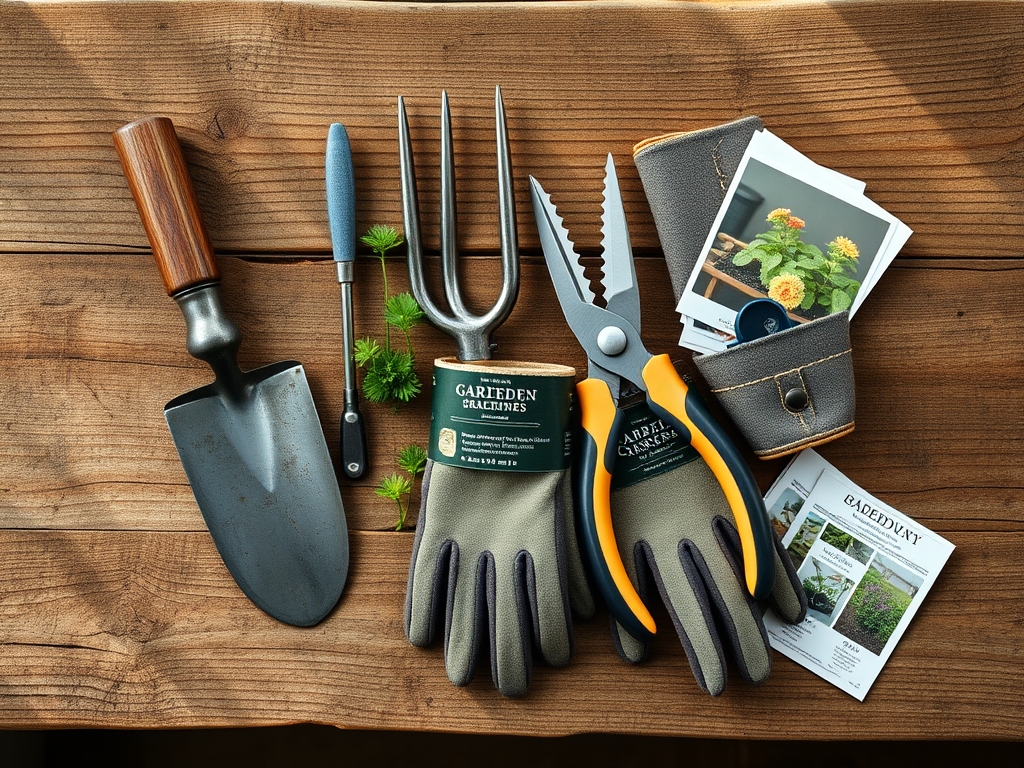
Materials:
The ideal substrate for surrounding vegetation is a **friable loam** with a Cation Exchange Capacity (CEC) between **15 and 25 meq/100g**. Before the hardscape crew arrives, adjust the soil chemistry to support the remaining root systems. Use a balanced NPK ratio of **10-10-10** for general maintenance; however, if you are transplanting shrubs to make room, prioritize a **5-10-5** ratio to stimulate root elongation over foliar growth. Maintain a soil pH between **6.2 and 6.8** to ensure maximum nutrient bioavailability. For base materials under the patio, use **ASTM D2940** graded aggregate. This material provides the necessary porosity while maintaining a high bulk density.
Timing:
Schedule your preparation during the dormant season or early spring before the Biological Clock triggers the transition from vegetative to reproductive stages. In Hardiness Zones 5 through 7, this window typically opens between March 15 and April 30. Excavation during the period of active sap flow increases the risk of vascular embolism in nearby trees. You must complete all heavy root pruning at least 21 days before the first projected frost or before the mercury consistently exceeds 85 degrees Fahrenheit. This timing allows the plant to seal off severed vascular bundles before metabolic demands peak.
Phases:

Sowing and Site Stabilization
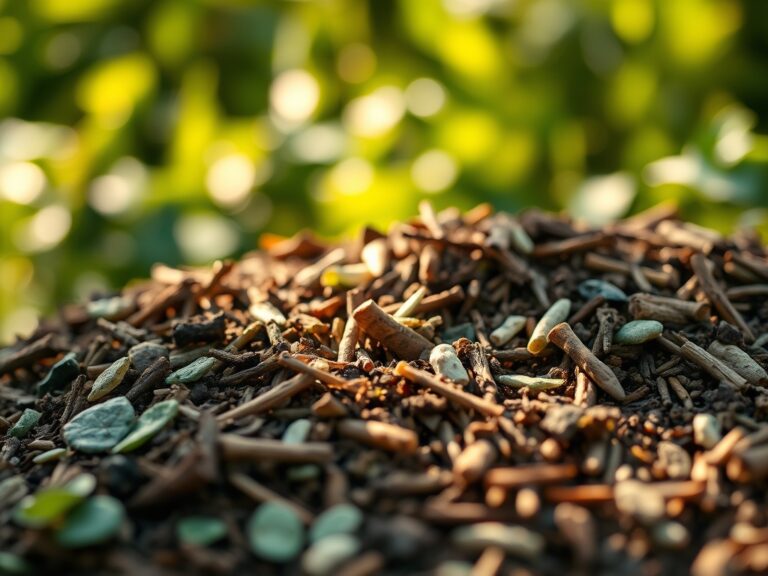
Clear all organic debris and "soft" topsoil until you reach the B-horizon. If you are seeding a buffer zone around the new patio, use a blend of 80 percent Tall Fescue and 20 percent Kentucky Bluegrass. This provides a high tensile strength turf that can withstand the peripheral foot traffic of a professional installation.
Pro-Tip: Apply a mycorrhizal inoculant to the transition zone. This fosters mycorrhizal symbiosis, extending the effective root surface area and increasing the uptake of immobile phosphorus.
Transplanting Specimen Plants
When moving established perennials, maintain a root ball diameter of at least 12 inches for every 1 inch of stem caliper. Use a sharp hori-hori knife to make clean cuts on any lateral roots. This prevents the jagged tearing that invites fungal pathogens into the vascular system.
Pro-Tip: Do not prune the canopy of a newly moved plant. Maintaining the terminal buds preserves auxin suppression of lateral buds, which directs the plant's limited energy toward root regeneration rather than unnecessary foliar expansion.
Establishing the Buffer
Once the patio footprint is excavated, install a physical root barrier if large trees are within 15 feet. A 20-mil high-density polyethylene (HDPE) sheet prevents root encroachment from lifting the pavers in future seasons.
Pro-Tip: Ensure the patio slope maintains a 2 percent grade away from the house. This prevents hydrostatic pressure from saturating the rhizosphere of foundation plantings, which would otherwise lead to anaerobic conditions and root rot.
The Clinic:
Physiological disorders often manifest during the stress of site preparation. Monitor your remaining plants for these specific symptoms:
- Nitrogen Chlorosis: Symptoms include a uniform yellowing of older leaves while veins remain slightly green. Fix-It: Apply a fast acting calcium nitrate supplement at a rate of 0.5 pounds per 1,000 square feet.
- Iron Deficiency: Interveinal chlorosis on the youngest leaves. This often occurs if the patio base material (like limestone) leaches and raises the pH above 7.2. Fix-It: Apply chelated iron (Fe-EDDHA) as a soil drench.
- Marginal Scorch: Brown, brittle leaf edges indicating salt accumulation or desiccation. Fix-It: Increase deep watering to leach excess salts and restore turgor pressure.
- Anthracnose: Small, water soaked spots on foliage caused by poor airflow near new walls. Fix-It: Prune for airflow using bypass pruners and ensure the soil is not oversaturated.
Maintenance:
Post-installation care requires rigorous monitoring. Deliver 1.5 inches of water per week at the drip line of all affected plants. Use a soil moisture meter to ensure the water penetrates to a depth of 8 inches. Avoid shallow sprinkling; this encourages surface rooting which is susceptible to thermal shock. Use a hori-hori knife to check for soil compaction every 30 days. If the blade cannot penetrate 4 inches with moderate force, use a core aerator to restore gas exchange to the rhizosphere. Apply a 3 inch layer of organic mulch around the patio perimeter to regulate soil temperature fluctuations.
The Yield:
If your patio preparation involves the relocation of an edible garden, harvest all mature crops 24 hours before the heavy equipment arrives. For leafy greens, harvest at 06:00 hours when turgor pressure is at its maximum. Submerge the harvested tissue in 40 degree Fahrenheit water for 20 minutes to remove field heat. This process slows the rate of senescence and preserves the cellular integrity of the harvest. For woody herbs like rosemary, take 4 inch terminal cuttings to propagate new stock, ensuring you include at least two nodes for adventitious root development.
FAQ:
How deep should I excavate for a patio?
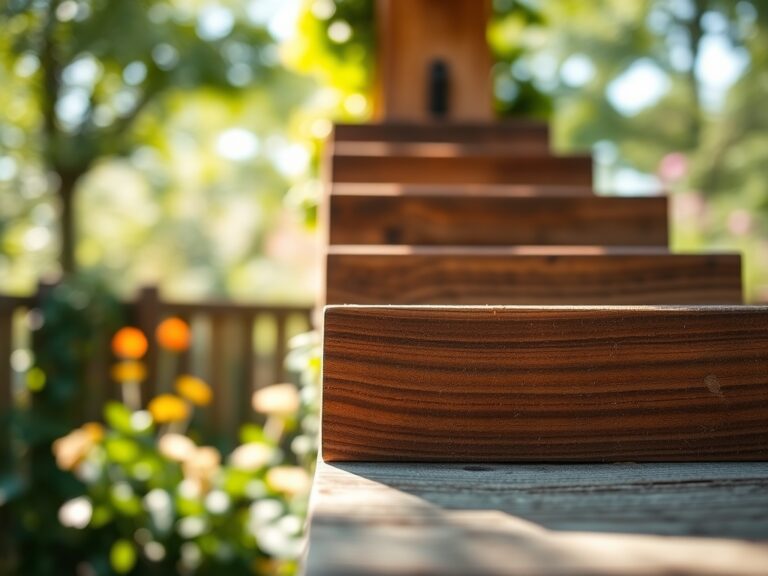
Standard professional installs require a depth of 7 to 9 inches. This accounts for a 4 to 6 inch compacted gravel base; a 1 inch sand setting bed; and the thickness of the paver itself.
Can I leave tree roots under the patio?
No. Any root larger than 2 inches in diameter must be removed or redirected. Decaying organic matter under a patio creates voids as it decomposes; leading to localized subsidence and cracked pavers over time.
What is the best soil for patio borders?
Use a mix of 60 percent sandy loam and 40 percent composted organic matter. This ensures a high Cation Exchange Capacity for nutrient retention while providing the drainage necessary to prevent water from pooling against the patio edge.
How do I protect nearby plants from dust?
Construction dust can clog stomata and inhibit photosynthesis. Hose down foliage daily during the cutting phase. Maintaining high turgor pressure through deep watering also helps the plant naturally shed fine particulates from the leaf surface.