8 Vital Steps to Plant Common Rue
Crushing a leaf of Ruta graveolens releases a pungent, medicinal aroma that signals high concentrations of alkaloids and volatile oils. When the plant reaches peak turgor pressure, the foliage feels stiff and waxy to the touch; a sign of a healthy vascular system. Success requires a disciplined approach to the steps to plant common rue, beginning with an understanding of its Mediterranean origins. This perennial subshrub thrives in poor, rocky substrates where other species fail due to low nutrient availability. You must manage the rhizosphere with precision to prevent root rot while ensuring the plant receives enough UV radiation to synthesize its protective compounds. By following a rigorous horticultural protocol, you can establish a specimen that survives for over a decade. The process demands attention to soil temperature, drainage rates, and the specific chemical composition of your amendments. Ignore the impulse to over-fertilize. Rue requires a lean environment to maintain its structural integrity and characteristic blue-green hue. This guide provides the technical framework necessary to transition from seed or cutting to a mature, woody shrub.
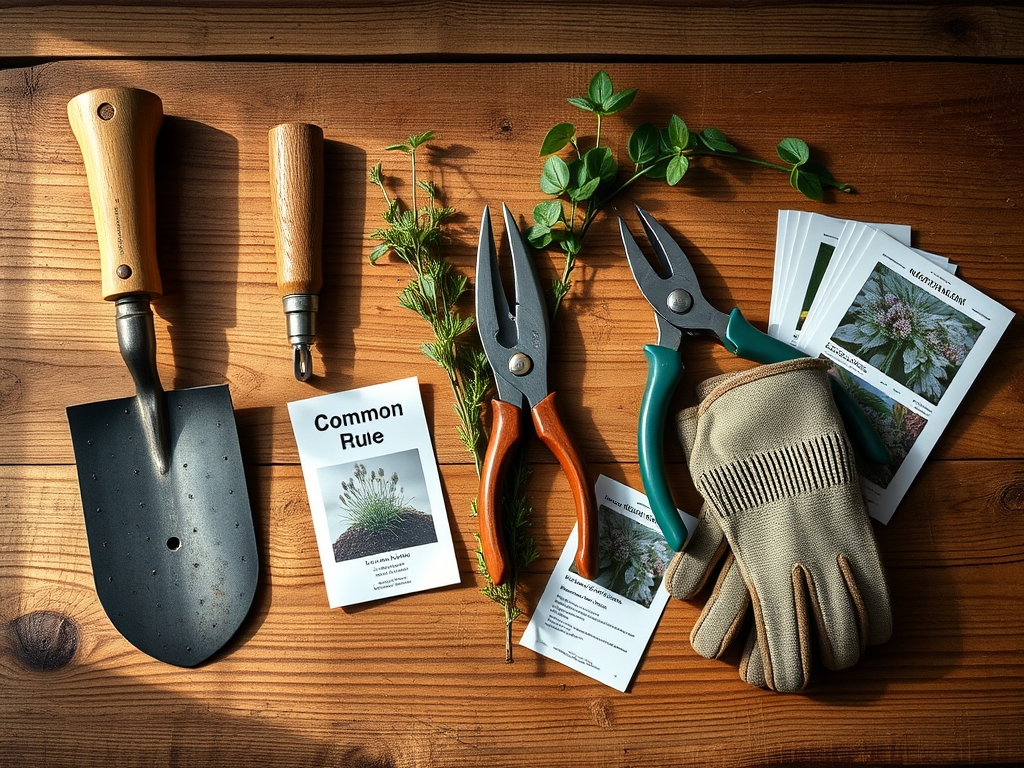
Materials:
The substrate is the most critical component of the rue life cycle. You must aim for a pH range between 6.5 and 7.5. Rue is calciphilic; it thrives in alkaline conditions where calcium is readily available. The ideal physical texture is a friable loam mixed with coarse perlite or horticultural grit to ensure a high infiltration rate.
For fertilization, avoid high-nitrogen inputs which lead to leggy, weak growth susceptible to lodging. Use a balanced, slow-release NPK ratio of 5-10-10 or 10-10-10 at half strength. High phosphorus levels support robust root development during the establishment phase. The soil should have a moderate Cation Exchange Capacity (CEC), allowing it to hold onto essential micronutrients like magnesium and sulfur without becoming waterlogged. You will need a soil moisture meter to monitor the transition from the wet spring to the dry summer months.
Timing:
Common rue is hardy in USDA Zones 4 through 9. It requires a specific "Biological Clock" sequence to transition from the vegetative stage to the reproductive stage. In colder climates, the plant undergoes a period of dormancy triggered by decreasing day length and temperatures below 45 degrees Fahrenheit.
Begin your planting sequence 6 to 8 weeks before the last predicted frost if starting indoors. If direct sowing, wait until the soil temperature consistently reaches 65 degrees Fahrenheit. Rue is a long-day plant; it requires at least 6 to 8 hours of direct sunlight to maintain its metabolic rate. If the photoperiod is too short, the plant will suffer from etiolation, characterized by elongated internodes and pale foliage.
Phases:

Sowing and Germination
Rue seeds are light-dependent germinators. Press them into the surface of a sterile seed-starting mix but do not cover them with soil. Maintain a consistent temperature of 70 degrees Fahrenheit. Germination typically occurs within 14 to 28 days.
Pro-Tip: Rue seeds utilize photomorphogenesis, where light receptors called phytochromes trigger the germination process. Covering the seeds prevents these light signals from reaching the embryo, resulting in a 0 percent success rate.
Transplanting
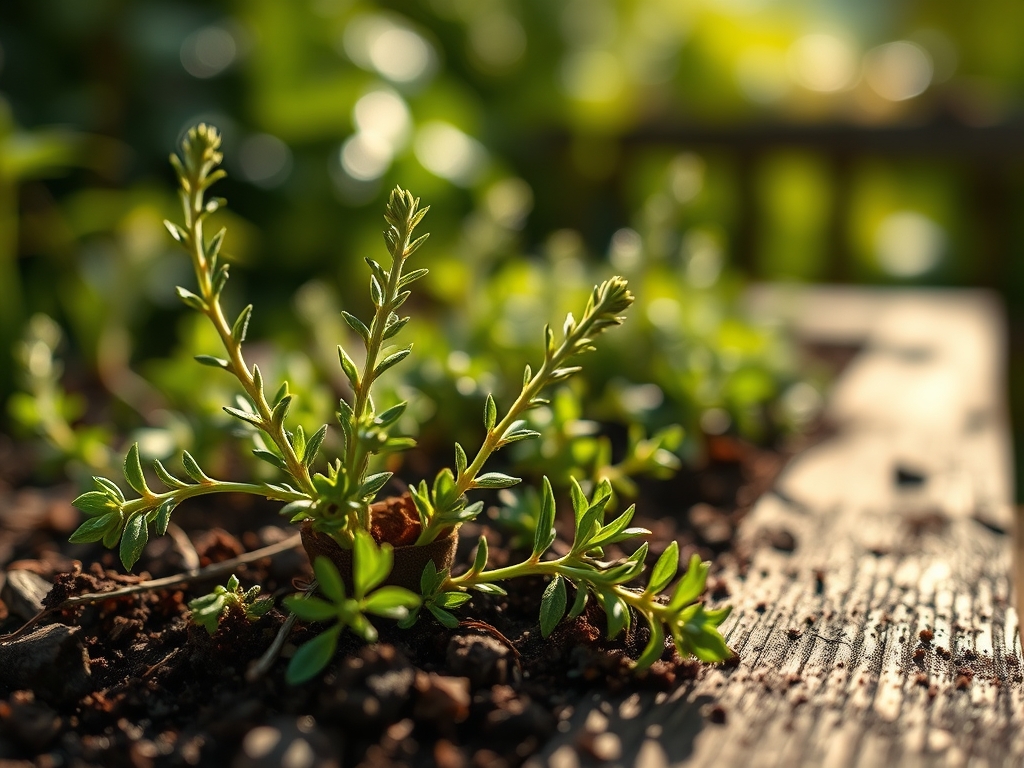
Once seedlings develop two sets of true leaves, they are ready for hardening off. Gradually expose them to outdoor conditions over 10 days. Dig a hole twice the width of the root ball using a hori-hori knife. Space plants 18 to 24 inches apart to ensure adequate airflow and prevent fungal pathogens.
Pro-Tip: Minimize root disturbance to protect the mycorrhizal symbiosis. These beneficial fungi extend the root system's reach, improving the uptake of phosphorus and water in lean soils.
Establishing
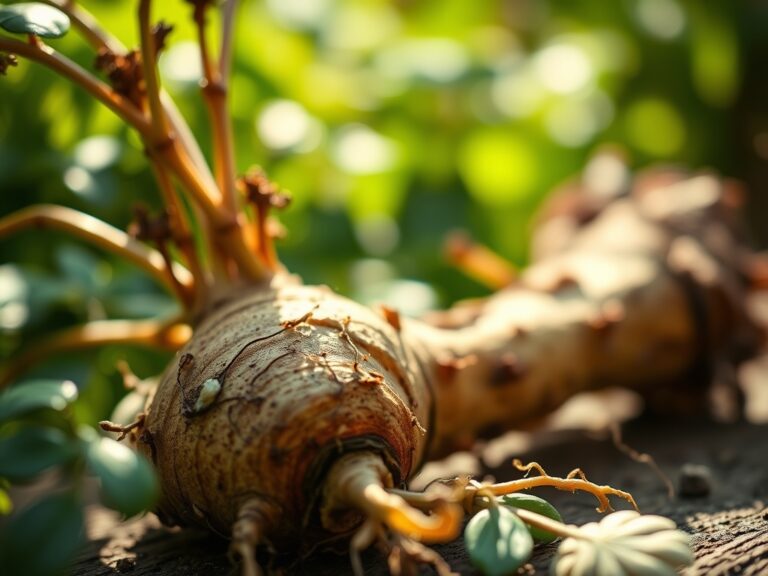
During the first growing season, focus on biomass accumulation. Water the base of the plant to keep the foliage dry. The goal is to develop a deep taproot that can access subsoil moisture during drought periods.
Pro-Tip: Pinching off the early flower buds promotes auxin suppression in the terminal apical meristem. This redirects energy toward lateral branching, creating a denser, more structurally sound shrub.
The Clinic:
Symptom: Interveinal Chlorosis
Solution: This is often a sign of magnesium deficiency, common in highly acidic soils.
Fix-It: Apply a foliar spray of Epsom salts (magnesium sulfate) at a rate of 1 tablespoon per gallon of water to quickly restore chlorophyll production.
Symptom: Root Necrosis (Blackened Roots)
Solution: This indicates Phytophthora root rot caused by saturated soil and poor drainage.
Fix-It: Immediately reduce irrigation frequency. Incorporate 30 percent coarse sand into the soil profile to increase macropore space and oxygen availability.
Symptom: Leaf Curl and Stunting
Solution: Often caused by sap-sucking insects that disrupt turgor pressure.
Fix-It: Use a high-pressure water stream to physically dislodge the pests. Follow with an application of potassium salts of fatty acids (insecticidal soap) during the evening to avoid leaf scorch.
Symptom: White Powdery Residue
Solution: Powdery mildew resulting from high humidity and restricted airflow.
Fix-It: Prune the interior of the plant with bypass pruners to increase light penetration and air movement. Apply a sulfur-based fungicide if the infection exceeds 20 percent of the canopy.
Maintenance:
Precision is the hallmark of a professional horticulturist. For established rue, provide 1.0 to 1.5 inches of water per week delivered at the drip line. Use a soil moisture meter to ensure the top 2 inches of soil are dry before the next irrigation cycle. Overwatering is the primary cause of rue mortality in domestic gardens.
Pruning should occur in early spring before new growth emerges. Use bypass pruners to cut the woody stems back to roughly 6 inches above the soil line. This prevents the plant from becoming overly "leggy" and encourages a flush of new, blue-tinted growth. Always wear gloves when handling rue; the plant contains furanocoumarins which cause phytophotodermatitis when skin exposed to the sap is subsequently exposed to sunlight.
The Yield:
If harvesting for botanical specimens or seed collection, timing is paramount. Harvest the foliage in mid-summer before the plant enters its peak flowering stage. This is when the concentration of essential oils is at its maximum. Use sharp shears to take cuttings from the top third of the plant.
For seed harvesting, wait until the seed capsules turn brown and brittle in late autumn. Cut the entire stalks and place them upside down in a paper bag. Store seeds in a cool, dry environment with a relative humidity below 35 percent to maintain viability for the following season. Proper post-harvest handling ensures that the botanical properties remain intact for study or propagation.
FAQ:
How much sun does common rue need?
Common rue requires full sun, meaning at least 6 to 8 hours of direct UV exposure daily. Insufficient light leads to weak stems, reduced oil production, and increased susceptibility to fungal pathogens in the rhizosphere.
What is the best soil for rue?
The ideal substrate is a well-draining, rocky, or sandy loam with a pH between 6.5 and 7.5. Rue performs best in soils with low organic matter, as high nitrogen levels cause rapid but structurally weak vegetative growth.
How often should I water rue?
Provide 1 inch of water weekly during the first year of establishment. Once mature, rue is highly drought-tolerant. Only water when the soil is dry to a depth of 3 inches to prevent root rot and physiological stress.
Is rue a perennial or annual?
Common rue is a hardy perennial subshrub. In USDA Zones 4 through 9, it survives winter by entering dormancy. It features a woody base that persists for many years if pruned correctly each spring to encourage new growth.