9 Best Decorative Bricks for Classic Garden Edging
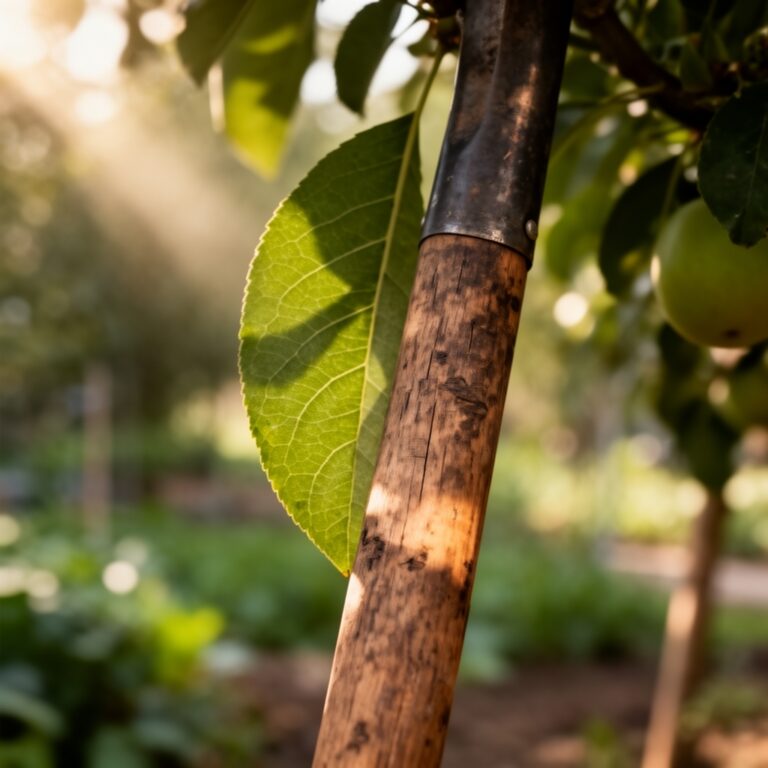
Damp earth releases a sharp, geosmin scent when the spade breaks the surface; the turgor of a healthy leaf depends entirely on the stability of the soil structure beneath it. Effective landscape architecture requires more than aesthetics. It demands a barrier that prevents the encroachment of aggressive rhizomes while maintaining distinct microclimates. Selecting the best bricks for garden edging is a decision grounded in structural integrity and soil chemistry. A well placed edge maintains the separation between compacted turf and the friable, nutrient dense rhizosphere of the planting bed. This prevents nutrient leaching and ensures that high nitrogen fertilizers intended for the lawn do not migrate into the lower nitrogen environments required by flowering perennials.
Materials:
The substrate behind your edging must be a friable loam with a high Cation Exchange Capacity (CEC). This allows the soil to retain essential cations like potassium (K+) and magnesium (Mg2+). For most ornamental beds, aim for a soil pH between 6.2 and 6.8. When selecting your edging material, consider its chemical composition. Concrete based bricks can leach lime over time, raising the pH of the immediate root zone.
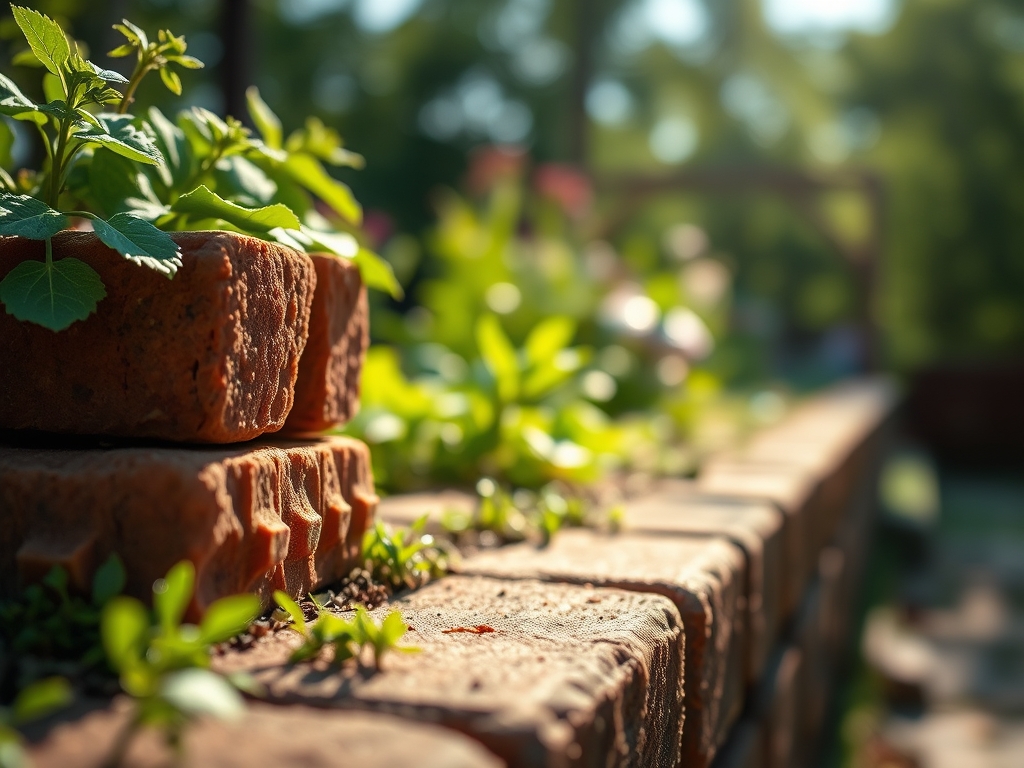
- Reclaimed Clay Paviors: High density clay fired at 2,000 degrees Fahrenheit. These are chemically inert and will not alter the pH of the soil.
- Tumbled Sandstone: High permeability. Ideal for xeriscaping where drainage is paramount.
- Engineering Bricks: Low porosity (less than 7 percent water absorption). These withstand extreme freeze-thaw cycles without spalling.
- Concrete Setts: High durability. Best for high traffic areas where lawn equipment frequently strikes the edge.
- Granite Cobbles: Extremely high CEC compatibility. They do not degrade or shed minerals into the soil.
- Handmade Waterstruck Bricks: Rough texture provides a surface for beneficial mosses to colonize, increasing local humidity.
- Blue Engineering Bricks: Acid resistant. Perfect for beds containing ericaceous plants like azaleas that require a pH of 4.5 to 5.5.
- Terracotta Tiles: High thermal mass. These absorb solar radiation during the day and release it at night, protecting sensitive root systems from late spring frosts.
- Bullnose Bricks: Rounded edges prevent mechanical damage to low hanging foliage, maintaining leaf turgor and preventing fungal entry points.
For these materials to function, the NPK ratio of the organic mulch applied against them should typically be 3-1-2 for vegetative growth or 1-2-1 for root establishment.
Timing:
Installation should occur when the soil moisture is between 25 and 40 percent. In Hardiness Zones 4 through 7, the ideal window is the dormant period between the first hard frost and the spring thaw. This prevents soil compaction that occurs when heavy bricks are moved over saturated, active root zones. Installing during the plant's senescence phase ensures that the disruption to the mycorrhizal networks is minimized before the spring growth surge. Monitor the biological clock of your specimens; edging should be completed before the transition from vegetative to reproductive stages to avoid stressing the plant during anthesis.
Phases:
Sowing and Site Prep
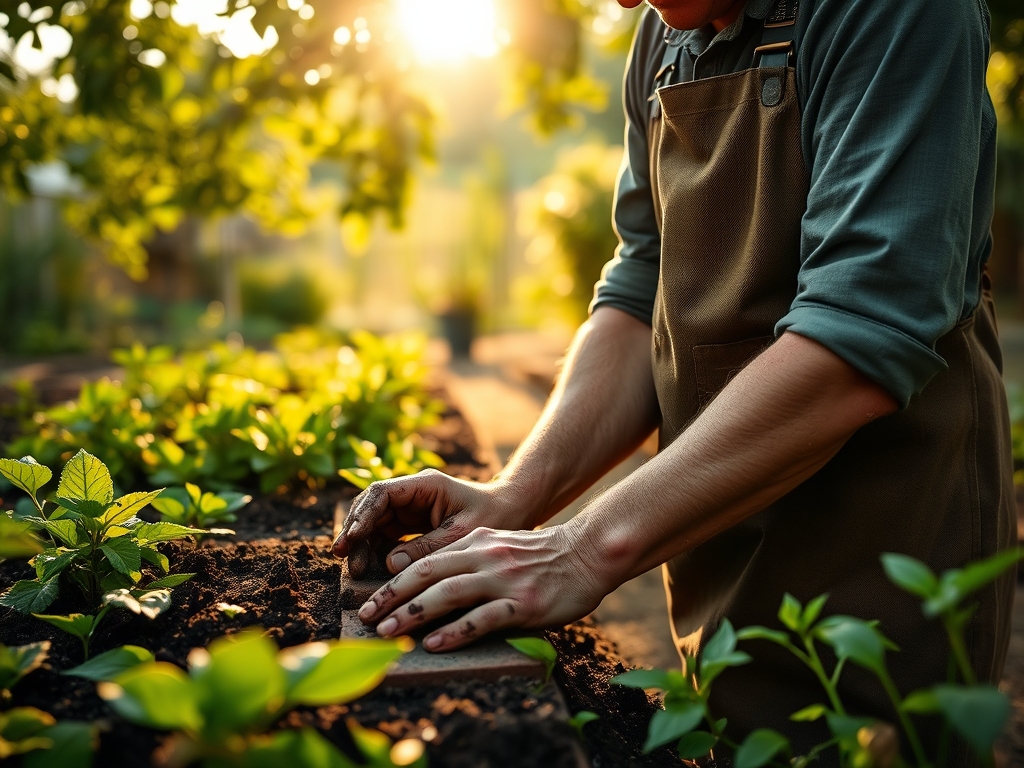
Excavate a trench 2 inches wider than your brick. Line the base with 1 inch of sharp sand to provide a level, well draining foundation. This prevents heaving during frost cycles.
Pro-Tip: Maintaining a level base prevents water pooling. Standing water at the edge can lead to anaerobic conditions in the rhizosphere, causing root rot through oxygen deprivation.
Transplanting and Placement
Set bricks with a 1/8 inch gap to allow for thermal expansion. Use a rubber mallet to seat the bricks firmly. If using reclaimed clay, ensure the weathered side faces outward to prevent moisture trapping against the plant stems.
Pro-Tip: Deep edging acts as a physical barrier against stoloniferous grasses. By blocking light and physical space, you suppress the auxin production that drives lateral bud growth in invasive turf.
Establishing the Edge
Backfill the exterior with native soil and the interior with a high organic matter compost. Tamp down the soil to remove large air pockets that can desiccate fine root hairs.
Pro-Tip: Firm backfilling encourages mycorrhizal symbiosis. Fungi bridge the gap between the brick and the root system, extending the plant's reach for phosphorus and micronutrients.
The Clinic:
Physiological disorders often manifest at the garden edge due to heat reflection or drainage issues.
-
Symptom: Interveinal chlorosis on leaves near the brick edge.
-
Solution: Check soil pH. If using concrete bricks, lime leaching may have induced a manganese or iron deficiency.
-
Fix-It: Apply chelated iron or elemental sulfur to lower the pH back to the 6.5 range.
-
Symptom: Marginal leaf burn or necrosis during high summer.
-
Solution: Thermal radiation from dark bricks is increasing transpiration rates beyond the roots' ability to supply water.
-
Fix-It: Increase mulch depth to 3 inches at the edge to insulate the soil and reduce evaporation.
-
Symptom: Stunted growth and yellowing (Nitrogen chlorosis).
-
Solution: Nitrogen is being leached away from the edge during heavy rains.
-
Fix-It: Apply a slow release 10-10-10 fertilizer specifically along the inner perimeter of the edging.
Maintenance:
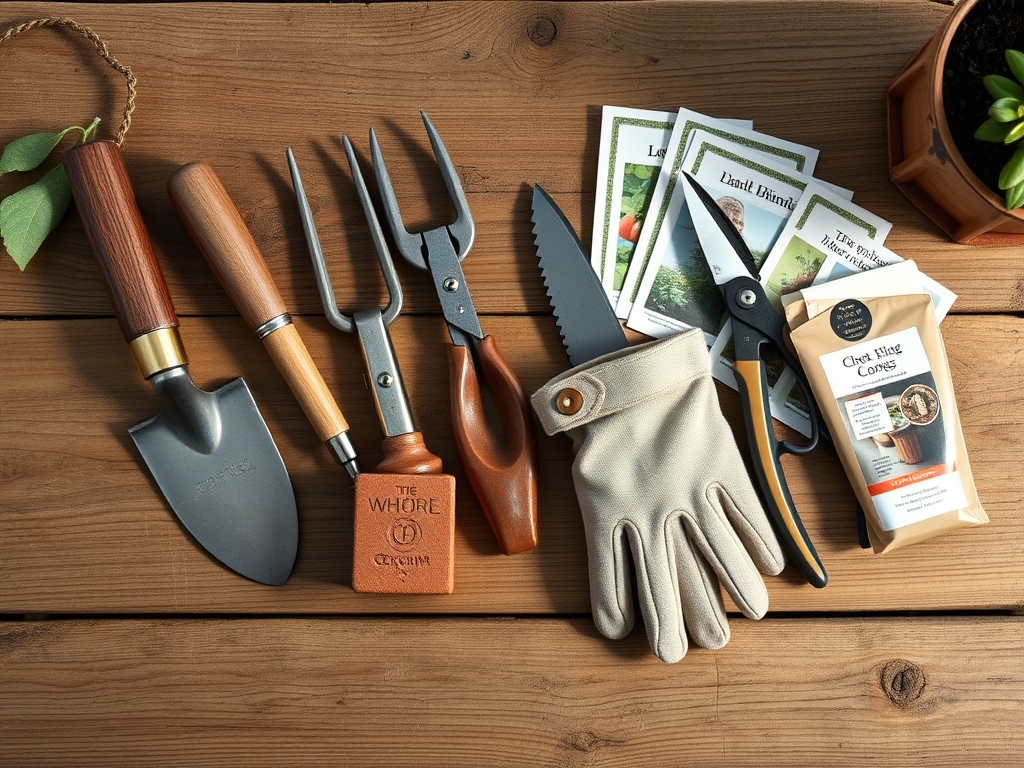
Precision is required to maintain the integrity of the edge and the health of the plants. Provide 1.5 inches of water per week at the drip line, monitored by a soil moisture meter. Use a hori-hori knife to sever any roots attempting to grow under the brickwork. Annually, use bypass pruners to clear any perennial crown growth that encroaches within 2 inches of the bricks to ensure adequate airflow. This prevents the humid microclimate at the soil surface from fostering Botrytis or other fungal pathogens. Every three years, lift and reset any bricks that have shifted more than 0.5 inches to maintain the structural barrier against the lawn.
The Yield:
When harvesting flowers or herbs grown along a brick edge, timing is critical for post-harvest longevity. Harvest at 0600 hours when cell turgor is at its peak. Use a sharp, sterilized blade to make a 45 degree cut, maximizing the surface area for water uptake. Immediately submerge the stems in 40 degree Fahrenheit water to slow the rate of senescence. This rapid cooling preserves the essential oils and sugars within the plant tissue, ensuring "day-one" freshness for up to seven days.
FAQ:
Which brick is best for acidic soil?
Blue engineering bricks or high fired clay paviors are best. They are chemically inert and acid resistant, ensuring they do not degrade or alter the 4.5 to 5.5 pH levels required by acid loving plants.
How deep should garden edging go?
For effective rhizome suppression, edging should extend 4 to 6 inches below the soil surface. This depth intercepts the majority of lateral root growth from invasive turf grasses and prevents nutrient competition in the upper soil layers.
Do bricks cause soil compaction?
If installed incorrectly, the weight of bricks can compress the soil. Always use a 1 inch sand base to distribute the load and avoid tamping the soil when it is saturated to maintain essential macropores for gas exchange.
How do I prevent weeds between bricks?
Fill joints with polymeric sand or a high density stone dust. This creates a physical barrier that prevents weed seeds from reaching the substrate while still allowing for the thermal expansion and contraction of the brick units.