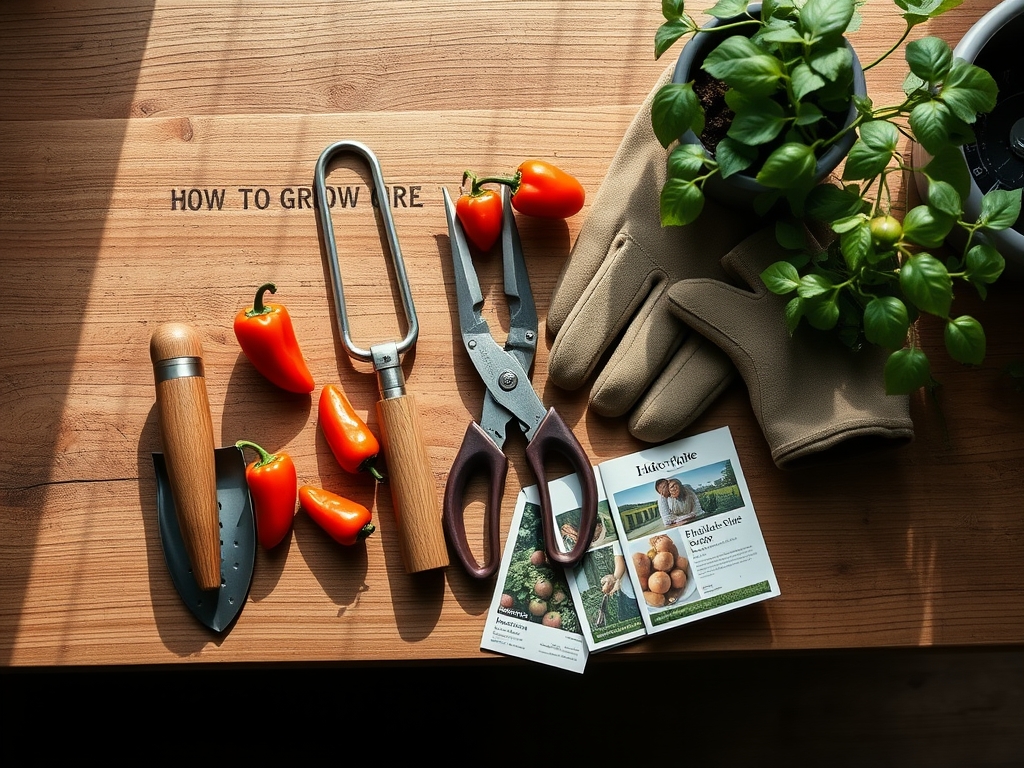
9 Expert Ways How to Grow Paprika Peppers
The scent of damp, mineral-heavy earth signals the start of the season when the soil temperature finally stabilizes at 65 degrees Fahrenheit. To understand how to grow paprika peppers, one must respect the plant's physiological demand for heat and high solar radiation. A healthy Capsicum annuum leaf should exhibit high turgor pressure; it should feel firm and snap cleanly when bent. This guide provides the technical framework required to produce high-quality pods for drying and grinding.
Materials:
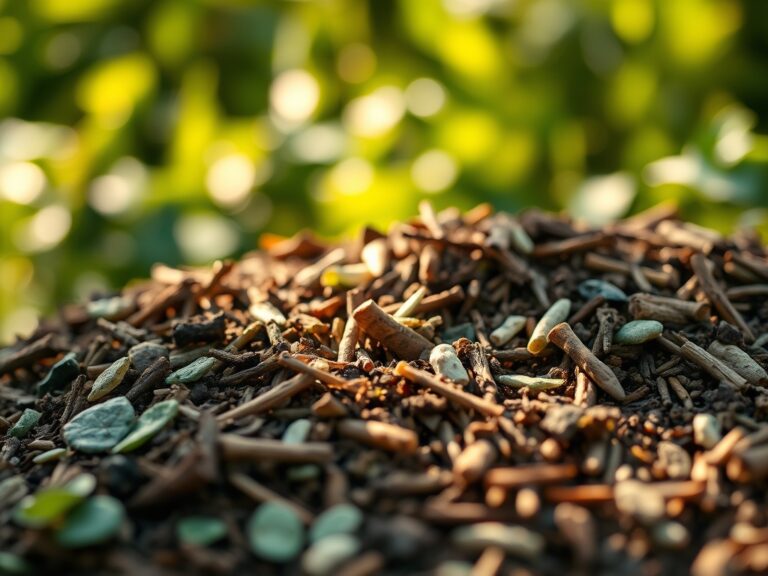
Successful cultivation begins with a substrate that balances drainage with nutrient retention. Paprika peppers require a friable loam with a high Cation Exchange Capacity (CEC) to ensure nutrients remain available in the rhizosphere. The ideal soil pH ranges from 6.2 to 6.8.
For the vegetative phase, use a fertilizer with an NPK ratio of 10-10-10 to build structural integrity. Once the plant enters the reproductive stage, shift to a 5-10-10 or 3-15-15 ratio. High phosphorus and potassium levels are essential for fruit set and capsaicinoid development, while excess nitrogen at this stage leads to lush foliage but zero fruit. Ensure the soil contains adequate calcium and magnesium to prevent physiological disorders.
Timing:
Paprika peppers are long-season crops requiring 100 to 120 days to reach full maturity. In USDA Hardiness Zones 5 through 7, seeds must be started indoors 8 to 10 weeks before the last predicted frost. In Zones 8 through 11, the window is wider, but high heat above 95 degrees Fahrenheit can cause blossom drop.
The "Biological Clock" of the pepper plant is governed by the photoperiod and heat units. The transition from the vegetative stage to the reproductive stage occurs when the plant has produced roughly 9 to 13 true leaves. At this junction, the apical meristem shifts from leaf production to flower bud initiation. If night temperatures drop below 55 degrees Fahrenheit, this clock stalls, leading to stunted growth and delayed harvests.
Phases:
Sowing
Sow seeds 1/4 inch deep in a sterile seed-starting mix. Maintain a consistent soil temperature of 80 to 85 degrees Fahrenheit using a heating mat to ensure germination within 7 to 14 days.
Pro-Tip: Pre-soaking seeds in a weak chamomile tea or salt solution for 12 hours softens the seed coat. This accelerates the imbibition process, allowing the embryo to break dormancy faster by activating metabolic enzymes.
Transplanting
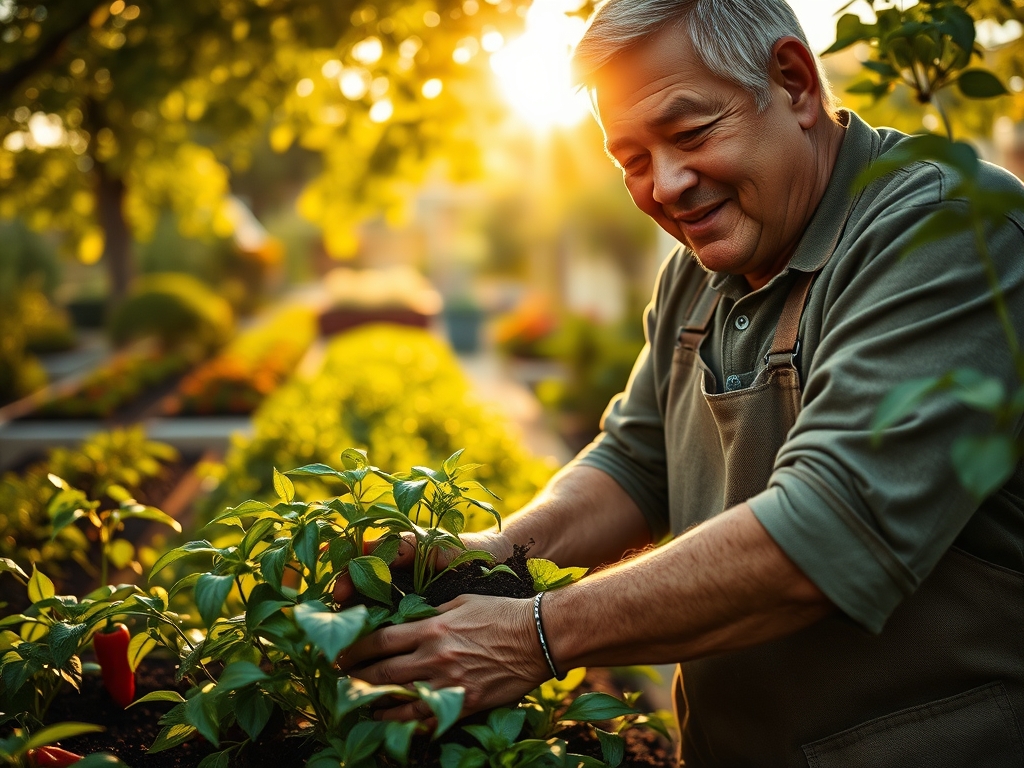
Hardening off is mandatory. Move seedlings outdoors for increasing increments over 7 to 10 days. Transplant into the permanent bed only when night temperatures consistently exceed 60 degrees Fahrenheit. Space plants 18 to 24 inches apart in rows spaced 36 inches apart.
Pro-Tip: Inoculate the transplant hole with mycorrhizal fungi. This symbiotic relationship expands the root system's reach, allowing the plant to scavenge phosphorus and water more efficiently from the surrounding soil matrix.
Establishing
During the first 21 days after transplanting, focus on root development. Avoid heavy fertilization. Use a soil moisture meter to ensure the top 2 inches of soil remain moist but not saturated.
Pro-Tip: Pinch off the first set of flower buds. This suppresses apical dominance and redirects auxins to the lower nodes. The result is a sturdier, bushier plant capable of supporting a heavy fruit load without snapping.
The Clinic:
Physiological disorders often mimic disease but are usually rooted in environmental stress or nutrient imbalances.
- Blossom End Rot: Dark, sunken leathery spots on the bottom of the fruit. This is a calcium deficiency often caused by inconsistent watering. Solution: Maintain consistent soil moisture to ensure calcium transport via the xylem.
- Sunscald: White, papery patches on the fruit surface exposed to direct light. Solution: Maintain a dense leaf canopy to provide natural shading.
- Flower Drop: Blossoms fall off before pollination. This occurs when temperatures exceed 90 degrees Fahrenheit or drop below 55 degrees Fahrenheit. Solution: Use shade cloth during extreme heat spikes.
- Nitrogen Chlorosis: Older leaves turn uniform pale yellow while veins remain slightly darker. Fix-It: Apply a quick-release liquid fertilizer with a high nitrogen content, such as fish emulsion, to restore chlorophyll production.
- Magnesium Deficiency: Interveinal chlorosis on older leaves, appearing as yellowing between the veins. Fix-It: Apply 1 tablespoon of Epsom salts per gallon of water as a foliar spray.
Maintenance:
Precision is the difference between a mediocre harvest and a professional yield. Paprika peppers require exactly 1.5 inches of water per week delivered at the drip line. Overhead watering should be avoided to prevent foliar pathogens from colonizing the leaf surface.
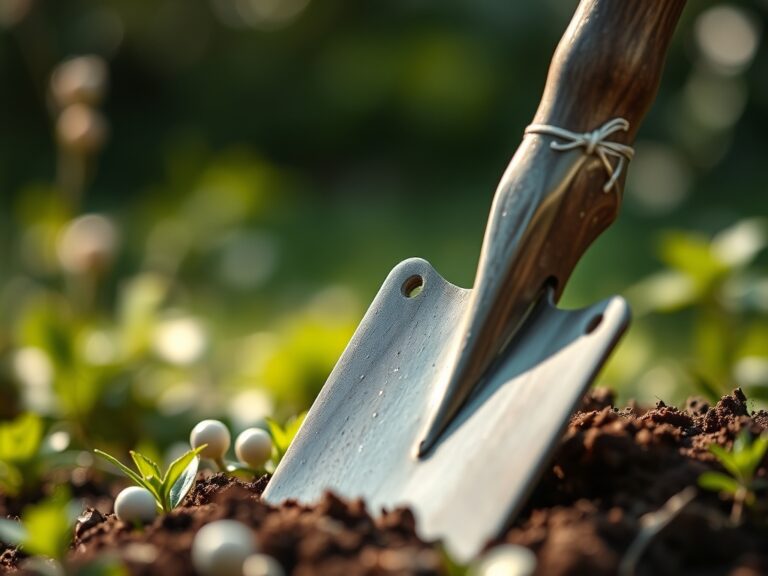
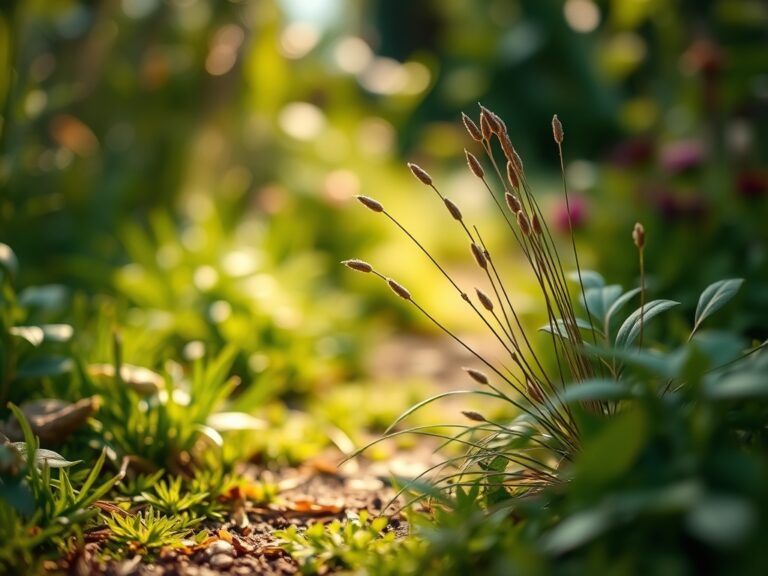
Use a hori-hori knife to remove deep-rooted weeds that compete for nutrients in the rhizosphere. For pruning, use bypass pruners to remove any "suckers" or non-fruiting branches below the first "Y" junction of the main stem. This improves airflow and reduces the humidity microclimate around the base of the plant. Monitor the soil regularly; if the soil feels dry at a depth of 3 inches, irrigation is required immediately to prevent a drop in turgor pressure.
The Yield:
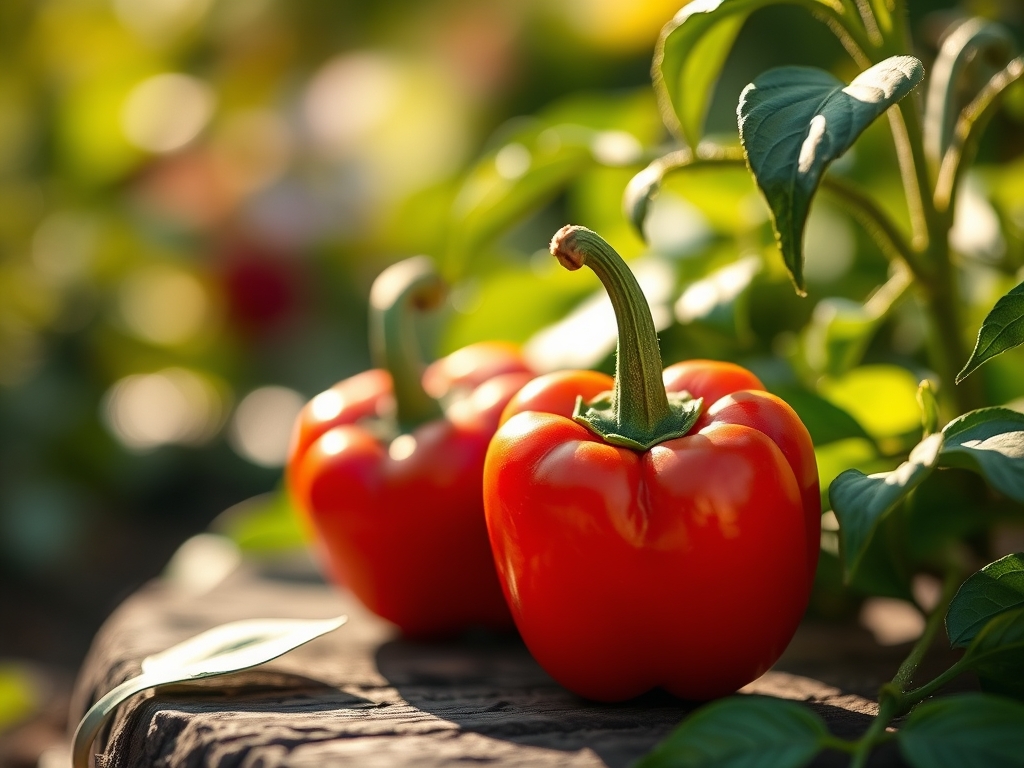
Harvesting paprika peppers is a test of patience. Unlike bell peppers, which can be eaten green, paprika peppers must reach full botanical maturity. This is indicated by a deep, uniform crimson color and a slight softening of the pod walls. The sugars and flavor compounds reach their peak concentration just before the fruit begins to shrivel on the vine.
Use sharp shears to cut the stem, leaving 1 inch of pedicel attached to the fruit. Do not pull the fruit, as this can damage the brittle branches. For "day-one" freshness and optimal drying, harvest in the early morning after the dew has evaporated but before the sun reaches its zenith. This ensures the pods are at their maximum hydration level before the drying process begins.
FAQ:
What is the best soil pH for paprika peppers?
The optimal soil pH for paprika peppers is between 6.2 and 6.8. This range ensures maximum bioavailability of essential macronutrients and micronutrients within the soil solution, preventing lockout and promoting vigorous root development.
How often should I water my paprika plants?
Provide 1.5 inches of water per week. Use a soil moisture meter to verify that moisture reaches the root zone. In sandy soils, split this into two applications; in clay soils, a single deep soaking is preferable.
Why are my pepper plants flowering but not producing fruit?
This is typically caused by temperature extremes. If daytime temperatures exceed 90 degrees Fahrenheit or nights stay above 75 degrees Fahrenheit, pollen becomes sterile. High nitrogen levels can also prioritize foliage over fruit production.
When is the best time to harvest paprika peppers for drying?
Harvest when the pods turn a deep, consistent red and the skin begins to show very slight wrinkling. This indicates the highest concentration of pigments and sugars, which are essential for high-quality ground spice.
Can I grow paprika peppers in containers?
Yes, use a 5-gallon container per plant. Ensure the pot has excellent drainage and use a high-quality potting mix with a high CEC. Container plants require more frequent watering and supplemental fertilization due to limited soil volume.