9 Steps to Prepare for a Permanent Garden Path
The scent of damp, anaerobic clay mixed with the sharp, metallic tang of oxidized minerals signals the beginning of any major earthwork. When you learn how to prepare a garden for a path, you are not merely laying stone; you are re-engineering the local hydrology and the gas exchange capacity of the surrounding rhizosphere. A permanent path alters the soil compaction levels and influences how water moves toward the root zones of your specimen plants. Proper preparation ensures that the path does not become a drainage channel that drowns your perennials or a heat sink that scorches delicate groundcovers. Success requires a mastery of soil physics and a deep understanding of how structural changes affect the turgor pressure of the surrounding flora.
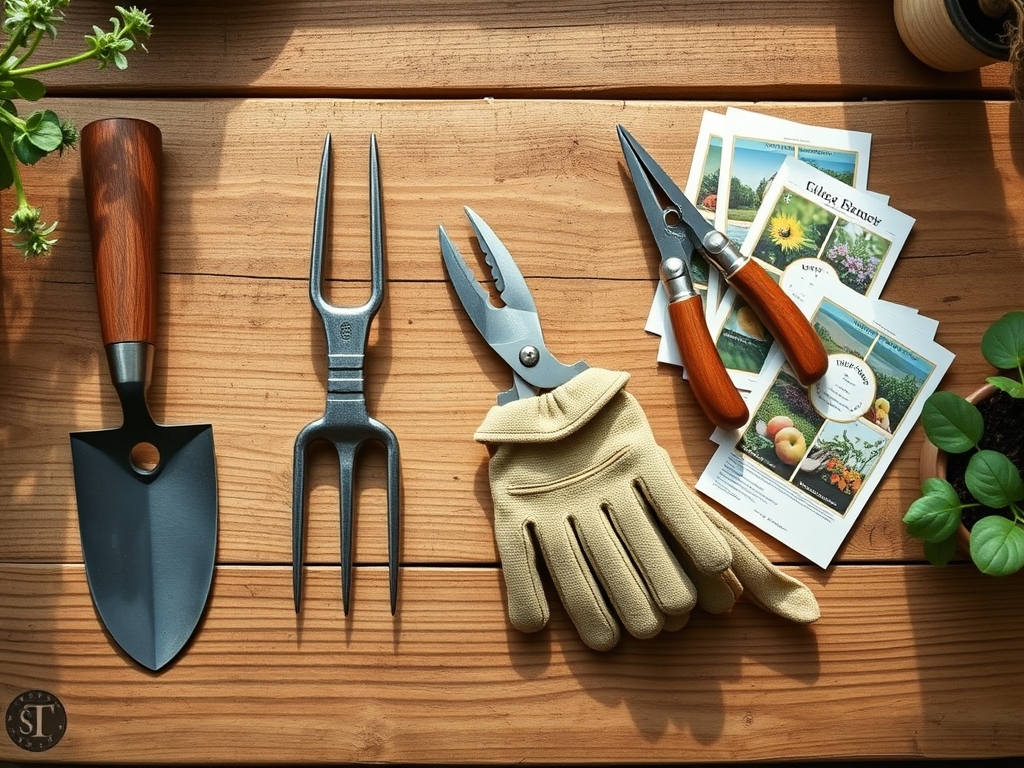
Materials:
The foundation of a path begins with the substrate. Before excavation, test the soil pH to ensure it falls between 6.0 and 7.0 for most temperate garden species. If your soil is heavy clay, the Cation Exchange Capacity (CEC) will be high, meaning it retains nutrients but lacks drainage. You must aim for a friable loam texture in the planting pockets adjacent to the path.
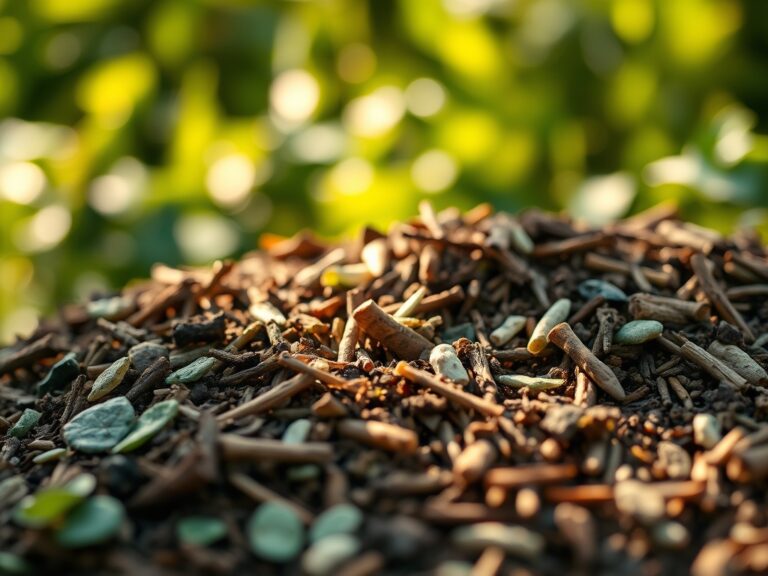
For the structural base, utilize a crushed limestone or 3/4-inch minus gravel. This provides a stable, non-shifting foundation. For the surrounding garden beds, integrate a balanced fertilizer with an NPK ratio of 10-10-10 to support root establishment during the disruption. If you are planting nitrogen-heavy shrubs along the border, a higher first digit, such as 20-10-10, will compensate for the nitrogen tie-up that occurs when wood-based mulches begin to decompose near the path edges.
Timing:
Hardiness Zones 4 through 8 should schedule path construction during the dormant season or early spring before the "Biological Clock" triggers the transition from vegetative growth to reproductive stages. The ideal window is 3 to 4 weeks before the last frost date.
Soil temperature should be at least 45 degrees Fahrenheit to allow for minimal compaction damage. Excavating frozen soil destroys the soil structure, while working in mud leads to severe compaction, which limits oxygen availability to the roots. By timing your installation during the late dormant phase, you ensure that the auxin levels in the plants are low, reducing the stress response as you prune roots that encroach upon the path's footprint.
Phases:

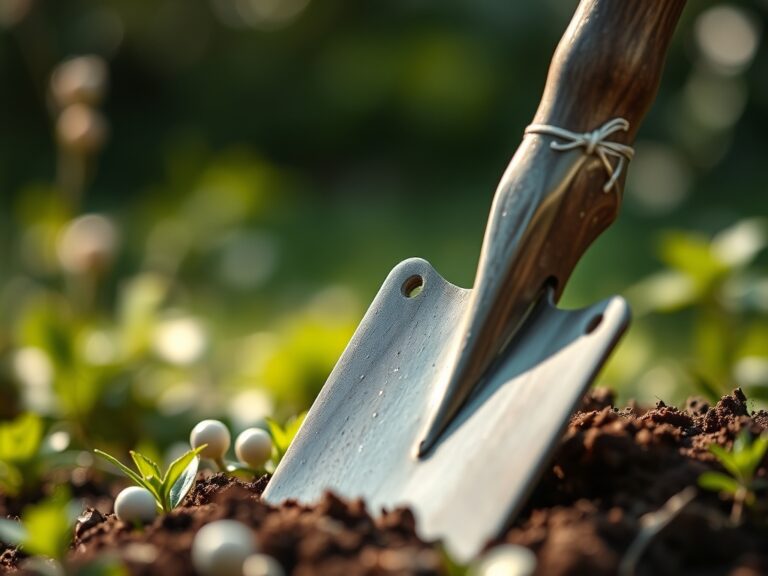
Sowing and Site Clearing
Clear all vegetation within 6 inches of the intended path border. Use a hori-hori knife to extract taproots of perennial weeds. If you are sowing a "living path" of creeping thyme or clover, ensure the seedbed is tilled to a depth of 2 inches.
Pro-Tip: Maintain a clear boundary to prevent auxin suppression. When you prune roots at the path edge, the plant redirects growth hormones to lateral buds, which can lead to overcrowding if not managed.
Transplanting Specimen Plants
Move any plants located within the excavation zone. Dig a root ball at least 12 inches wider than the plant's drip line to preserve the fine root hairs responsible for water uptake.
Pro-Tip: Inoculate the new planting hole with mycorrhizal fungi. This symbiotic relationship increases the surface area of the root system, allowing the plant to better survive the localized drought conditions often caused by the drainage layers of a new path.
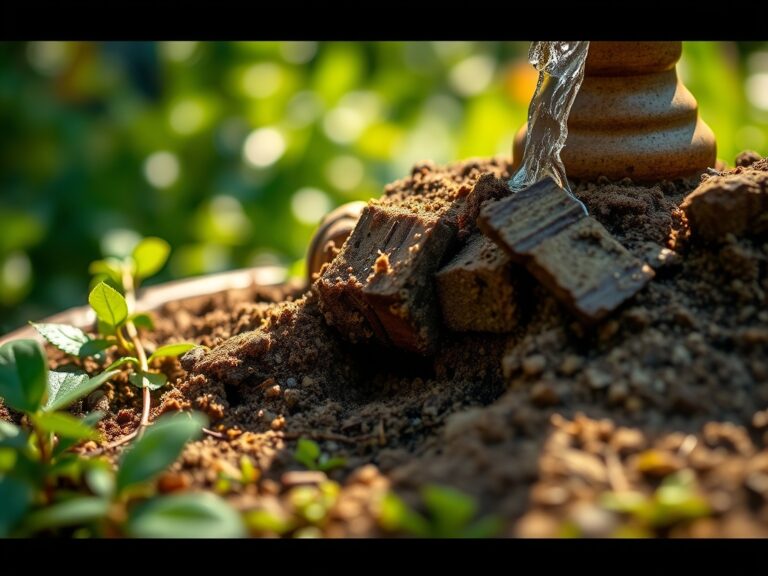
Establishing the Base
Excavate to a depth of 8 inches. Lay a non-woven geotextile fabric to separate the subsoil from the gravel base. This prevents the "pumping" of fine soil particles into your drainage layer.
Pro-Tip: Use a plate compactor to reach a 95 percent Proctor density. This prevents future settling, which can cause "tripping hazards" and disrupt the phototropism of border plants by changing the angle of light reflection off the path surface.
The Clinic:
Physiological disorders often arise when the soil environment is altered by construction.
- Symptom: Nitrogen Chlorosis. Yellowing of older leaves while veins remain green.
- Solution: This often occurs when high-carbon mulch is mixed into the soil. Apply a liquid fertilizer with a high Nitrogen (N) value to restore chlorophyll production.
- Symptom: Marginal Leaf Scorch. Brown, crispy edges on leaves.
- Solution: This indicates water stress or salt accumulation from path de-icers. Flush the soil with 2 inches of water to leach salts below the root zone.
- Symptom: Epinasty. Downward curling or twisting of leaves.
- Solution: Often a sign of soil compaction or poor gas exchange. Use a broadfork to aerate the soil 18 inches away from the path edge.
Maintenance:
A path changes the microclimate of your garden. Hard surfaces reflect heat, increasing the evapotranspiration rate of nearby plants. Monitor soil moisture daily using a soil moisture meter. Most border plants will require 1.5 inches of water per week delivered at the drip line, not the crown.
Use bypass pruners to maintain a 2-inch gap between foliage and the path surface. This prevents fungal pathogens from jumping from the ground to the leaves via "splash-back" during rain events. Annually check the pH at the path edge; limestone base materials can raise the pH to 7.5 or higher, which may cause iron deficiency in acid-loving plants like azaleas.
The Yield:
If your path borders an edible garden, timing the harvest is critical. For leafy greens, harvest in the early morning when turgor pressure is at its peak. This ensures the cell walls are fully hydrated, providing a crisp texture.
For flowers like lavender or roses often found along walkways, harvest just as the first buds open. Use sharp snips to make a clean cut at a 45-degree angle. Immediately submerge the stems in 100-degree Fahrenheit water to break air locks in the xylem, ensuring "day-one" freshness for the longest possible duration.
FAQ:
How deep should I dig for a garden path?
Excavate to a minimum depth of 6 to 8 inches. This allows for 4 inches of compacted sub-base and 2 inches of bedding sand or stone. Proper depth prevents frost heave and ensures long-term structural integrity.
Will a stone path kill my tree roots?
Compaction and oxygen deprivation are the primary risks. Avoid excavating within the Critical Root Zone (CRZ), which is typically a radius of 1 foot for every inch of trunk diameter. Use permeable materials to allow gas exchange.
What is the best soil for path borders?
Aim for a sandy loam with a CEC of 15-25. This provides enough structure to resist erosion from path runoff while maintaining sufficient pore space for oxygen to reach the rhizosphere of your border plants.
How do I stop weeds from growing in the path?
Use a professional-grade non-woven geotextile fabric beneath the base material. For the joints, utilize polymeric sand, which hardens when misted with water, creating a physical barrier that prevents windblown seeds from germinating in the cracks.