7 Steps to Install a Heavy-Duty Garden Gate Latch
The scent of damp, anaerobic clay mixed with the sharp musk of crushed pine needles signals a garden in flux. High turgor pressure within the cellular walls of a well-hydrated privacy hedge ensures the perimeter remains rigid, yet the structural integrity of the enclosure relies on mechanical hardware. A sagging gate disrupts the microclimate by allowing unintended airflow and pest ingress. Mastering the steps for installing a garden gate latch requires the same precision as calibrating a fertigation system. You must account for wood expansion, gravitational shear, and the repetitive stress of daily operation. Failure to secure the latch properly leads to gate drag, which compacts the rhizosphere near the post and damages the delicate root systems of nearby perennials. This guide provides the technical framework to ensure your hardware remains as resilient as a lignified oak limb.
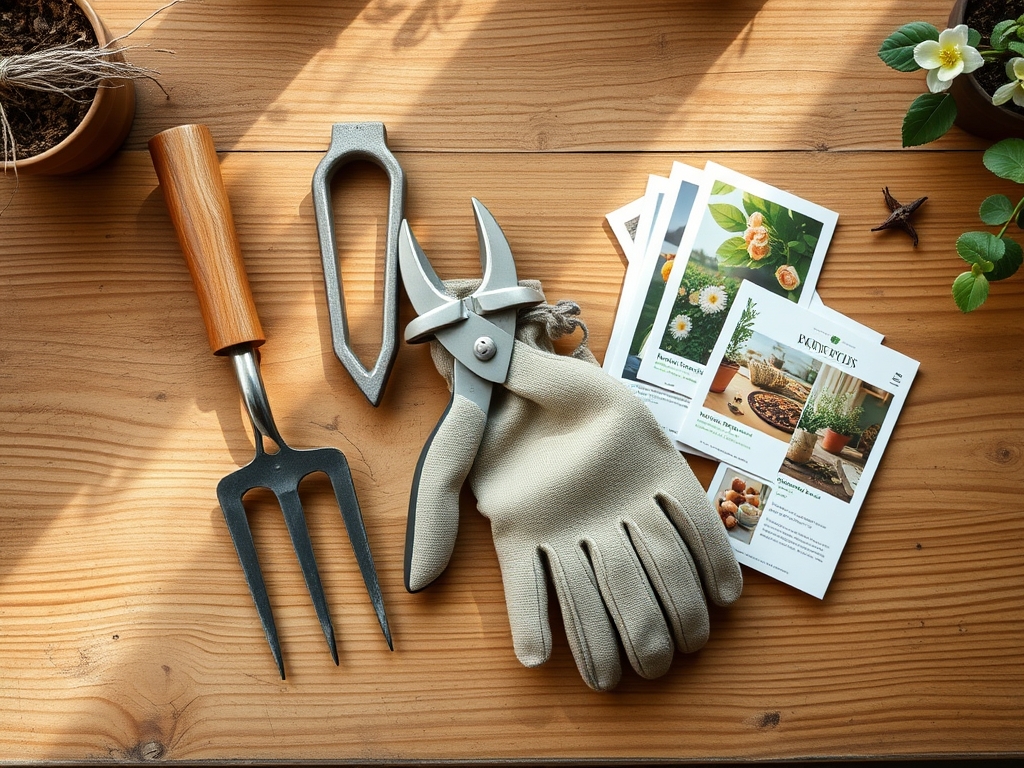
Materials:
Installing hardware in a garden environment requires an understanding of the local substrate. If your gate posts are set in **friable loam**, the soil likely possesses a high **Cation Exchange Capacity (CEC)**, often exceeding **25 meq/100g**. This indicates high nutrient retention but also significant moisture holding capacity, which accelerates metal oxidation. Ensure your latch is made of stainless steel or hot-dipped galvanized zinc to resist the corrosive effects of a low pH environment; ideally, soil pH should sit between **6.0 and 7.0** for structural stability. If you are fertilizing nearby flora with a high-nitrogen **20-10-10 NPK ratio**, be aware that salt runoff can degrade inferior coatings. You will need a power drill with cobalt bits, a speed square, a self-centering hinge bit, and a carpenter’s level to ensure the strike bar aligns with the gravity-fed catch.
Timing:
The installation window is dictated by the thermal expansion of the wood, which correlates with Hardiness Zones 3 through 9. In colder regions, wait until the spring thaw when the soil temperature consistently reaches 50 degrees Fahrenheit. This prevents "frost heave," where the expansion of frozen groundwater shifts the gate posts out of vertical alignment. Observe the biological clock of your garden; perform this installation during the transition from the vegetative stage to the reproductive stage of your primary cultivars. This timing ensures that the heavy foot traffic required for the installation does not interfere with the delicate pollination period or the peak sap flow of surrounding woody ornamentals.
Phases:

Sowing the Foundation
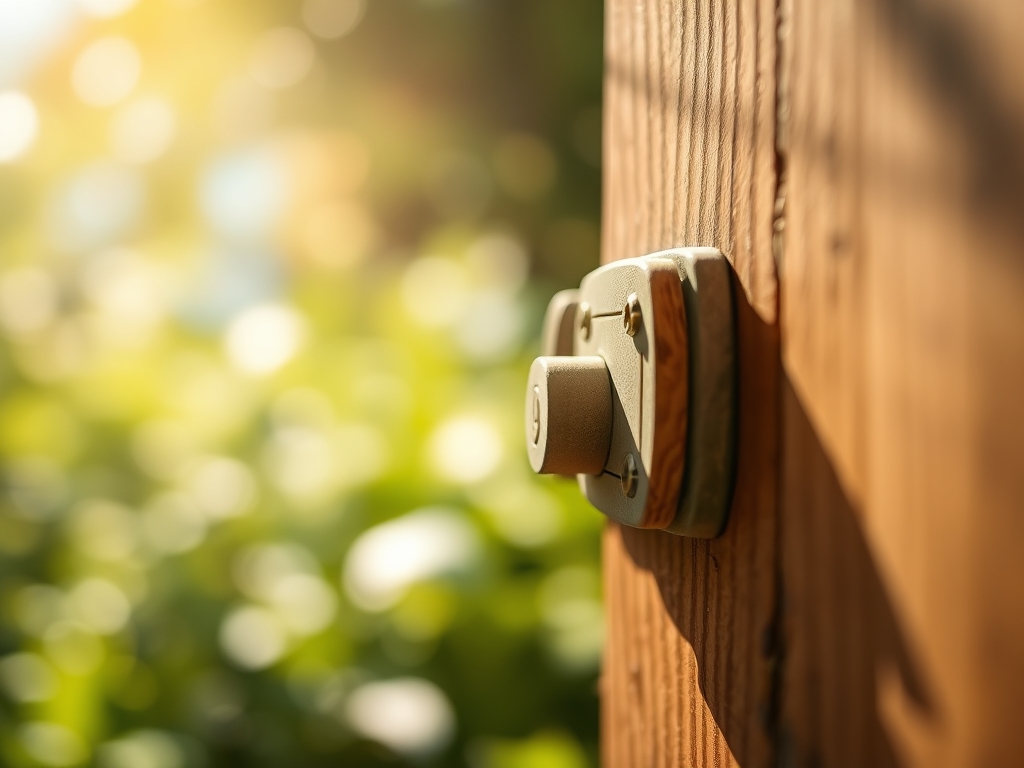
Begin by marking the center point of the latch at exactly 42 inches from the ground level. This height provides optimal leverage and ergonomic clearance. Use a 1/8-inch pilot bit to prevent the wood grain from splitting, which would otherwise create a pathway for fungal pathogens to enter the heartwood.
Pro-Tip: Applying a silicone-based sealant to the pilot holes prevents moisture wicking. This is vital because wood cells utilize capillary action to pull water; sealing the holes halts this process and prevents internal rot through lignin degradation.
Transplanting the Hardware
Position the strike bar on the gate move-side and the catch on the stationary post. Ensure a gap of 1/4 inch between the two components to account for the seasonal swelling of cellulose fibers. Use a level to confirm the strike bar is perfectly horizontal. Even a 2-degree deviation will cause uneven wear on the latch mechanism over time.
Pro-Tip: Understanding phototropism is key here. If one side of your gate receives more solar radiation, that side will dry and shrink faster than the shaded side. Always calibrate your latch gap based on the moisture content of the wood during the most humid part of the day.
Establishing the Connection
Drive the stainless steel screws into the pre-drilled holes using a high-torque setting. Once the latch is mounted, test the swing. The latch should engage with a crisp, audible click, indicating that the kinetic energy of the gate is being properly absorbed by the hardware rather than the hinges.
Pro-Tip: This mechanical stability mimics thigmotropism in plants, where contact influences growth. A stable gate prevents the constant vibration that can stress the root hairs of nearby sensitive species, ensuring uninterrupted mycorrhizal symbiosis in the soil.
The Clinic:
When hardware or the surrounding environment fails, physiological and mechanical symptoms appear. Use the following diagnostic criteria to troubleshoot.
Symptom: Latch failure to engage due to gate sag.
Solution: Install a diagonal tension wire or "turnbuckle" from the top hinge corner to the bottom latch corner to counteract gravitational pull.
Symptom: Rust streaks appearing on the wood beneath the latch.
Solution: This indicates galvanic corrosion. Replace hardware with 316-grade stainless steel and treat the wood with a copper-based preservative.
Symptom: Wood splitting around the screw heads.
Solution: The screws were over-torqued, crushing the xylem vessels. Back the screws out, fill the holes with waterproof wood epoxy, and re-drill with a larger pilot hole.
Fix-It for Nutrient Deficiencies:
If the plants flanking your gate show Nitrogen chlorosis (yellowing of older leaves), apply a quick-release 4-0-0 liquid fertilizer. For Iron deficiency (interveinal chlorosis on new growth), check the soil pH. If it is above 7.5, the iron is locked out; apply chelated iron to restore the dark green hue and optimize photosynthetic efficiency.
Maintenance:
A garden gate latch is a dynamic tool that requires seasonal calibration. Every six months, apply a dry graphite lubricant to the moving parts; avoid oil-based lubricants as they attract dust and grit which act as abrasives. Inspect the gate posts for stability using a soil moisture meter. If the soil moisture drops below 15 percent, the ground may shrink and cause the post to lean. Maintain a consistent hydration schedule of 1.5 inches of water per week at the drip line of surrounding plants to keep the soil volume stable. Use your hori-hori knife to clear any encroaching weeds or suckers from the base of the gate that might interfere with the swing path. Use bypass pruners to maintain a 6-inch clearance between the gate and any foliage to prevent mechanical abrasion of the leaf cuticle.
The Yield:
While a latch does not produce a caloric yield, it protects the harvest. By securing the perimeter, you prevent herbivory from local fauna that would otherwise consume your produce during the peak of senescence. For edible crops, harvest when the brix levels (sugar content) are at their highest, typically in the cool of the early morning. Use a sharp blade to ensure a clean cut, minimizing the surface area of the wound to maintain "day-one" freshness and prevent rapid wilting through excessive transpiration.
FAQ:
What is the best height for a garden gate latch?
Install the latch at 42 inches above the ground. This height provides the best mechanical leverage for the user while remaining high enough to prevent accidental opening by small animals or shifting soil levels.
How do I prevent my gate latch from rusting?
Use 304 or 316-grade stainless steel hardware. In coastal environments with high salt spray, rinse the hardware with fresh water monthly to prevent pitting and oxidation of the protective chromium oxide layer.
Why does my gate latch stop lining up in summer?
Wood expands as it absorbs atmospheric moisture and heat. High humidity increases the volume of the cellulose and hemicellulose in the wood fibers, causing the gate to swell and the latch alignment to shift.
Can I install a latch on a PVC gate?
Yes, but you must use internal wood or aluminum inserts for the screws to bite into. PVC lacks the structural density of wood, and screws will strip out under the mechanical stress of the latch's operation.