9 Charcoal-Based Steps for Treating Root Rot Naturally
The smell of anaerobic decay in a waterlogged rhizosphere is the first indicator of impending plant failure. When soil oxygen is displaced by stagnant water, Pythium and Phytophthora fungi thrive; they liquefy the root cortex and collapse the plant's vascular system. Restoring turgor pressure requires immediate intervention using horticultural charcoal to adsorb toxins and improve aeration. These specific steps for treating root rot with charcoal focus on physical debridement and chemical stabilization of the growing medium to prevent total systemic collapse.
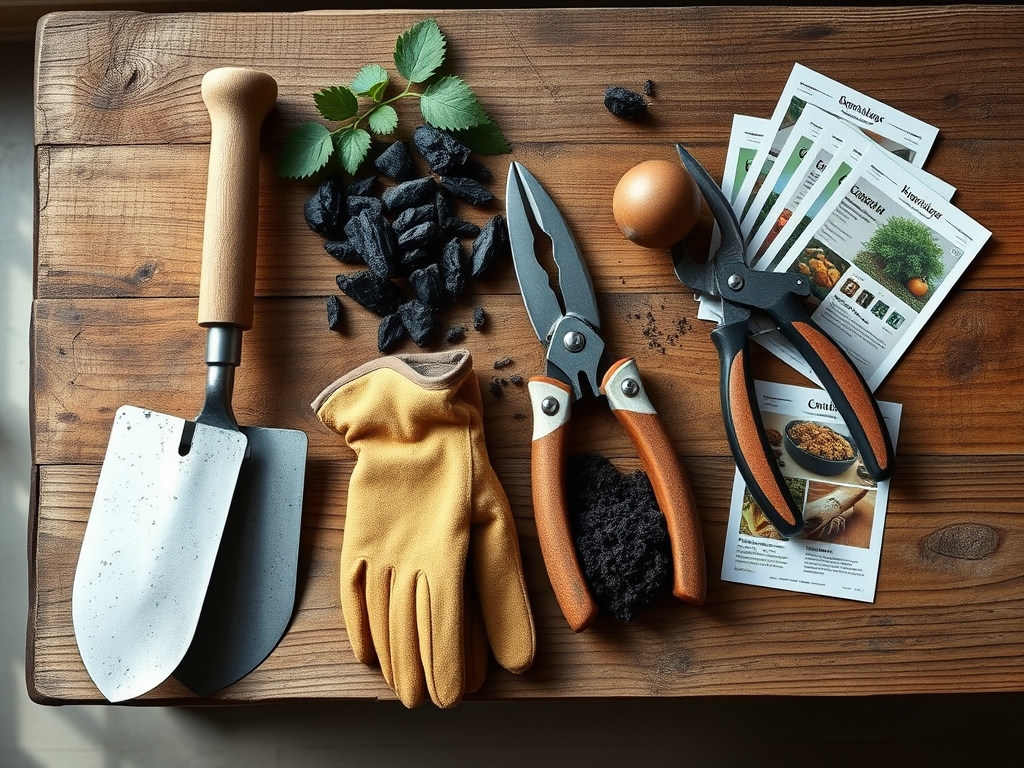
Materials:
Successful remediation requires a substrate with a high Cation Exchange Capacity (CEC). Horticultural charcoal is carbon-pure and porous; it does not significantly alter soil pH, which should remain between **5.5 and 6.5** for most acid-loving ornamentals or **6.0 to 7.0** for standard cultivars. You will need a friable loam base consisting of **40% sterilized peat or coco coir, 30% perlite, and 30% activated charcoal fragments**. Avoid charcoal with additives or binders. For the recovery phase, use a low-salt fertilizer with an NPK ratio of **5-10-5** to prioritize root development over leaf flush. High nitrogen levels during recovery can lead to succulent growth that the compromised root system cannot support.
Timing:
In Hardiness Zones 7 through 10, root rot typically peaks during the humid transition from late spring to early summer when soil temperatures reach 65 to 75 degrees Fahrenheit. This coincides with the vegetative stage of the biological clock; the plant is actively transporting auxins and requires maximum hydraulic conductivity. For gardeners in Zones 3 through 6, the danger zone occurs during the spring thaw when drainage is often impeded by lingering frost layers. Intervention must happen before the plant enters the reproductive stage; once a plant initiates flowering or fruiting, its metabolic energy shifts away from root repair, making recovery significantly less likely.
Phases:
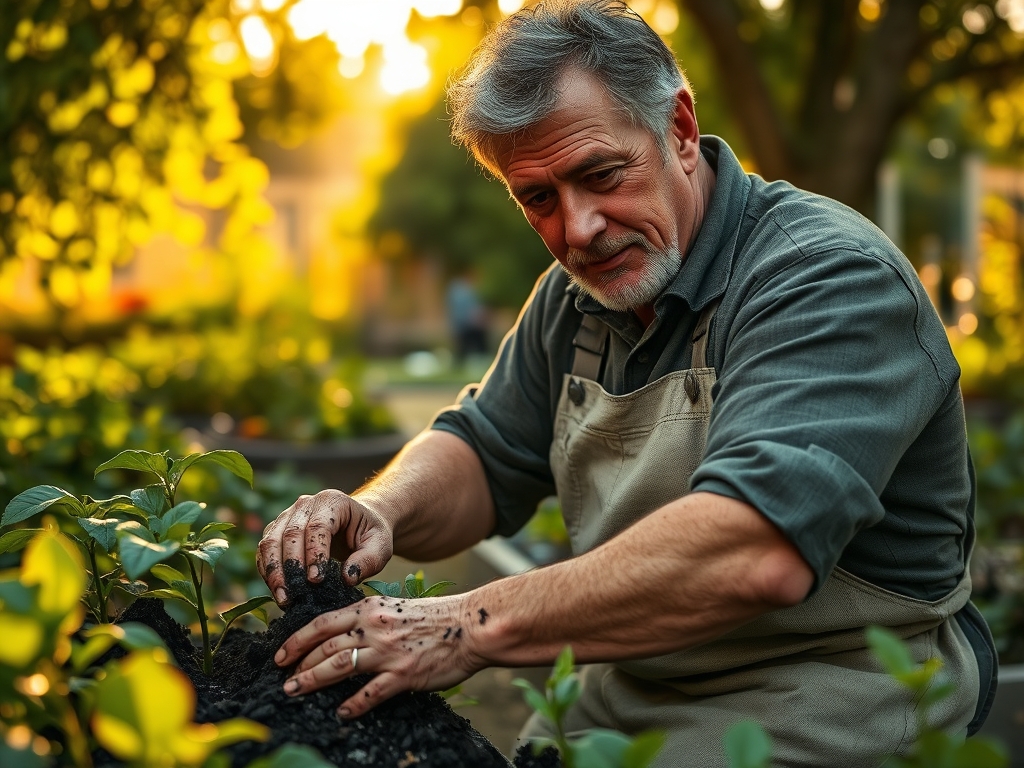
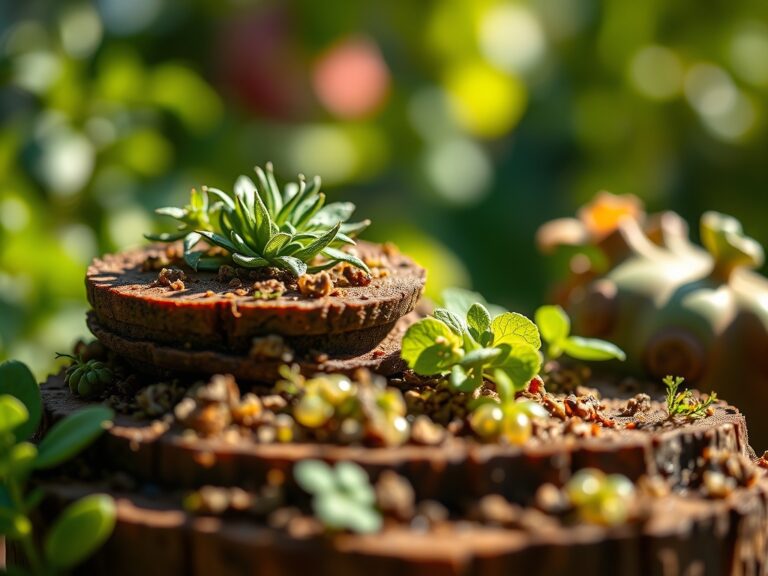
Sowing and Soil Preparation
Before introducing a plant to a new container, layer the bottom 1 to 2 inches with coarse horticultural charcoal. This creates a "sump" that captures excess moisture and adsorbs metabolic waste products. Mix finer charcoal particles throughout the potting medium to increase the surface area for beneficial microbial colonization.
Pro-Tip: Charcoal acts as a permanent soil conditioner because it does not decompose. Its porous structure facilitates mycorrhizal symbiosis, providing a physical refuge for beneficial fungi that protect the roots from pathogenic water molds.
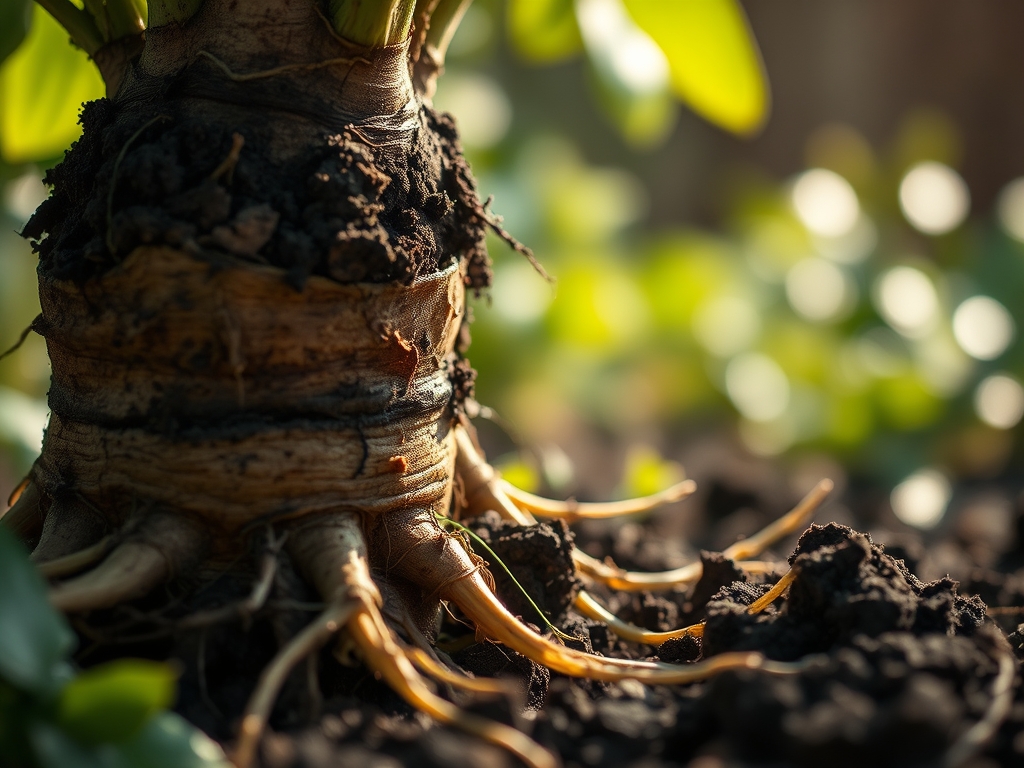
Transplanting and Debridement
Remove the infected plant and wash all soil from the root mass using room-temperature water. Use sterilized bypass pruners to remove any roots that are black, mushy, or emit a foul odor. Dust the remaining healthy, white root tips with powdered charcoal. This acts as a physical barrier and a desiccant, sealing the wound against further fungal ingress.
Pro-Tip: Dusting wounds with carbon prevents auxin suppression. When a plant is wounded, it often redirects energy to seal the site; charcoal stabilizes the site quickly, allowing the plant to maintain its hormonal balance for new growth.
Establishing and Rehydration
Place the plant in the new, charcoal-rich medium. Do not pack the soil tightly; the goal is to maintain a high percentage of macropores for gas exchange. Water sparingly for the first 14 days. The charcoal will regulate the moisture levels by holding water within its pores while keeping the surrounding soil interface aerobic.
Pro-Tip: Maintaining high humidity around the foliage during this phase reduces the transpiration pull. This lowers the demand on the damaged root system, preventing plasmolysis in the leaf cells while the roots re-establish.
The Clinic:
Symptom: Interveinal chlorosis on new growth.
Solution: This indicates a lack of iron or magnesium availability, often caused by root rot destroying the fine root hairs responsible for micronutrient uptake. Apply a chelated iron drench at a rate of 1 teaspoon per gallon of water.
Symptom: Sudden wilting despite wet soil.
Solution: This is the primary sign of vascular collapse. The "Fix-It" involves immediate extraction and the charcoal dusting method described above. If the stem base is soft, the rot has become systemic.
Symptom: Nitrogen deficiency (yellowing of older leaves).
Solution: Do not over-fertilize. Add a light application of blood meal (12-0-0) to the top inch of soil. The charcoal in the mix will help hold these nitrogen cations, preventing them from leaching away during subsequent waterings.
Maintenance:
Precision is mandatory during the recovery phase. Use a soil moisture meter to ensure the substrate remains at a "Level 3" or "Level 4" moisture content. For outdoor specimens, provide 1.5 inches of water per week delivered directly at the drip line rather than the crown. Use a hori-hori knife to periodically probe the soil and check for compaction; if the soil feels dense, top-dress with an additional 0.5 inches of fine charcoal to encourage aeration. Sterilize all tools with 70% isopropyl alcohol after every use to prevent the cross-contamination of fungal spores between garden beds.
The Yield:
For plants that survive root rot and move into the harvest phase, timing is dictated by the specific cultivar's maturity index. For herbs and leafy greens, harvest in the early morning when turgor pressure is at its highest. Use sharp snips to make clean cuts at a 45-degree angle. For flowers, harvest when the first two petals begin to unfurl. To maintain "day-one" freshness, immediately plunge the stems into 40-degree Fahrenheit water to slow down cellular senescence and preserve the volatile oils or pigments.
FAQ:
Can I use barbecue charcoal for root rot?
No. Barbecue charcoal contains chemical additives, binders, and accelerants that are toxic to the rhizosphere. Only use pure horticultural charcoal or activated carbon, which is processed at high temperatures to ensure chemical purity and maximum porosity for adsorption.
How much charcoal should I add to the soil?
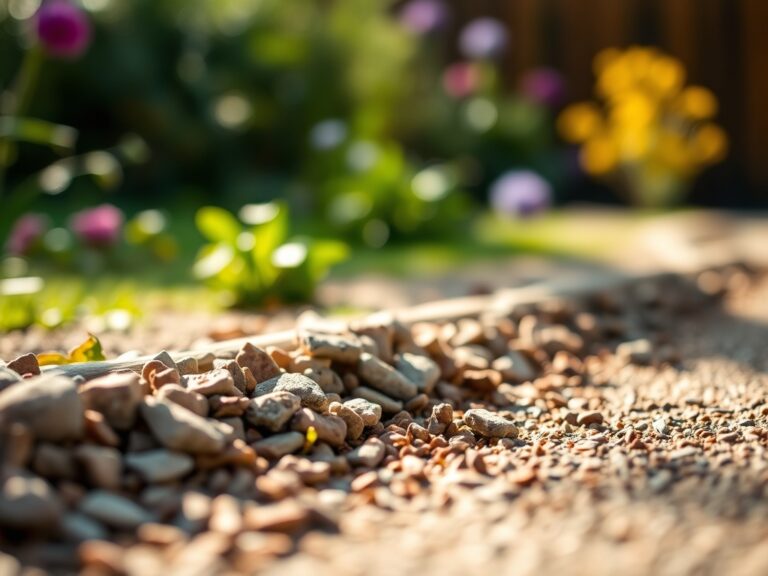
Incorporate charcoal at a ratio of 1 part charcoal to 10 parts soil for general prevention. For active root rot treatment, increase the ratio to 2 parts charcoal to 10 parts soil to maximize drainage and toxin adsorption.
Does charcoal change the soil pH?
Horticultural charcoal is generally pH neutral or slightly alkaline. It acts as a buffer rather than a significant pH modifier. Always test your soil after amending to ensure the pH remains within the 6.0 to 7.0 range for optimal nutrient uptake.
How long does charcoal stay active in the soil?
Charcoal is a stable form of carbon that does not break down biologically. It remains in the soil indefinitely, providing permanent aeration and CEC benefits. It only needs replacement if the physical soil structure is completely removed or washed away.