9 Tips to Use a Garden Spade for Precise Edging
The scent of damp, disturbed earth signals the beginning of a structural overhaul in the landscape. When the soil reaches a consistent temperature of 55 degrees Fahrenheit, its structural integrity allows for the clean shearing of root mats and turf. Using a spade for garden work requires more than physical force; it demands an understanding of soil compaction and the turgor pressure within the grass blades being severed. A sharp, flat-bladed spade acts as a surgical instrument, cutting through the rhizosphere to create a distinct boundary between the cultivated bed and the surrounding lawn. This process prevents the encroachment of aggressive stoloniferous grasses while improving the aesthetic definition of the garden. By maintaining a vertical entry angle, the gardener ensures that the capillary action of the soil is not unnecessarily disrupted, preserving the moisture levels required for the peripheral root systems of ornamental plants. Precision edging is the foundational step in managing the spatial dynamics of a high-performance garden.
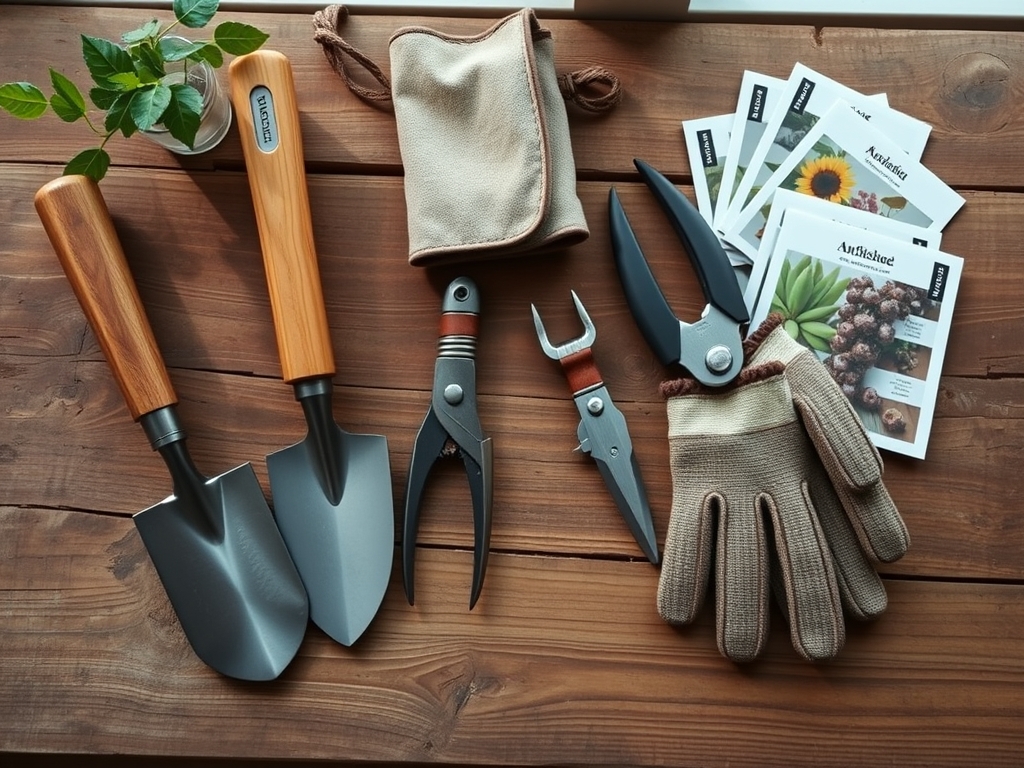
Materials:
The success of precision edging depends heavily on the substrate composition. The ideal medium is a **friable loam** with a Cation Exchange Capacity (CEC) between **15 and 25 meq/100g**. This ensures the soil holds enough structural tension to maintain a clean edge without crumbling. Before beginning, verify that your soil pH sits between **6.2 and 6.8** to optimize nutrient availability for the turf at the margin.
For the surrounding vegetation, maintain a balanced nutrient profile. Use a slow-release fertilizer with an NPK ratio of 10-10-10 for general maintenance, or a 20-5-10 blend if you are encouraging rapid turf recovery along the new edge. High nitrogen levels support the vegetative growth of the grass, ensuring the edge remains dense and resistant to erosion. If the soil is heavy clay, incorporate organic matter to lower the bulk density below 1.3 g/cm3, which allows the spade to penetrate with minimal resistance.
Timing:
Hardiness Zones 4 through 8 offer the most stable windows for edging. The primary window opens in early spring, specifically 14 to 21 days after the final frost when the soil is moist but not saturated. Avoid edging when the ground is frozen or during peak summer heat when the soil moisture tension is too high, as this leads to jagged edges and root desiccation.
Observe the biological clock of your turf. The transition from the vegetative stage to the reproductive stage (seed head production) usually occurs when daylight exceeds 12 hours. Edge before this transition to ensure the plant directs its energy toward lateral root development and "knitting" the new edge. In Zones 9 and 10, edging can be performed year-round, provided the soil moisture is maintained at a consistent 25 percent capacity.
Phases:

Sowing and Preparation
Before the first cut, mark the line using a high-visibility string or a flexible garden hose. Ensure the area is clear of stones larger than 0.5 inches in diameter. Using a spade for garden work in this phase involves "scoring" the surface. Position the spade vertically and apply light pressure to create a guide path.
Pro-Tip: Scoring the soil triggers a minor stress response in the turf. This localized increase in ethylene production signals the plant to strengthen cell walls in the immediate vicinity, making the final cut cleaner.
Transplanting and Defining
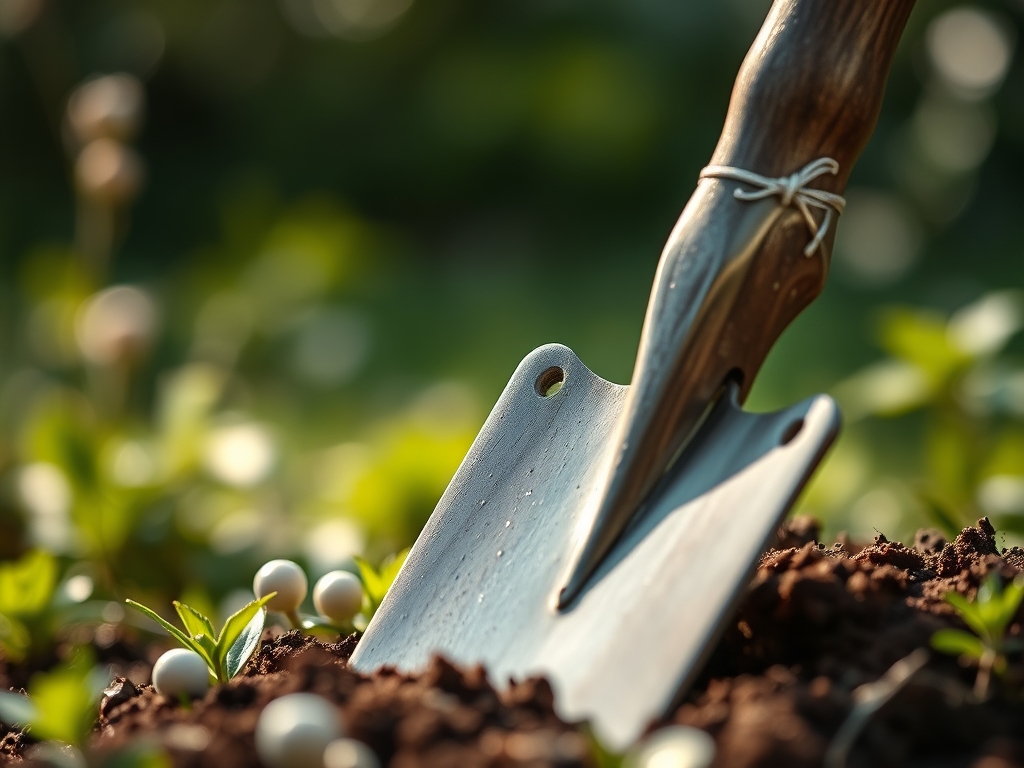
Drive the spade 4 to 6 inches deep into the soil. This depth is critical because it severs the majority of the fibrous root system of cool-season grasses, which typically resides in the top 3 inches of the soil profile. Tilt the handle slightly toward the garden bed to create a "V" shaped trench. This angle facilitates drainage and prevents water from pooling at the base of the turf.
Pro-Tip: This "V" trench creates a physical barrier that disrupts rhizomatous spread. By removing the soil bridge, you prevent the movement of auxins that would otherwise encourage the grass to colonize the open garden bed.
Establishing the Border
Remove the severed sod strips and compost them or use them to fill low spots elsewhere. Refine the vertical wall of the edge using a hori-hori knife for detail work around woody perennials. The final edge should be a clean, sheer face that exposes the soil horizons.
Pro-Tip: Maintaining a sharp vertical face utilizes gravitropism to your advantage. Roots that attempt to grow horizontally across the gap will eventually turn downward or desiccate upon contact with the air pocket, a process known as air-pruning.
The Clinic:
Physiological disorders often manifest at the garden's edge due to mechanical stress or environmental exposure.
- Symptom: Leaf Tip Dieback. Solution: This is often caused by high salts or drought stress. Increase irrigation frequency to maintain 1.0 inch of water per week.
- Symptom: Margin Chlorosis. Solution: This indicates a Nitrogen deficiency. Apply a liquid 5-0-0 fertilizer to the edge to boost chlorophyll production.
- Symptom: Slumping Edges. Solution: This occurs in soils with low CEC or high sand content. Incorporate calcined clay or organic compost to improve structural cohesion.
Fix-It for Nitrogen Chlorosis: If the grass along your new edge turns pale yellow, the mechanical damage has likely outpaced the plant's ability to uptake nutrients. Apply a foliar spray of iron chelate to provide an immediate metabolic boost while the root system recovers.
Maintenance:
Precision edges require consistent monitoring. Use a soil moisture meter to ensure the edge does not dry out faster than the interior of the bed; the exposed soil face increases the surface area for evaporation. Apply 1.5 inches of water per week at the drip line of nearby plants to compensate.
Every 30 days, use bypass pruners to snip any horizontal runners that attempt to bridge the trench. Re-cut the edge with your spade twice a year; once in early spring and once in late autumn. This biannual schedule accounts for the soil's natural expansion and contraction during freeze-thaw cycles. Keep your spade sharp using a 10-inch mill file to ensure every cut is a clean shear rather than a crush.
The Yield:
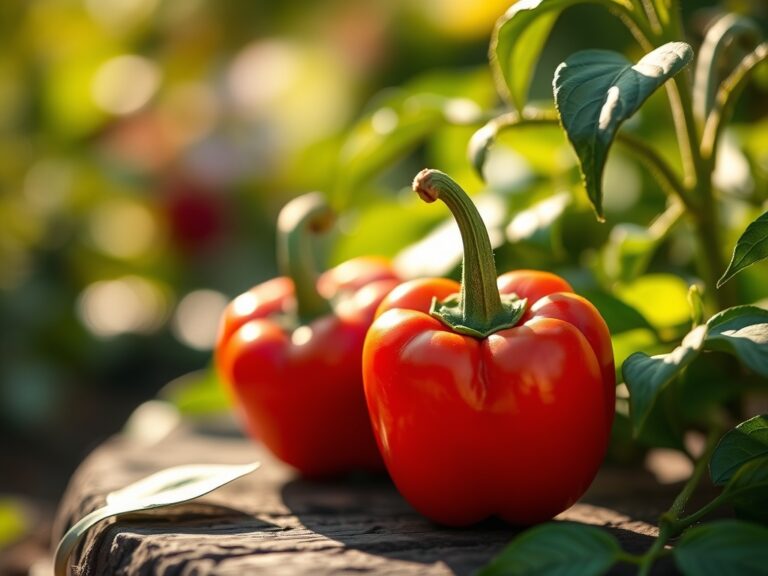
While edging is primarily structural, the "yield" is the health of the plants bordering the trench. By eliminating competition from turf grass, you increase the available phosphorus and potassium for your ornamentals. For flowering perennials, this results in a 15 to 20 percent increase in bloom density. If you are edging a vegetable plot, the lack of root competition allows for larger root crops like carrots or parsnips. Handle any "harvested" sod by shaking off excess topsoil to retain the microbial biomass within your garden beds.
FAQ:
How deep should I cut a garden edge?
Aim for a depth of 4 to 6 inches. This depth effectively severs the dense root mats of most turf grasses and creates a sufficient physical barrier to stop rhizomatous spread into your cultivated soil.
What is the best spade for edging?
Use a flat-bladed garden spade with a sharpened edge. Unlike a pointed digging shovel, the flat blade creates a straight, vertical wall that is essential for clean aesthetics and preventing soil erosion at the margin.
How do I fix a crumbling garden edge?
Crumbling usually indicates low soil moisture or poor structure. Hydrate the area 24 hours before cutting. If the problem persists, incorporate organic matter to increase the soil's cohesion and Cation Exchange Capacity.
When is the best time to edge?
The optimal window is early spring when soil moisture is high and plants are in their active vegetative growth phase. A secondary window occurs in late autumn after the first light frost but before the ground freezes.