7 Easy Steps to Install a Garden Fountain
Damp earth releases a sharp, geosmin-rich scent as the shovel breaks the surface tension of a compacted clay loam. The turgor pressure within the surrounding vegetation remains high; the hydrologic cycle of your landscape is about to shift from passive absorption to active circulation. Mastering the steps to install a garden fountain requires more than aesthetic placement. It demands an understanding of soil load-bearing capacity and the hydraulic demands of a closed-loop system. Proper installation ensures that moisture levels remain consistent without compromising the rhizosphere of adjacent plantings. This technical integration of water and soil architecture transforms a static plot into a dynamic, managed ecosystem.
Materials:

The foundation of any water feature begins with the substrate. You must analyze the soil profile to ensure it can support the weight of a stone or concrete reservoir without shifting. The ideal substrate is a friable loam with a high sand content to facilitate drainage around the basin. Avoid heavy clay with a low Cation Exchange Capacity (CEC) if you are planting around the feature, as poor drainage leads to anaerobic conditions.
If you are integrating the fountain into a planted bed, the surrounding soil should maintain a pH between 6.0 and 7.0. Use a balanced NPK ratio of 10-10-10 for general landscape stabilization. For heavy-feeding perennials near the splash zone, a 5-10-5 ratio supports root development over excessive vegetative growth. You will need a submersible pump rated for at least 300 GPH (gallons per hour), a heavy-duty pond liner, and a GFC-protected electrical outlet.
Timing:
Installation should occur during the dormant season or early spring to minimize stress on the surrounding flora. In Hardiness Zones 5 through 7, the ideal window opens after the final frost, typically between late March and early May. This timing aligns with the "Biological Clock" of most temperate perennials; the transition from winter senescence to active vegetative growth.
Installing the fountain before the plant enters the reproductive stage ensures that root systems can adapt to new moisture gradients. Avoid construction during the peak summer heat. High evapotranspiration rates during July and August can cause rapid soil shrinkage, which destabilizes the leveling of the fountain basin.
Phases:

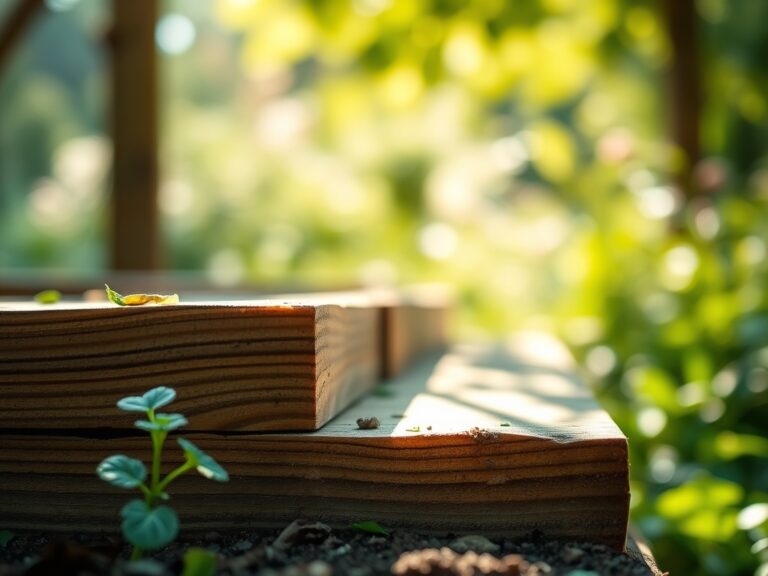
Sowing the Foundation
Begin by excavating a pit 2 inches wider and deeper than the fountain reservoir. This allows for a stabilizing layer of crushed limestone or masonry sand. Tamp the sand until it is perfectly level.
Pro-Tip: Maintaining a level base prevents uneven hydrostatic pressure on the pump. This protects the mechanical seals from premature wear caused by cavitation.
Transplanting and Plumbing
Position the reservoir and run the conduit for the pump. If you are moving plants to accommodate the feature, ensure you keep the root ball intact to prevent transplant shock. Use a hori-hori knife to clean up any jagged root edges.
Pro-Tip: Mycorrhizal fungi inoculation during this phase is critical. These symbiotic fungi extend the root surface area, allowing the plant to better manage the increased humidity and potential soil saturation near the fountain.
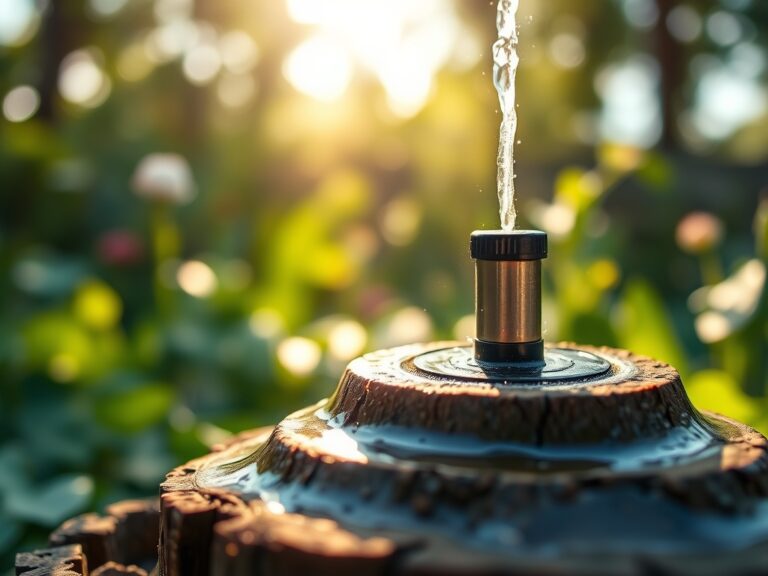
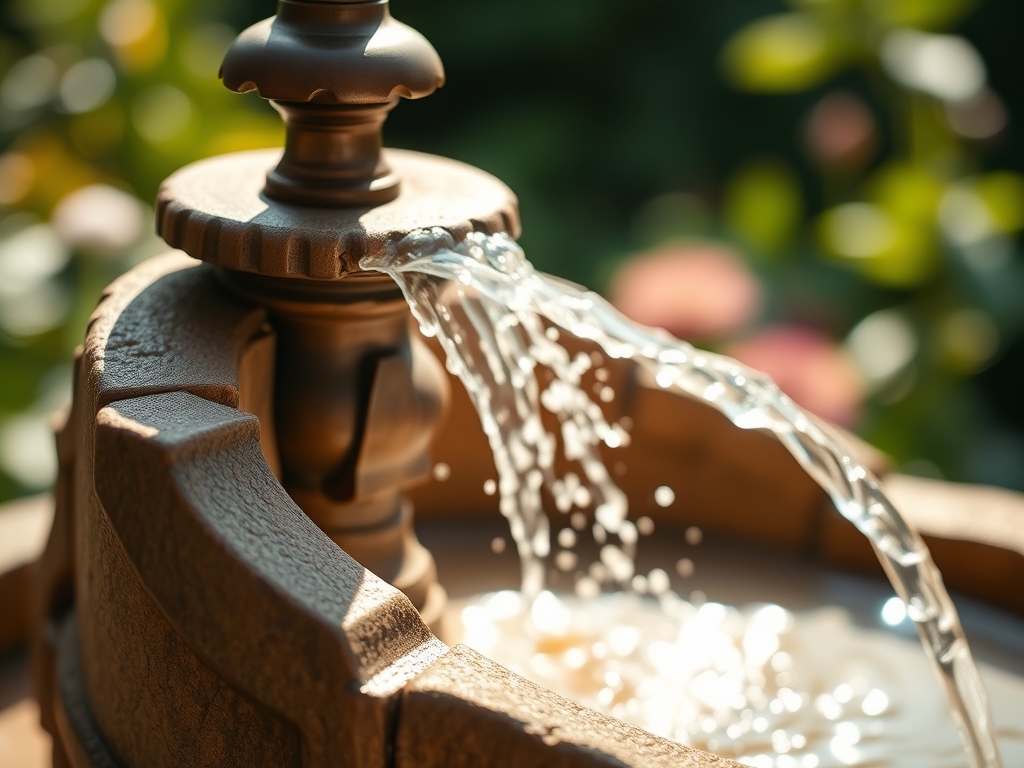
Establishing the Flow
Fill the basin and test the pump. Adjust the flow rate to minimize excessive splashing, which can lead to localized soil compaction and "salt crusting" if your water has high mineral content.
Pro-Tip: Directing the spray away from foliage prevents the disruption of the waxy cuticle on leaves. Excessive water on the leaf surface can interfere with gas exchange through the stomata and invite fungal pathogens.
The Clinic:
Physiological disorders often manifest when water features are introduced to an established garden. Monitor these symptoms closely.
Symptom: Interveinal chlorosis (yellowing leaves with green veins).
Solution: This indicates a lack of iron or manganese, often caused by high pH levels in the water splashing into the soil. Apply a chelated iron supplement to the rhizosphere.
Symptom: Leaf Epinasty (downward curling or twisting of leaves).
Solution: This suggests waterlogged soil and a lack of oxygen at the root zone. Improve drainage by incorporating expanded shale into the soil profile.
Symptom: Marginal necrosis (brown, crispy leaf edges).
Solution: This is often a sign of salt accumulation from hard water evaporation. Flush the soil with 2 inches of rainwater or distilled water to leach the salts.
Fix-It for Nitrogen Chlorosis: If the entire leaf turns pale yellow, the plant is likely experiencing nitrogen leaching due to increased water throughput. Apply a slow-release 12-4-8 fertilizer to restore nitrogen levels without causing a growth spike that the roots cannot support.
Maintenance:
Precision is the hallmark of a healthy garden. Utilize a soil moisture meter to ensure the area around the fountain stays at a consistent 35% to 45% moisture capacity. Most landscape plants require 1.5 inches of water per week at the drip line.
Use bypass pruners to remove any dead or decaying organic matter that falls into the fountain; this prevents the buildup of nitrates which can lead to algae blooms. Every six months, inspect the pump intake for debris. If you notice a drop in turgor in nearby plants despite wet soil, check for root rot caused by a leaking liner. A hori-hori knife is the best tool for surgical soil inspection to locate subsurface saturation points.
The Yield:
If your fountain is surrounded by edible herbs like watercress or mint, harvesting should occur just before the plant reaches full anthesis (flowering). Cut the stems early in the morning when turgor pressure is at its peak.
To maintain "day-one" freshness, immediately submerge the cut ends in 40-degree Fahrenheit water. This halts the metabolic process of senescence and preserves the essential oils. For floral yields, harvest when the buds are in the "tight color" stage to ensure the longest vase life.
FAQ:
How deep should I dig for a fountain basin?
Excavate the pit to a depth of 2 inches deeper than the reservoir height. This allows for a leveling base of sand or gravel, which prevents the basin from settling unevenly into the soil over time.
Can I use tap water in my garden fountain?
Tap water is acceptable but may contain chlorine and minerals. If the pH exceeds 7.5, it can cause nutrient lockout in nearby acid-loving plants. Monitor the soil pH monthly to ensure it stays within the 6.0 to 7.0 range.
How do I prevent algae without harming my plants?
Maintain biological balance by removing organic debris. Use beneficial bacteria treatments rather than harsh chemicals. This protects the microbiome of the soil and ensures that any splash-over does not damage the delicate root systems of adjacent flora.
What is the best way to winterize a fountain?
In zones with freezing temperatures, drain the reservoir completely and remove the pump. Store the pump in a bucket of water in a frost-free area to keep the internal seals hydrated and prevent them from cracking during the dormant season.