6 Expert Ways How to Grow Gotu Kola
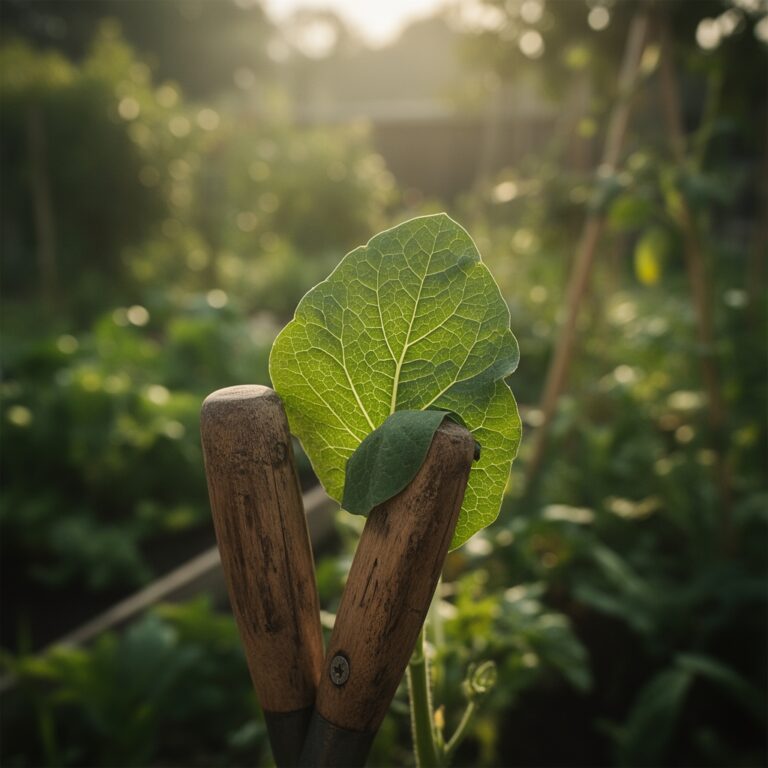
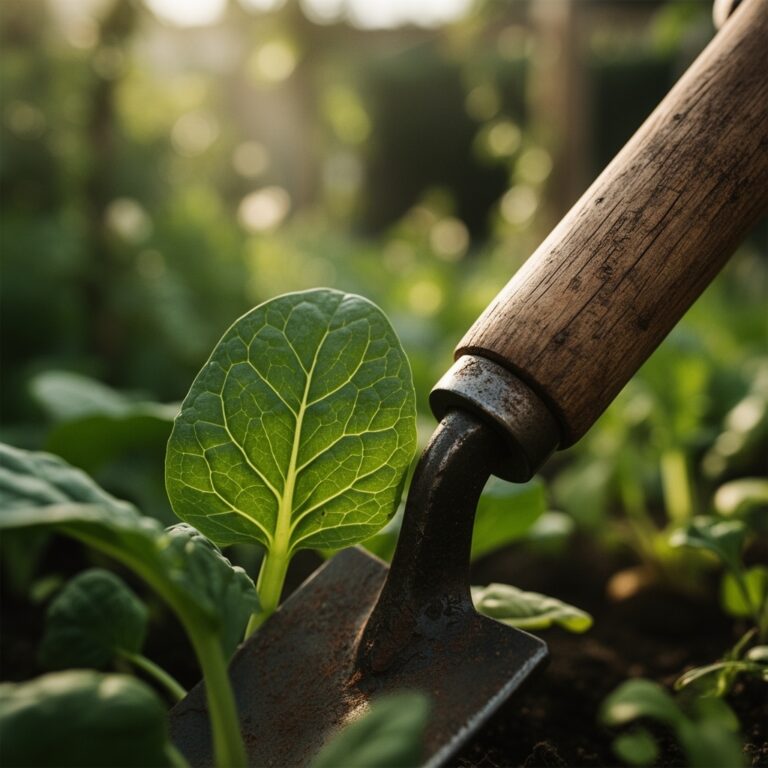
The smell of saturated silt and the crunch of organic matter underfoot signal the ideal environment for Centella asiatica. A healthy specimen exhibits high turgor pressure; its kidney shaped leaves should feel firm and cool to the touch. Mastering how to grow gotu kola requires a shift from standard garden logic toward a semi aquatic mindset. This perennial groundcover thrives where water meets land; it demands consistent moisture and high humidity to maintain its cellular integrity.
Success depends on replicating its native tropical wetlands. You are managing a rhizosphere that must remain oxygenated despite constant saturation. This balance prevents anaerobic rot while fueling the rapid expansion of stolons. When you press your finger into the substrate, it should yield like a damp sponge. If the soil feels gritty or dry, the plant will enter a defensive state; its growth will stall and the margins of the leaves will begin to crisp. Understanding how to grow gotu kola is an exercise in moisture management and soil chemistry.
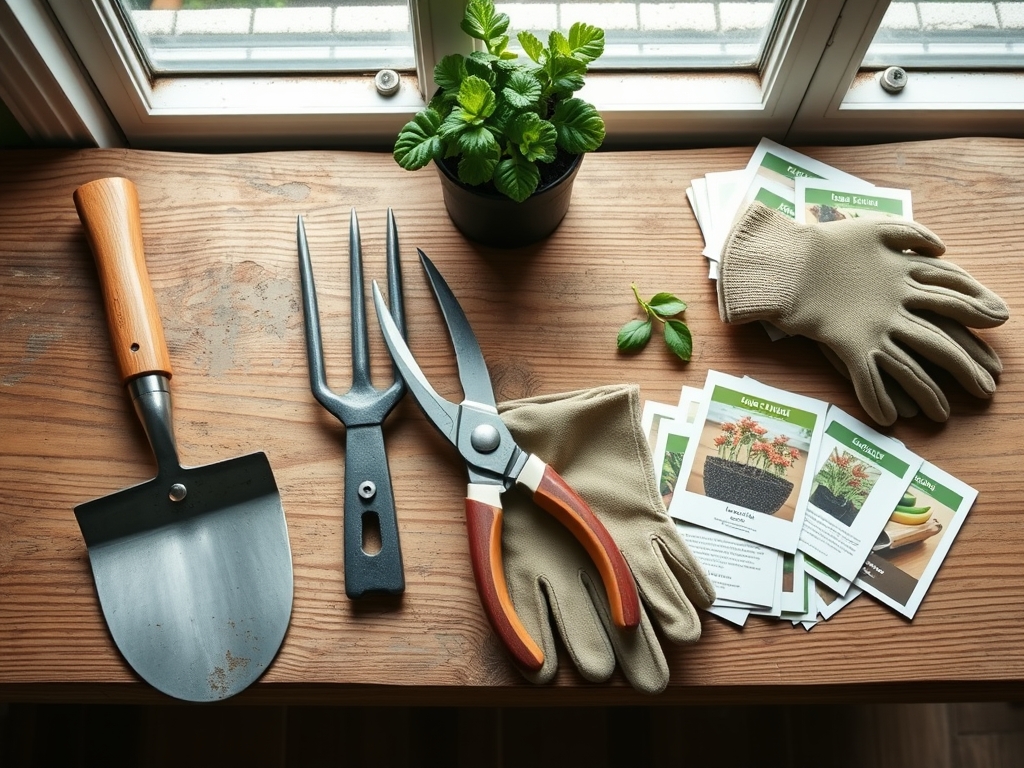
Materials:
The substrate is the foundation of your success. Gotu kola requires a friable loam with a high organic matter content to facilitate moisture retention. Aim for a soil pH between 5.5 and 7.0. While the plant is adaptable, a slightly acidic environment optimizes the availability of micronutrients.
For container or raised bed cultivation, mix two parts high quality potting soil with one part finished compost and one part coarse sand or perlite. This ensures the medium does not compact over time. Regarding nutrition, focus on a balanced NPK ratio of 10-10-10 or 5-5-5. Nitrogen is the primary driver for leaf production; however, excessive nitrogen without balanced phosphorus and potassium will lead to weak, elongated petioles that lack structural strength. A high Cation Exchange Capacity (CEC) is vital; incorporate humic acid or biochar to increase the soil's ability to hold and exchange mineral cations with the root system.
Timing:
Gotu kola is a tropical native, thriving in USDA Hardiness Zones 9 through 11. In these regions, it can be grown as a perennial year round. For gardeners in Zones 8 and below, it must be treated as a tender perennial; move it indoors or into a greenhouse when ambient temperatures drop below 55 degrees Fahrenheit.
The biological clock of Centella asiatica is governed by temperature and moisture rather than a strict photoperiod. The transition from the vegetative stage to the reproductive stage occurs when the plant reaches a critical mass of nodes. In peak summer heat, between 75 and 90 degrees Fahrenheit, the plant enters a high metabolic state. During this window, stolon expansion can reach up to two inches per week. If temperatures exceed 95 degrees, provide 40 percent shade cloth to prevent photoinhibition and heat stress.
Phases:

Sowing and Germination
Starting from seed requires patience as germination can be erratic. Surface sow the seeds on a sterile seed starting mix. Do not bury them deeply; they require light to trigger the hormonal shift for germination. Maintain a constant temperature of 77 degrees Fahrenheit using a propagation mat.
Pro-Tip: Maintain 100 percent humidity using a clear dome. This prevents the seed coat from hardening, which allows the radicle to emerge without using excessive energy reserves. This is a biological necessity because the seeds have small endosperms with limited carbohydrate storage.
Transplanting
Move seedlings or nursery starts once they have developed at least three true leaves and a robust root system. Space plants 12 inches apart. Dig a hole twice the width of the root ball. Ensure the crown is level with the soil surface; burying the crown leads to fungal pathogens in the meristematic tissue.
Pro-Tip: Apply a seaweed based transplant shock liquid. The cytokinins in the seaweed promote cell division in the root tips, encouraging rapid establishment in the new substrate through enhanced mycorrhizal symbiosis.
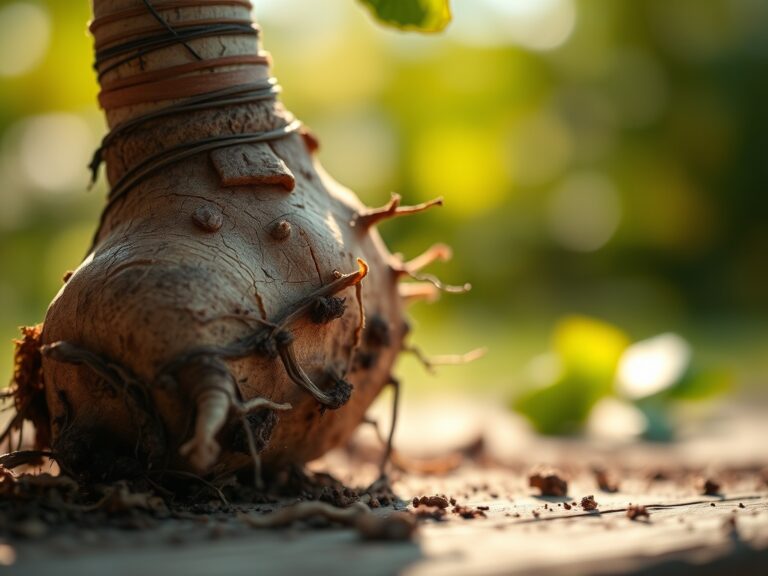
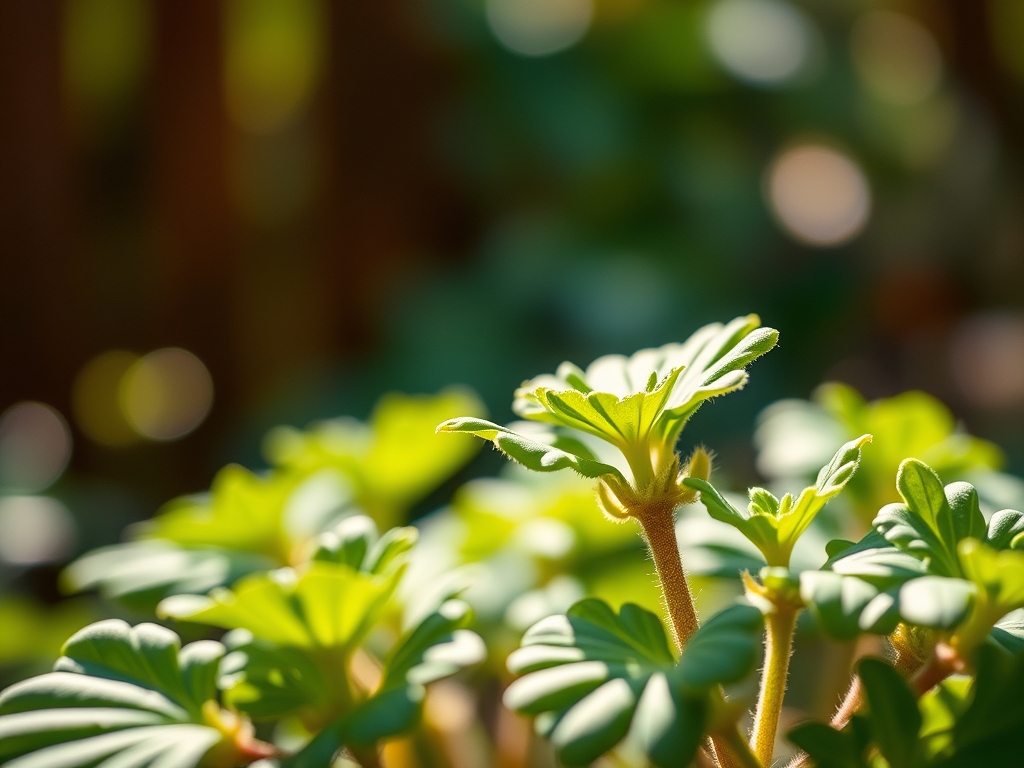
Establishing the Colony
As the plant matures, it sends out horizontal runners called stolons. These stolons develop nodes that strike new roots upon contact with moist soil. This clonal propagation allows the plant to cover large areas quickly.
Pro-Tip: Avoid disturbing the stolons once they have pinned to the soil. This allows the plant to utilize auxin suppression; the mother plant sends hormonal signals to the daughter plants to prioritize root development over leaf expansion initially, creating a more resilient network.
The Clinic:
Symptom: Interveinal Chlorosis
If the leaves turn yellow while the veins remain green, you are likely facing a magnesium or iron deficiency. This often occurs in soils with a pH above 7.5, which locks out these micronutrients.
Solution: Apply a chelated micronutrient spray and adjust the soil pH using elemental sulfur to bring it back into the 6.0 to 6.5 range.
Symptom: Leaf Spot (Fungal)
Small, dark brown spots with a yellow halo indicate a fungal infection, usually caused by poor air circulation and overhead watering.
Solution: Increase spacing between plants and use a soaker hose to keep foliage dry. Remove infected leaves with sterilized bypass pruners.
Symptom: Marginal Scorch
The edges of the leaves turn brown and brittle while the rest of the leaf remains green. This is a sign of salt accumulation or acute dehydration.
Solution: Flush the soil with three volumes of fresh water to leach out excess salts from synthetic fertilizers. Maintain a consistent 1.5 inches of water per week.
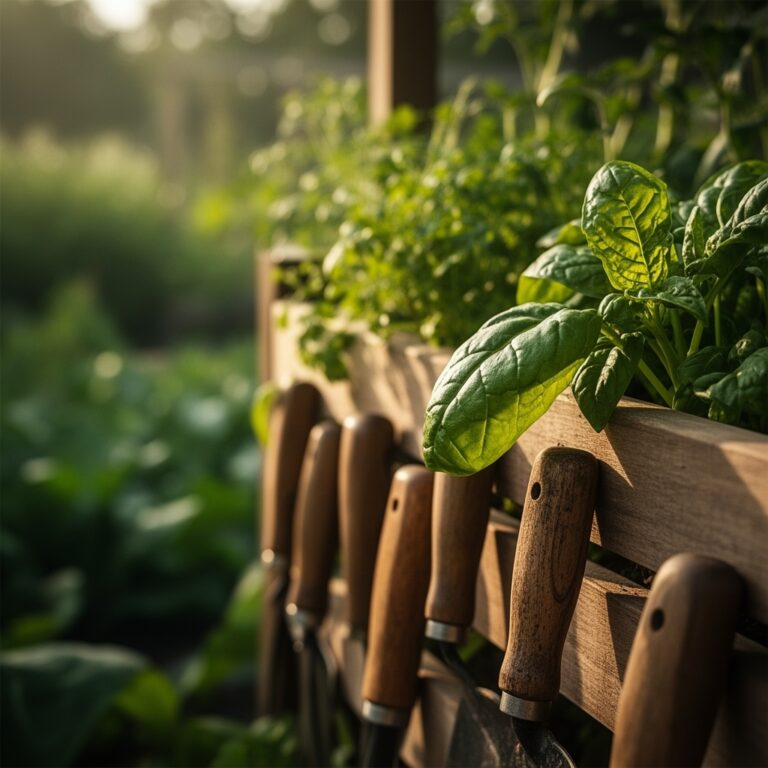
Maintenance:
Precision is required for long term health. Use a soil moisture meter daily; the probe should consistently read in the "Moist" to "Wet" range, never "Dry." If the meter drops below 60 percent relative moisture, irrigation is required immediately. Apply water at the drip line or through a sub irrigation system to maintain the water table near the root zone.
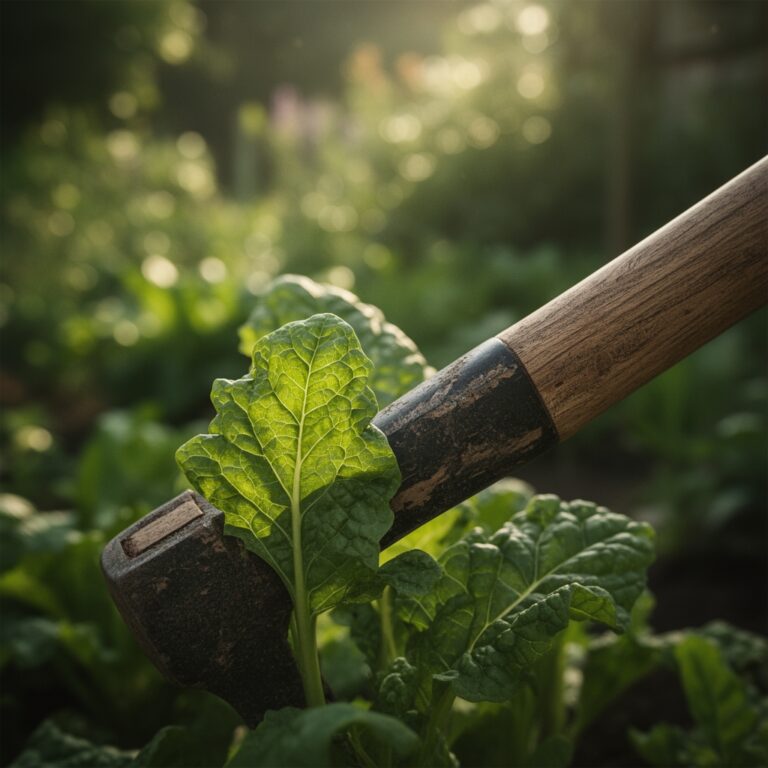
Weeding is a delicate task. Because gotu kola grows as a dense mat, invasive grasses can easily choke out the stolons. Use a hori-hori knife to extract deep rooted weeds without lifting the gotu kola's shallow root system. Pruning is rarely necessary for health but can be done to control the spread. Always use sharp, sterilized tools to ensure clean cuts that callus over quickly, preventing pathogen entry.
The Yield:
Harvesting can begin once the colony has fully carpeted the designated area, usually 3 to 4 months after transplanting. Select individual leaves with their petioles or harvest entire sections of the mat. Use sharp scissors to cut the stems one inch above the soil. This leaves the crown intact for rapid regrowth.
To maintain "day-one" freshness, submerge the harvested leaves in a cold water bath for ten minutes to maximize turgor. Spin them dry in a salad spinner and store in a sealed container at 40 degrees Fahrenheit. Under these conditions, the leaves will remain crisp for up to seven days. For long term storage, the leaves can be dehydrated at 105 degrees Fahrenheit until they are brittle, then stored in an airtight glass jar away from direct light.
FAQ:
Can I grow gotu kola in full sun?
Yes, provided the soil remains saturated. In regions with intense solar radiation, 30 to 40 percent shade is preferable to prevent leaf scorch and maintain a deep green color.
Why are my gotu kola leaves so small?
Small leaves usually indicate a nitrogen deficiency or insufficient water. Ensure you are providing a 10-10-10 fertilizer and maintaining a moisture level that prevents any wilting.
Is gotu kola invasive?
In tropical climates with high rainfall, it can spread aggressively via stolons. Use physical barriers or grow in containers to prevent it from escaping into unwanted areas of the landscape.
How do I overwinter gotu kola in cold climates?
Bring containers indoors before the first frost. Place them in a south facing window and use a humidity tray. Maintain temperatures above 60 degrees Fahrenheit to prevent the plant from entering dormancy.