8 Simple Steps to Plant Ashwagandha Root
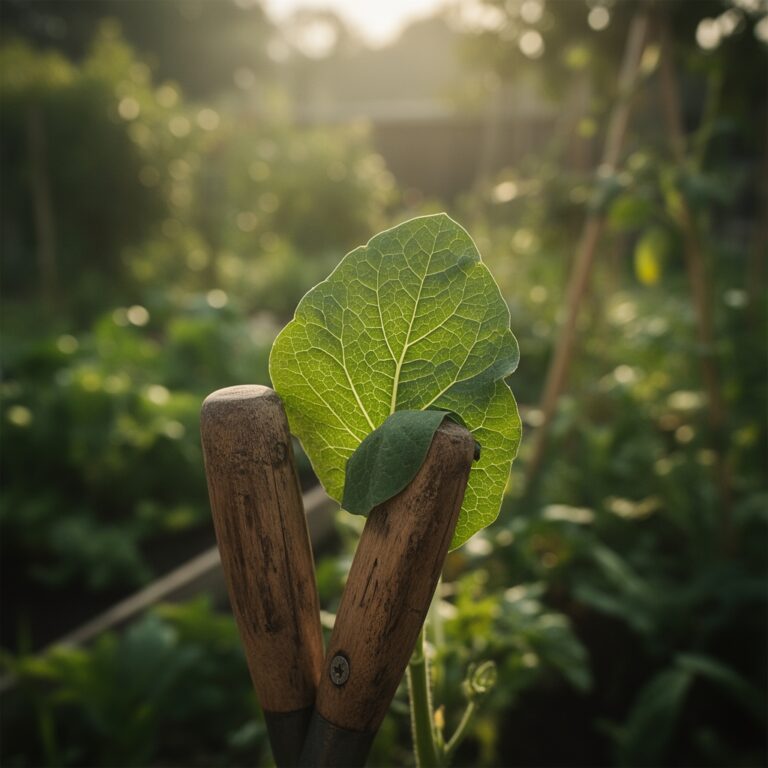
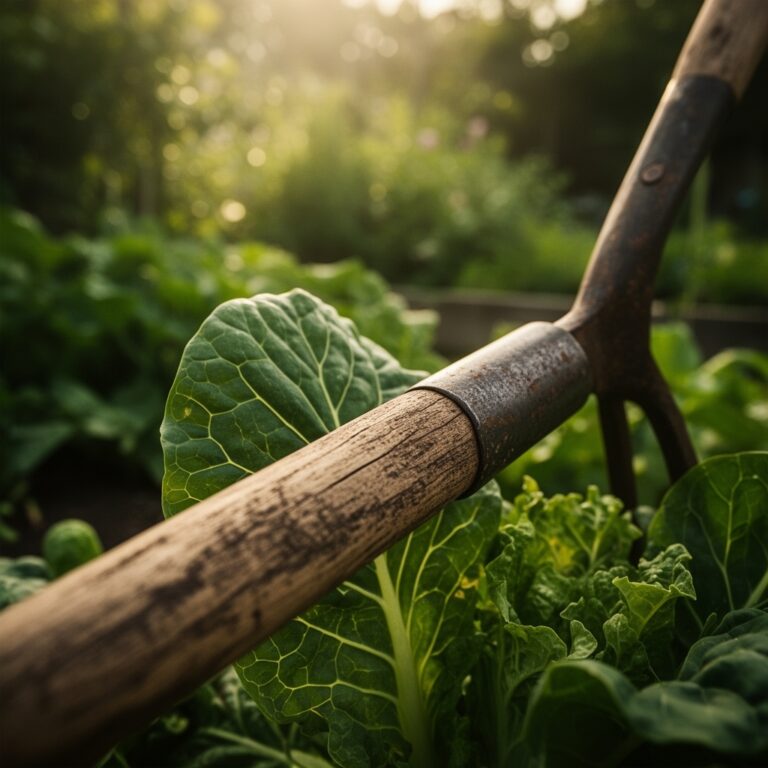
Crushing a handful of well-drained loam reveals the earthy, musk-like scent of Withania somnifera, a plant defined by its sturdy woody stems and matte green foliage. Success depends on maintaining high turgor pressure within the vascular system to support rapid growth during the summer heat. By following the precise steps to plant ashwagandha root, growers can establish a crop that thrives in arid conditions while producing dense, fibrous root systems. This botanical process requires specific thermal windows and soil chemistry to ensure the plant transitions efficiently from seed germination to secondary metabolite production.
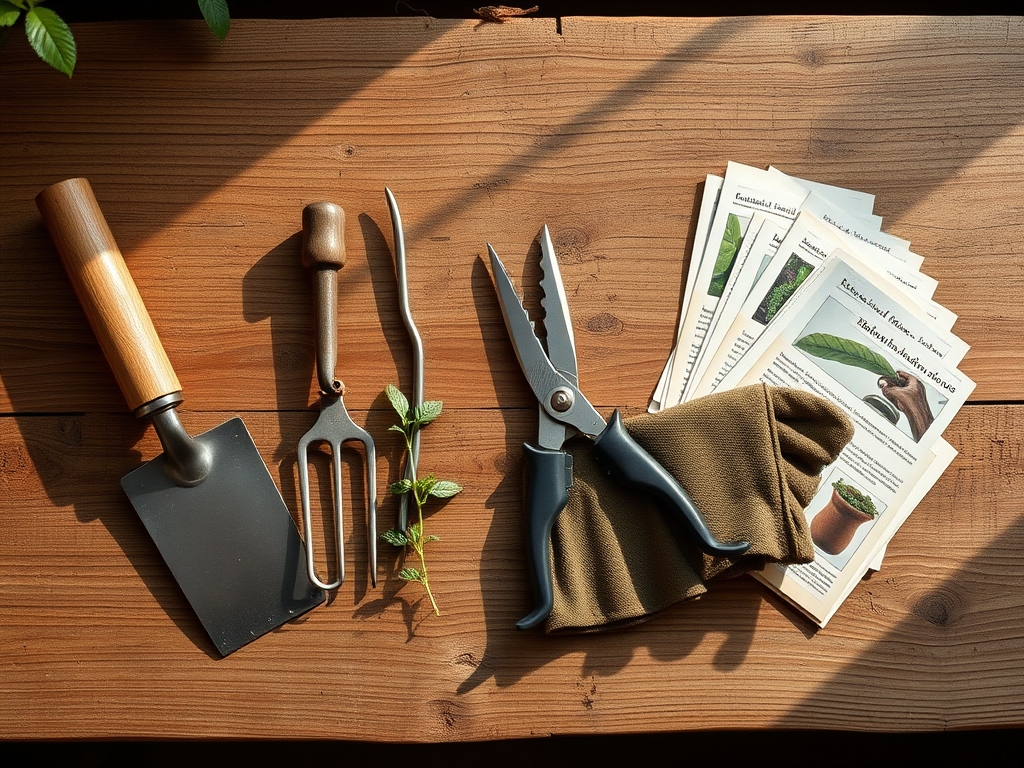
Materials:
The ideal substrate for ashwagandha is a friable loam with a high sand content to prevent waterlogging. The soil must maintain a pH range between 7.5 and 8.5, as this species prefers alkaline conditions. High Cation Exchange Capacity (CEC) is less critical than drainage; however, a baseline nutrient profile is necessary for initial establishment.
Prepare the site with a pre-planting fertilizer application using an NPK ratio of 1:2:1 (e.g., 5-10-5). This phosphorus-heavy start encourages robust radical development. Avoid high-nitrogen fertilizers, which stimulate excessive foliar growth at the expense of root density. The physical texture should be gritty to the touch, ensuring the rhizosphere remains oxygenated even after heavy precipitation.
Timing:
Ashwagandha is native to the dry subtropical regions of India and is generally grown as an annual in USDA Hardiness Zones 6 through 9, or as a perennial in Zones 10 and 11. The biological clock of this plant is dictated by soil temperature. Do not sow until the soil consistently reaches 70 to 75 degrees Fahrenheit.
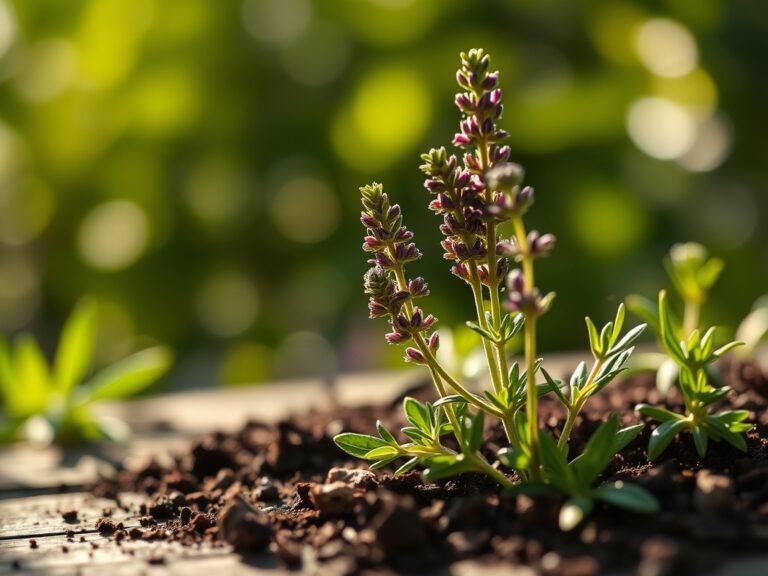
The vegetative stage lasts approximately 90 to 120 days. As the photoperiod shifts in late summer, the plant enters its reproductive stage, characterized by small green flowers and eventually red berries encased in a papery calyx. This transition triggers the senescence of the leaves as the plant redirects energy into the root system for storage.
Phases:
Sowing the Seeds
Sow seeds at a depth of 1/4 inch in starting trays or directly into the field. If direct sowing, use a rate of 10 to 12 pounds of seed per hectare to ensure adequate stand density. Keep the medium consistently moist but not saturated during the 10 to 14 day germination period.
Pro-Tip: Pre-soak seeds in distilled water for 24 hours prior to sowing. This softens the seed coat and leaches out germination inhibitors, accelerating the emergence of the radicle through improved imbibition.
Transplanting to the Field
Move seedlings when they reach a height of 4 inches and possess at least two sets of true leaves. Space plants 20 to 30 centimeters apart in rows separated by 50 to 60 centimeters. This spacing ensures adequate airflow to prevent fungal pathogens from establishing in the lower canopy.
Pro-Tip: Dip the root plugs in a mycorrhizal fungal inoculant during transplanting. This symbiotic relationship expands the surface area of the root system, allowing for better phosphorus uptake and increased drought resistance through enhanced hydraulic conductance.
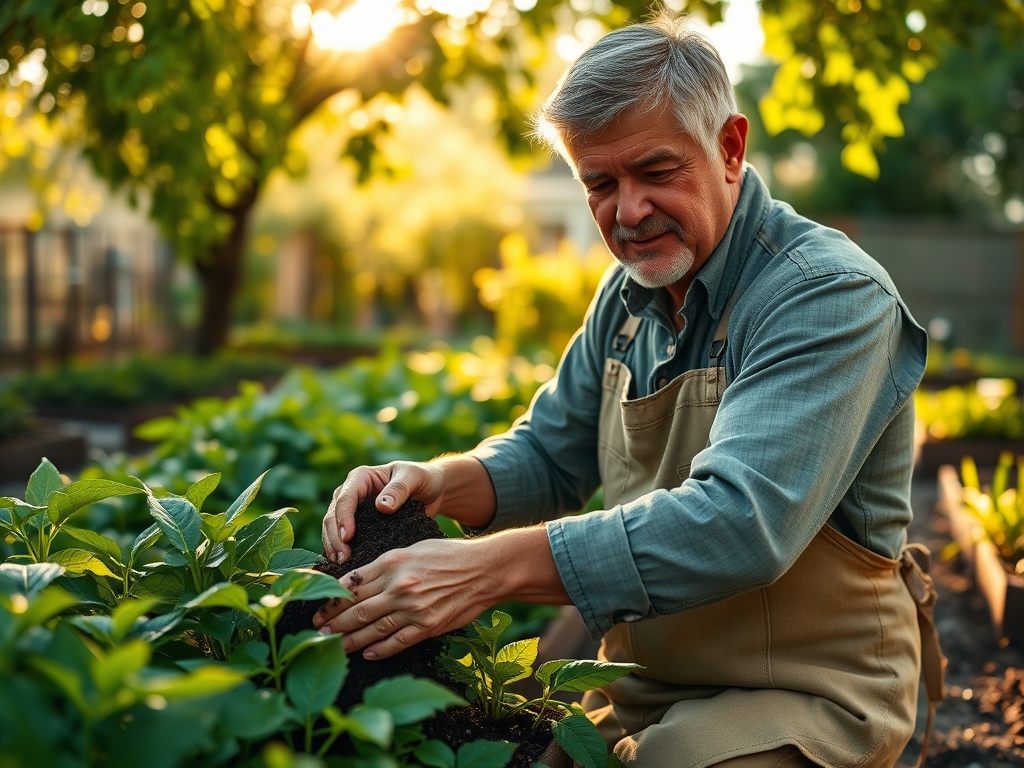
Establishing the Crop
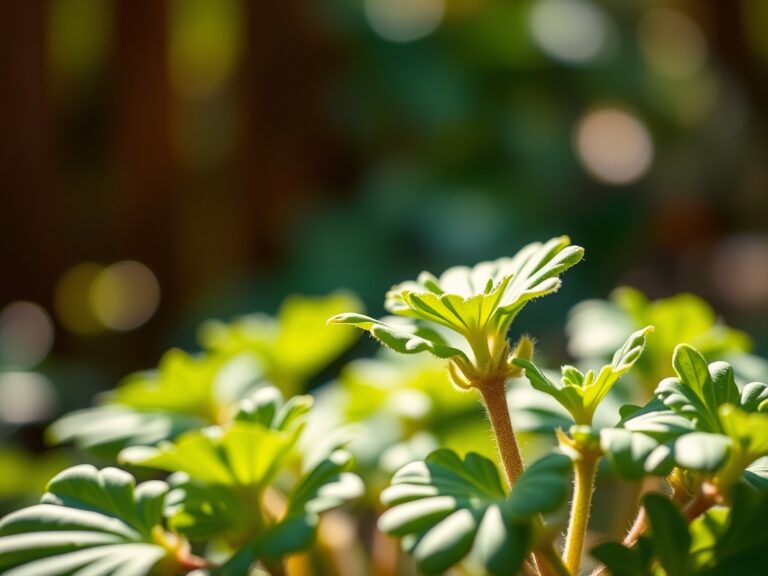
During the first 30 days post-transplant, focus on weed suppression and consistent moisture. Once the taproot is established, the plant becomes significantly more drought-tolerant. Monitor the apical meristem for steady growth; a healthy plant will show a deep green hue and firm petioles.
Pro-Tip: Avoid excessive overhead irrigation to prevent auxin suppression caused by mechanical stress on the leaves. Use drip irrigation to deliver water directly to the soil surface, which maintains the integrity of the leaf cuticle and reduces the risk of foliar blights.
The Clinic:
Physiological disorders often stem from environmental stressors rather than pathogens. Observe the root structure and leaf margins for these indicators:
- Nitrogen Chlorosis: Yellowing of older leaves while veins remain pale. Fix-it: Apply a side-dressing of blood meal or a liquid kelp emulsion to provide immediate bioavailable nitrogen.
- Iron Deficiency: Interveinal chlorosis on new growth, common in high pH soils. Fix-it: Apply chelated iron as a foliar spray to bypass soil lockout issues.
- Damping Off: Seedlings collapse at the soil line due to Pythium fungi. Fix-it: Reduce irrigation frequency and increase grit in the soil mix to improve drainage.
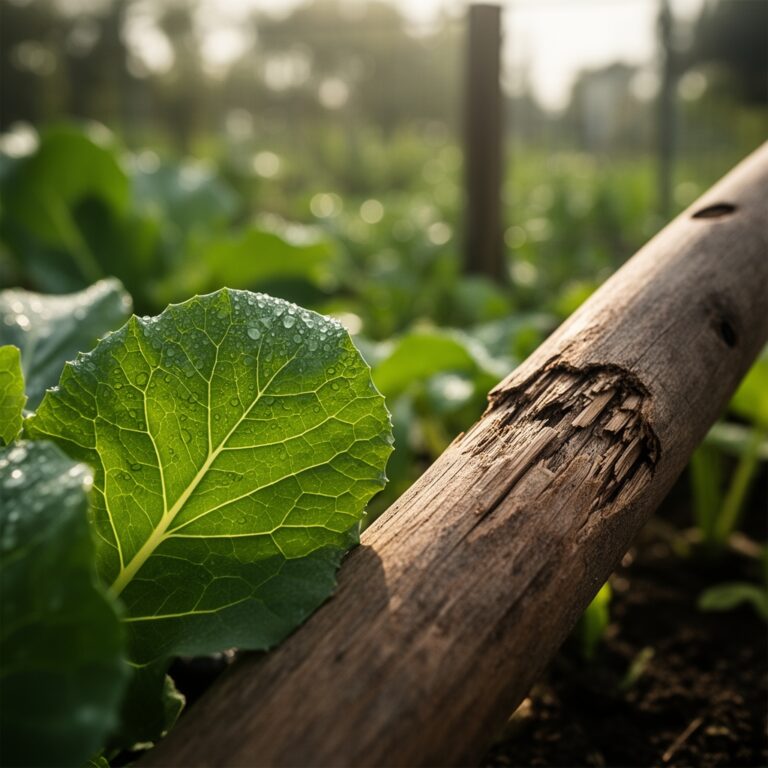
- Leaf Spot: Small brown necrotic lesions on foliage. Fix-it: Increase plant spacing to improve air circulation and use bypass pruners to remove infected tissue, disinfecting blades between cuts.
Maintenance:
Precision is required for high-yield root production. Provide 1.5 inches of water per week delivered at the drip line during the first two months. As the plant matures, reduce this to 0.5 inches every ten days. Over-watering in the final stages of growth leads to root rot and a decrease in the concentration of secondary compounds.
Utilize a hori-hori knife for weeding close to the base of the plant to avoid disturbing the shallow lateral roots. Use a soil moisture meter twice weekly to verify that the root zone at a 6-inch depth is drying out between watering cycles. This "stress-recovery" cycle encourages the taproot to dive deeper into the subsoil.
The Yield:
Harvesting typically occurs 150 to 180 days after sowing. The signal for harvest is the drying of the berries and the yellowing of the leaves, indicating the plant has reached peak maturity. The roots should be harvested when the soil is slightly dry to facilitate easier extraction.
Use a garden fork to loosen the soil in a 12-inch radius around the main stem. Gently lift the entire root mass, taking care not to snap the central taproot. Once extracted, use bypass pruners to remove the aerial parts about one inch above the crown. Wash the roots immediately with a high-pressure hose to remove all soil particles. For day-one freshness and long-term storage, the roots must be sliced into 2-inch sections and dried in a ventilated area at temperatures not exceeding 110 degrees Fahrenheit to prevent the degradation of thermolabile compounds.
FAQ:
How much sun does ashwagandha need?
Ashwagandha requires full sun exposure, totaling at least 6 to 8 hours of direct light daily. Insufficient light leads to leggy growth, reduced turgor, and a significant decrease in the biomass of the root system.
Can I grow ashwagandha in containers?
Yes, use a pot at least 12 inches deep with a 5-gallon capacity. Ensure the container has multiple drainage holes and use a mix of 60% potting soil and 40% perlite to mimic its natural gritty habitat.
What is the best fertilizer for root growth?
Use a fertilizer with a low nitrogen and high phosphorus count, such as a 5-10-10 blend. Apply at the start of the growing season and once more mid-season to support the development of the primary taproot.
When is the best time to harvest?
Harvest in late autumn after the berries have turned red and the foliage begins to yellow. This timing ensures the plant has finished its reproductive cycle and has stored maximum energy reserves in the root structure.