6 Climbing Steps to Prepare a DIY Climbing Plant Trellis
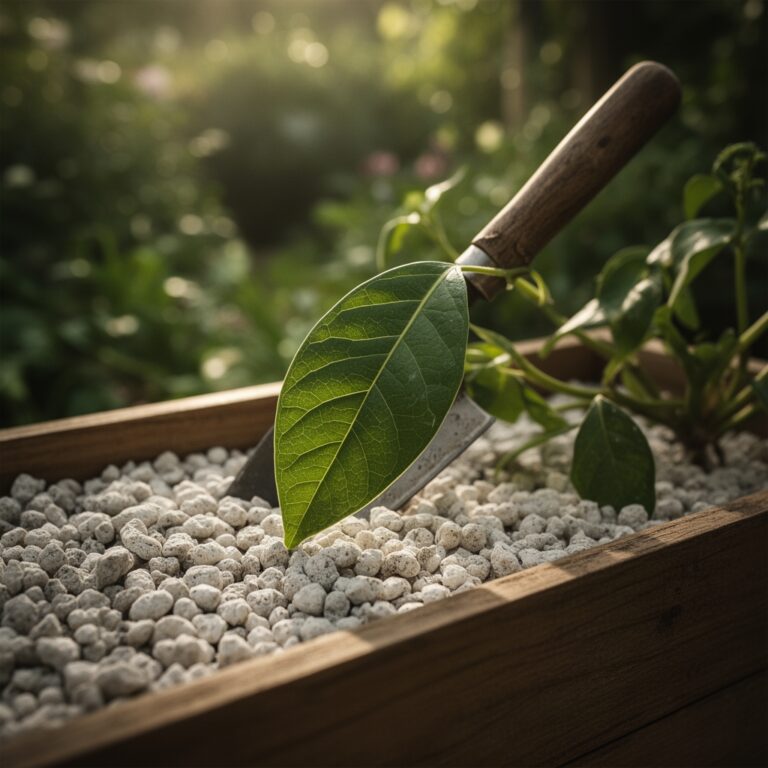
Crushing a handful of friable loam reveals the metallic scent of geosmin and the presence of beneficial actinomycetes. This gritty texture indicates a healthy rhizosphere where oxygen diffusion and water retention remain in perfect equilibrium. When the turgor pressure in a climbing vine reaches its peak, the plant requires a rigid structure to support its vertical ascent. Learning how to prepare a DIY plant trellis is a fundamental skill for maximizing photosynthesis and preventing soil-borne pathogens from colonizing the foliage.
Vertical gardening increases the available surface area for solar radiation absorption. Without proper support, heavy vines like Cucurbita pepo or Actinidia chinensis will succumb to ground rot and poor air circulation. A successful trellis system redirects the plant's energy from lateral crawling to vertical expansion; this transition optimizes the photoperiod exposure for every leaf node. By engineering a stable framework, you ensure that the plant's vascular system remains unkinked and efficient. This guide provides the technical specifications required to build a professional-grade support system that withstands high winds and heavy fruit loads.
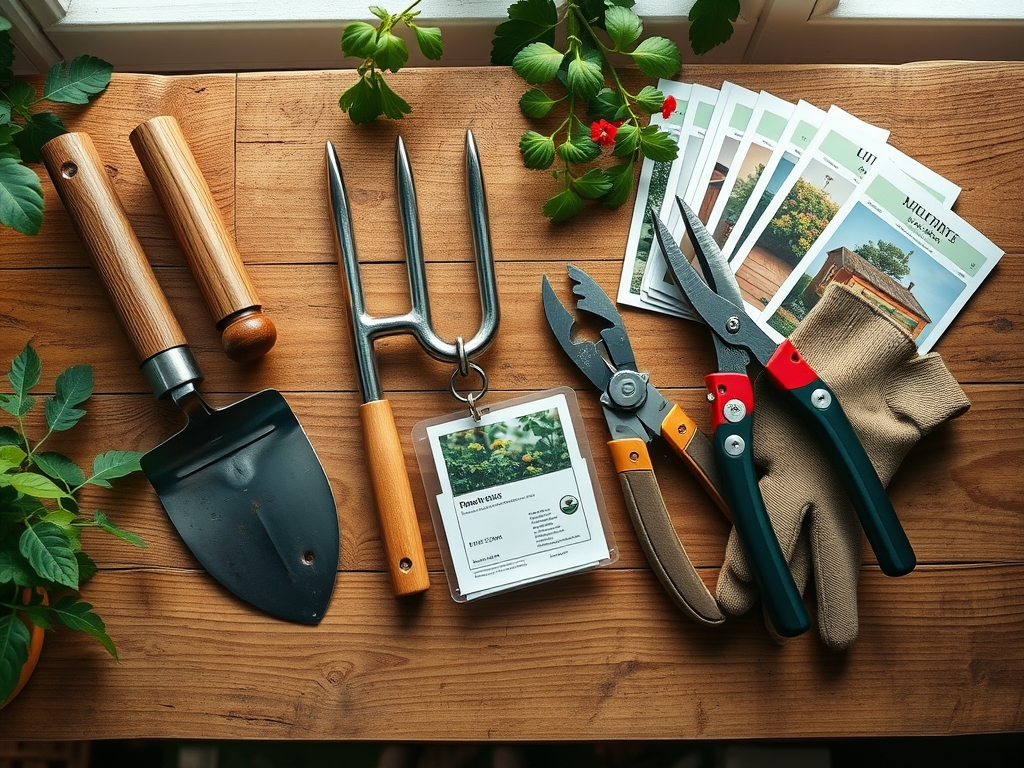
Materials:
A trellis is only as effective as the soil anchoring it. Before construction, verify that your substrate is a **friable loam with a pH between 6.0 and 7.0**. This range ensures maximum bioavailability of micronutrients. For heavy feeders, integrate a pre-planting fertilizer with an **NPK ratio of 5-10-10** to encourage robust root development rather than excessive, weak vegetative growth.
The structural components must be non-toxic and durable. Use 14-gauge galvanized cattle panels or untreated cedar posts. Cedar contains natural thujaplicins that resist fungal decay without leaching chemicals into the soil. For the fastening system, utilize 12-gauge copper wire or heavy-duty nylon twine. Ensure your soil has a Cation Exchange Capacity (CEC) above 15, which indicates the soil's ability to hold onto essential positively charged ions like calcium and magnesium. If the soil is too sandy, amend it with organic matter to prevent the trellis posts from shifting during heavy rain events.
Timing:
Installation must occur before the plant enters its rapid vegetative expansion phase. In Hardiness Zones 5 through 7, the window for trellis preparation begins as soon as the soil temperature reaches a consistent 55 degrees Fahrenheit (13 degrees Celsius). This usually aligns with the date of the last spring frost.
The biological clock of a climbing plant is governed by the transition from the juvenile vegetative stage to the reproductive stage. If you wait until the plant has already begun to sprawl, you risk damaging the delicate root hairs during post-installation. Aim to have the structure in place at least 14 days prior to transplanting. This allows the soil to settle around the base of the supports. For photoperiod-sensitive species, early installation ensures that the trellis does not cast unwanted shadows on the emerging seedlings during the critical early growth stages.
Phases:

Sowing and Site Preparation
Clear a perimeter of 24 inches around the trellis base. Excavate a trench 8 inches deep and incorporate well-rotted compost. If direct-sowing seeds, plant them at a depth of three times the seed's diameter. Ensure the soil is moist but not saturated to avoid seed rot caused by Pythium species.
Pro-Tip: High phosphorus levels at the sowing stage encourage mycorrhizal symbiosis. These fungi extend the root system's reach, allowing the plant to pull moisture from deeper soil layers during the heat of summer.
Transplanting
When moving seedlings from the greenhouse to the trellis, ensure they have at least two sets of true leaves. Dig a hole twice the width of the root ball. Position the plant 4 to 6 inches from the base of the trellis. This distance prevents the main stem from rubbing against the support, which can create entry points for pathogens.
Pro-Tip: Angle the transplant slightly toward the trellis at a 45-degree angle. This utilizes thigmotropism, the physiological response where a plant changes its growth direction in response to physical contact with a solid object.
Establishing and Training
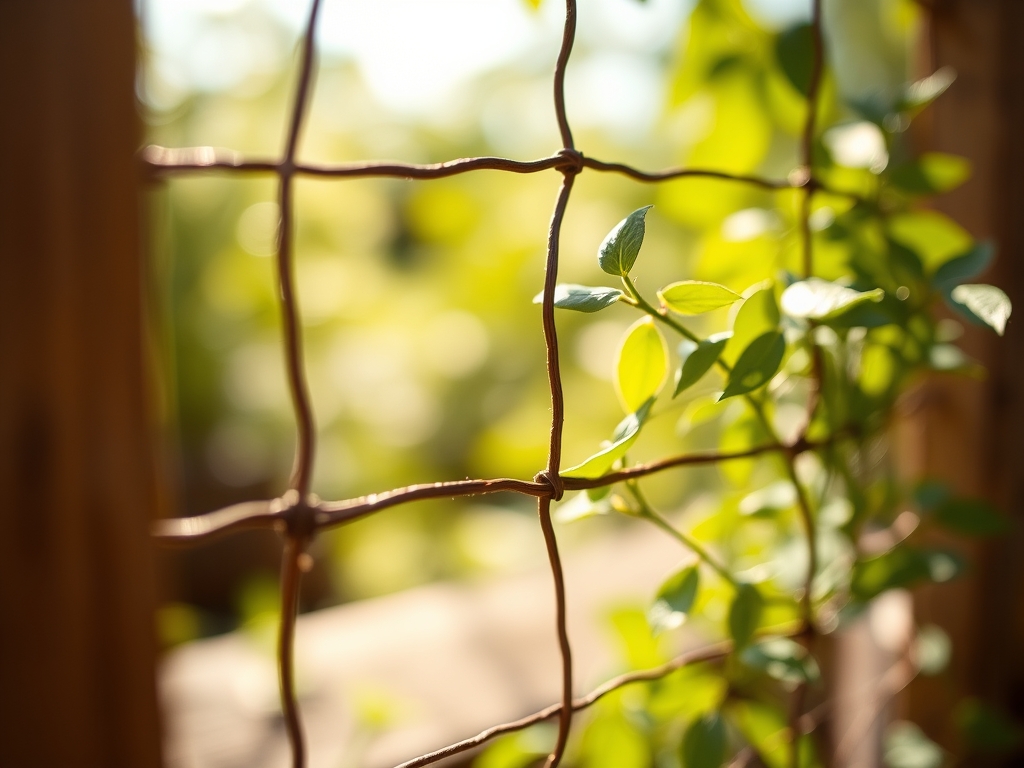
As the plant grows, use soft ties to secure the main lead to the trellis. Do not tie the knots tight; leave a 0.5-inch gap to allow for secondary thickening of the stem. Monitor the plant for the development of tendrils or adventitious roots.
Pro-Tip: Regularly pinch off lateral shoots to promote apical dominance. This process suppresses auxin production in the side buds, forcing the plant to channel its energy into the main vertical leader for faster trellis coverage.
The Clinic:
Physiological disorders often manifest when the trellis environment is poorly managed. Monitor your plants for these specific symptoms:
- Nitrogen Chlorosis: Lower leaves turn pale yellow while veins remain slightly green. Fix-It: Apply a liquid kelp or fish emulsion with a high Nitrogen (N) value to restore chlorophyll production.
- Blossom End Rot: Dark, leathery spots appear on the bottom of the fruit. This is caused by a Calcium deficiency often triggered by inconsistent moisture. Fix-It: Maintain steady hydration and ensure soil pH is not below 6.0.
- Interveinal Necrosis: Brown, dead tissue between the leaf veins. This often indicates a Magnesium deficiency. Fix-It: Apply Epsom salts (magnesium sulfate) at a rate of 1 tablespoon per gallon of water at the base of the plant.
- Etiolation: Stems become thin, pale, and excessively long. This is a sign of light deficiency. Fix-It: Prune surrounding vegetation to increase light penetration to the trellis surface.
Maintenance:
Precision irrigation is mandatory for trellised plants because they lose moisture faster due to increased wind exposure. Deliver 1.5 inches of water per week directly to the drip line. Use a soil moisture meter to verify that the root zone at a 6-inch depth remains consistently damp but not waterlogged.
Keep your bypass pruners sterilized with a 10 percent bleach solution to prevent the spread of viral infections between plants. Use a hori-hori knife to remove deep-rooted weeds that compete for nutrients within the 18-inch radius of the trellis base. Every 30 days, inspect the structural integrity of the trellis; tighten any loose wires and replace twine that shows signs of UV degradation or fraying.
The Yield:
For edible climbers like pole beans or cucumbers, harvest timing is critical to prevent the plant from entering senescence (biological aging). Harvest cucumbers when they reach 6 to 8 inches in length. Use sharp shears to cut the peduncle; never pull the fruit, as this can de-girdle the vine or detach it from the trellis.
To maintain "day-one" freshness, harvest during the cool hours of the early morning when turgor pressure is highest. Immediately submerge the cut ends or the produce in 40-degree Fahrenheit water to remove field heat. This slows the metabolic rate and preserves the cellular structure of the harvest.
FAQ:
How deep should trellis posts be buried?
Drive support posts at least 18 to 24 inches into the ground. For heavy perennial vines, use a post-hole digger to reach below the frost line to prevent heaving during winter freeze-thaw cycles.
What is the best material for plant ties?
Use soft stretch tie tape or strips of cotton fabric. These materials expand as the plant's vascular tissue undergoes secondary growth, preventing the "strangulation" of the xylem and phloem vessels.
Can I reuse a trellis every year?
Yes, but you must sanitize the structure. Scrub the trellis with a diluted vinegar or bleach solution to kill overwintering fungal spores and insect eggs before the new growing season begins.
Why are my climbing plants not grabbing the trellis?
Some plants are "twiners" while others use "tendrils." If a plant lacks natural attachment mechanisms, you must manually secure the stems using loose figure-eight loops to guide the plant toward the support structure.