7 Vital Steps to Plant Marshmallow Root
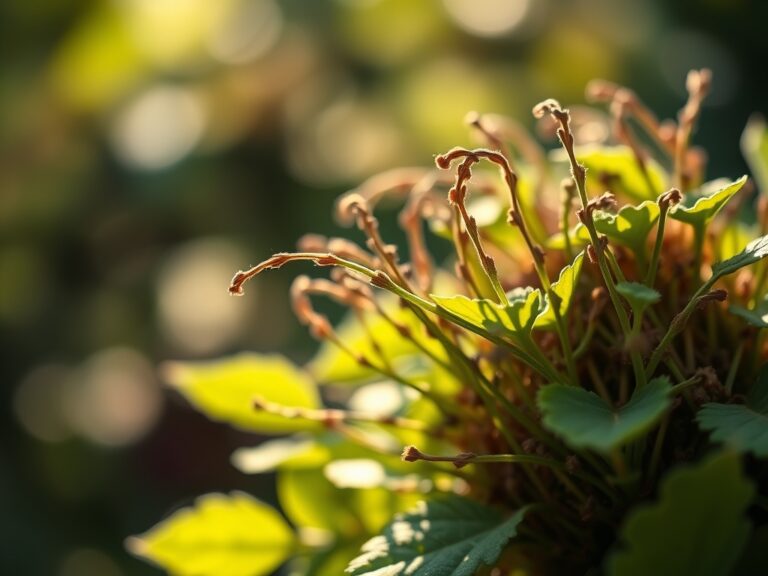
Damp earth clings to the skin with a heavy, metallic scent while the turgor of a healthy Althaea officinalis leaf resists the pressure of a thumb. Success in the garden is measured by the structural integrity of the plant and the density of its root system. Mastering the steps to plant marshmallow root requires an understanding of its preference for riparian environments and its high tolerance for moisture. You must manage soil saturation without inducing anaerobic conditions in the rhizosphere.
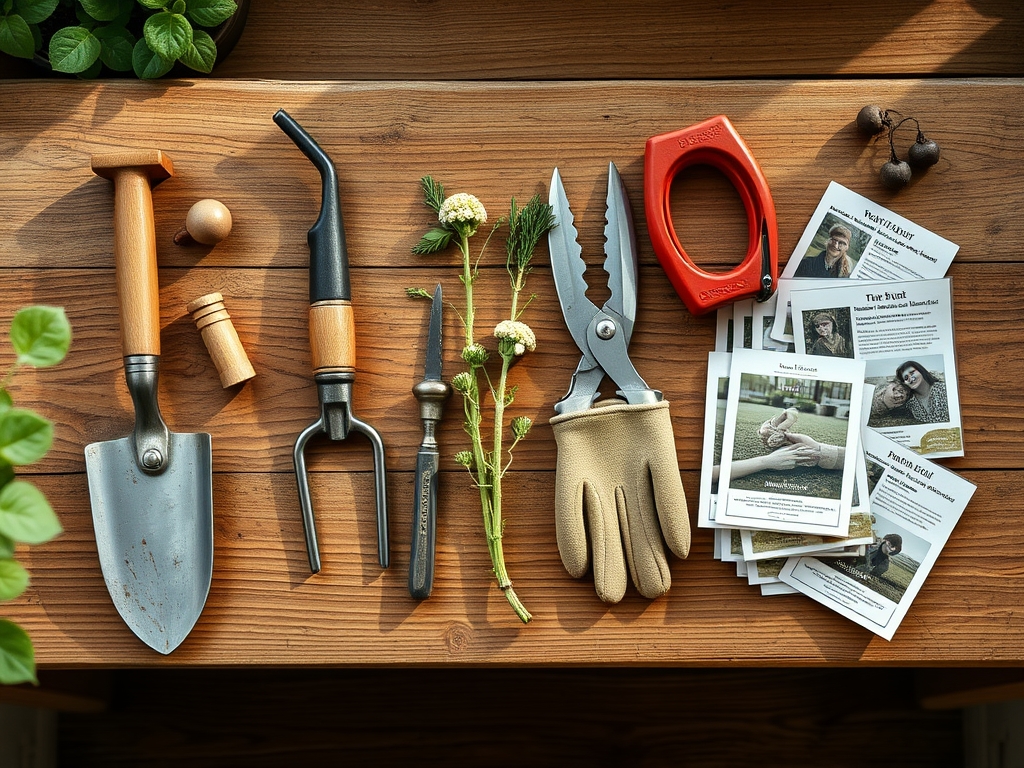
Materials:
Marshmallow root demands a **pH range of 6.0 to 7.5**. The substrate must be a friable loam with a high Cation Exchange Capacity (CEC) to facilitate the uptake of essential minerals. Prepare the site with a balanced **NPK ratio of 10-10-10** during the initial tilling to ensure phosphorus is available for early root development. The soil texture should be silty and deep; this allows the taproot to penetrate at least **12 to 18 inches** without hitting compacted clay layers or bedrock. High organic matter content is non-negotiable for moisture retention.
Timing:
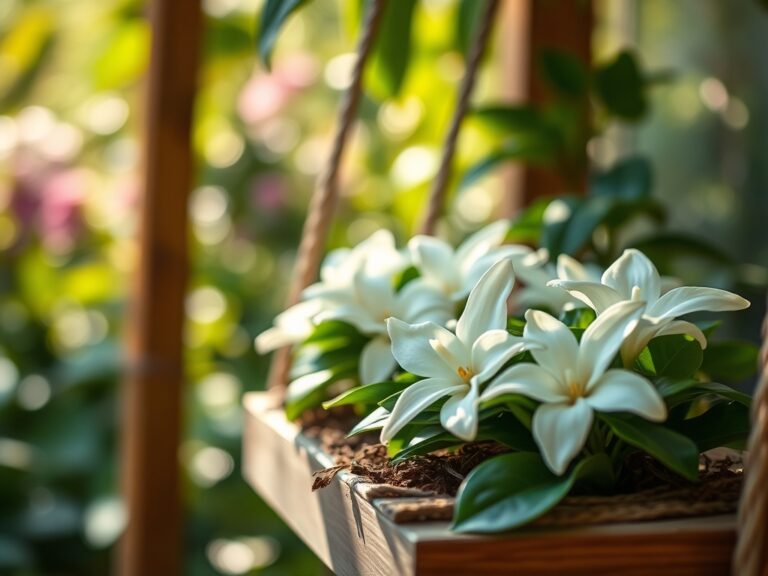
This perennial thrives in USDA Hardiness Zones 3 through 9. The biological clock of Althaea officinalis is triggered by vernalization; the seeds require a period of cold stratification to break dormancy. Sow seeds outdoors in late autumn or early spring, approximately 4 to 6 weeks before the last frost. In the vegetative stage, the plant focuses on biomass production. As the photoperiod lengthens toward the summer solstice, the plant transitions into its reproductive stage, producing pale pink flowers.
Phases:
Sowing and Stratification
If starting indoors, place seeds in a moist medium and refrigerate at 35 to 40 degrees Fahrenheit for four weeks. Sow seeds at a depth of 1/4 inch. Germination is erratic and may take up to 21 days.
Pro-Tip: Cold stratification mimics the natural winter cycle, which degrades the seed coat and neutralizes germination inhibitors like abscisic acid. This process ensures a higher success rate by synchronizing the sprout with the onset of favorable spring temperatures.
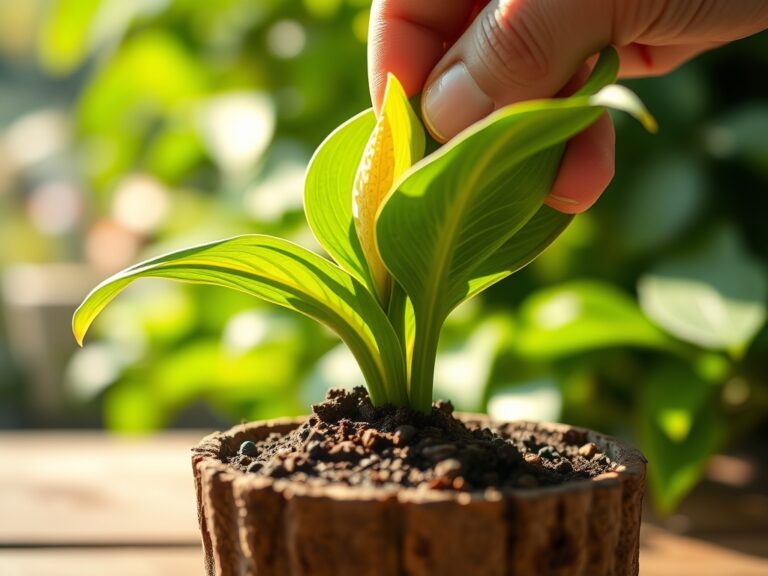
Transplanting
Move seedlings to their permanent location once they have developed two sets of true leaves and the risk of hard frost has passed. Space plants 18 to 24 inches apart to allow for lateral root expansion and adequate airflow.
Pro-Tip: When transplanting, avoid disturbing the root ball to maintain the existing mycorrhizal symbiosis. These fungal networks increase the surface area for nutrient absorption and protect the plant from water stress.
Establishing the Stand
During the first year, the plant allocates energy to the root system rather than height. Ensure the soil remains consistently moist. Use a soil moisture meter to verify that the root zone is not drying out below the top two inches.
Pro-Tip: Suppress apical dominance by pinching back early growth if the plant becomes leggy. This redirects auxins to the lower nodes, encouraging a bushier habit and a more robust root crown.
The Clinic:
Physiological disorders often stem from environmental imbalances rather than pathogens.
- Symptom: Interveinal chlorosis (yellowing between leaf veins).
- Solution: This indicates a magnesium deficiency or high pH blocking nutrient uptake. Apply Epsom salts (magnesium sulfate) or lower pH with elemental sulfur.
- Symptom: Marginal leaf burn.
- Solution: This suggests potassium deficiency or salt accumulation. Flush the soil with 2 inches of water and adjust the NPK balance to favor K.
- Symptom: Wilting despite wet soil.
- Solution: This is a sign of root hypoxia (lack of oxygen). Improve drainage by incorporating coarse organic matter or perlite into the loam.
- Fix-It for Nitrogen Chlorosis: If the entire leaf turns pale green, apply a high-nitrogen liquid fertilizer (e.g., 5-1-1 fish emulsion) to rapidly restore chlorophyll production.
Maintenance:
Precision irrigation is the cornerstone of marshmallow cultivation. Provide 1.5 inches of water per week delivered at the drip line to prevent foliar diseases. Use a hori-hori knife to remove deep-rooted weeds that compete for nitrogen. Monitor the stand for signs of senescence in late autumn; as the stalks turn brown, use bypass pruners to cut the plant back to 3 inches above the soil line. Apply a 3-inch layer of straw mulch to protect the crown from "frost heaving," which can physically eject roots from the ground during freeze-thaw cycles.
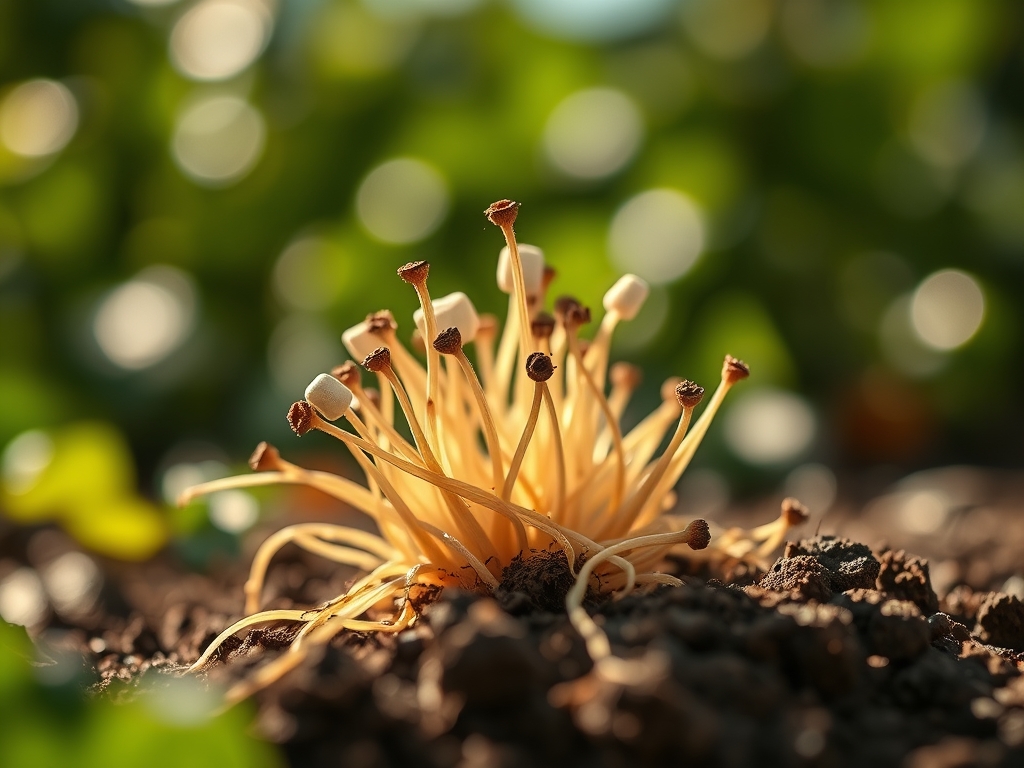
The Yield:
Harvesting occurs in the autumn of the second or third year when the plant enters dormancy. Use a garden fork to lift the entire root mass carefully. The primary taproot and secondary lateral roots are the targets. Wash the roots immediately with high-pressure water to remove all soil particles. For "day-one" freshness and to prevent rot, slice the roots into half-inch discs and dry them at 100 degrees Fahrenheit until they are brittle. Store in airtight containers away from direct UV light to prevent the degradation of the mucilage content.
FAQ:
How much sun does marshmallow root need?
Althaea officinalis requires full sun to partial shade. For maximum root mass and mucilage production, aim for at least 6 to 8 hours of direct sunlight daily. Insufficient light leads to weak stems and diminished root density.
Can I grow marshmallow root in pots?
Yes, but you must use a container at least 12 inches deep and 12 inches wide. Because it is a perennial with a significant taproot, a 5-gallon fabric pot is ideal for ensuring proper drainage and air-pruning of the roots.
Why are my marshmallow seeds not germinating?
The most common cause is a lack of cold stratification. These seeds require a "winter chill" to break dormancy. Ensure the seeds are kept moist during the 30-day cold period before moving them to a warmer germination environment.
When is the best time to harvest the roots?
Harvest in the late autumn of the second year. At this stage, the plant has transitioned into dormancy, and the concentration of active compounds in the roots is at its peak. Avoid harvesting during the flowering stage.
What is the ideal soil for marshmallow root?
The ideal substrate is a moisture-retentive, friable loam rich in organic matter. It should have a pH between 6.0 and 7.5 and a high cation exchange capacity to ensure the plant can access necessary micronutrients throughout the growing season.