9 Best Edging for Gravel Paths
The smell of damp earth after a cold rain indicates more than just moisture; it signals the activation of microbial life within the rhizosphere. Maintaining structural integrity in the landscape requires a physical barrier to prevent substrate migration and preserve soil porosity. Selecting the best edging for gravel paths is a technical necessity to stop gravel from encroaching on planting beds where it can alter soil temperature and drainage. A gravel path without a defined edge leads to compaction and the loss of turgor pressure in nearby perennials as roots struggle against displaced stones.
Materials:
The success of any edging installation depends on the interaction between the barrier and the soil chemistry. For most temperate gardens, a friable loam with a pH between 6.0 and 7.0 provides the ideal structural support. High Cation Exchange Capacity (CEC) ensures that the soil remains stable against the edging material without collapsing.
When installing edging alongside heavy feeders, maintain a balanced NPK ratio of 10-10-10 for general establishment. If the edging borders acid-loving species like Ericaceae, ensure the material does not leach lime, which would spike the pH and lead to iron chlorosis. Metal edging, particularly weathered steel, is inert and does not interfere with the delicate chemical balance of the soil solution.
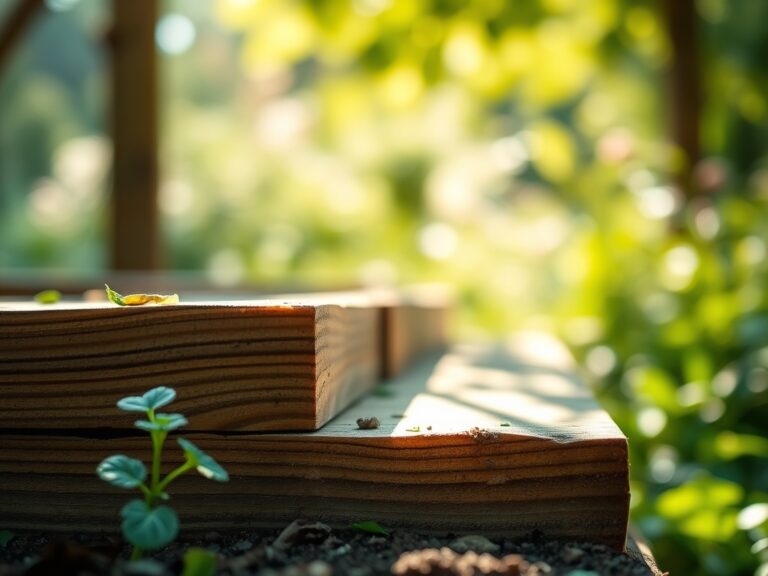
- Weathered Steel (Corten): High durability; thin profile prevents root disturbance.
- Aluminum: Lightweight and corrosion-resistant; ideal for high-salinity coastal soils.
- Poured Concrete: Provides a permanent thermal mass that can influence local soil temperatures.
- Brick and Pavers: High porosity allows for some gas exchange at the soil-edge interface.
- Natural Stone: Best for irregular terrain; provides micro-habitats for beneficial predatory insects.
- Recycled Plastic: Low cost; must be UV-stabilized to prevent chemical leaching into the groundwater.
- Pressure-Treated Timber: Ensure it is rated for ground contact to prevent premature fungal decay.
- Composite Lumber: Resistant to rot; maintains a consistent expansion coefficient in variable humidity.
- Wattle/Willow: Organic and biodegradable; supports a high fungal-to-bacterial ratio in the soil.
Timing:
Installation should occur when the soil is at field capacity, typically in early spring or late autumn. In Hardiness Zones 4 through 7, the window opens once the frost has exited the top 12 inches of the soil profile. Avoid installation during the peak of the "Biological Clock," specifically when plants are transitioning from vegetative growth to reproductive stages.
Disturbing the root zone during the flowering phase can trigger abscisic acid production, leading to premature bud drop or senescence. Aim for a soil temperature of at least 50 degrees Fahrenheit to ensure that any roots disturbed during the trenching process can quickly regenerate through active mitosis.
Phases:

Sowing and Site Prep
Before placing the edging, clear a trench 4 to 6 inches deep. If you are sowing seeds adjacent to the path, ensure the soil is refined to a fine tilth. Removing large aggregates improves seed-to-soil contact, which is vital for imbibition.
Pro-Tip: Maintaining a clean edge prevents the "edge effect" where weeds utilize the extra light and moisture at the path's margin. This reduces competition for nutrients in the rhizosphere, allowing your primary crops to maximize their nutrient uptake.
Transplanting
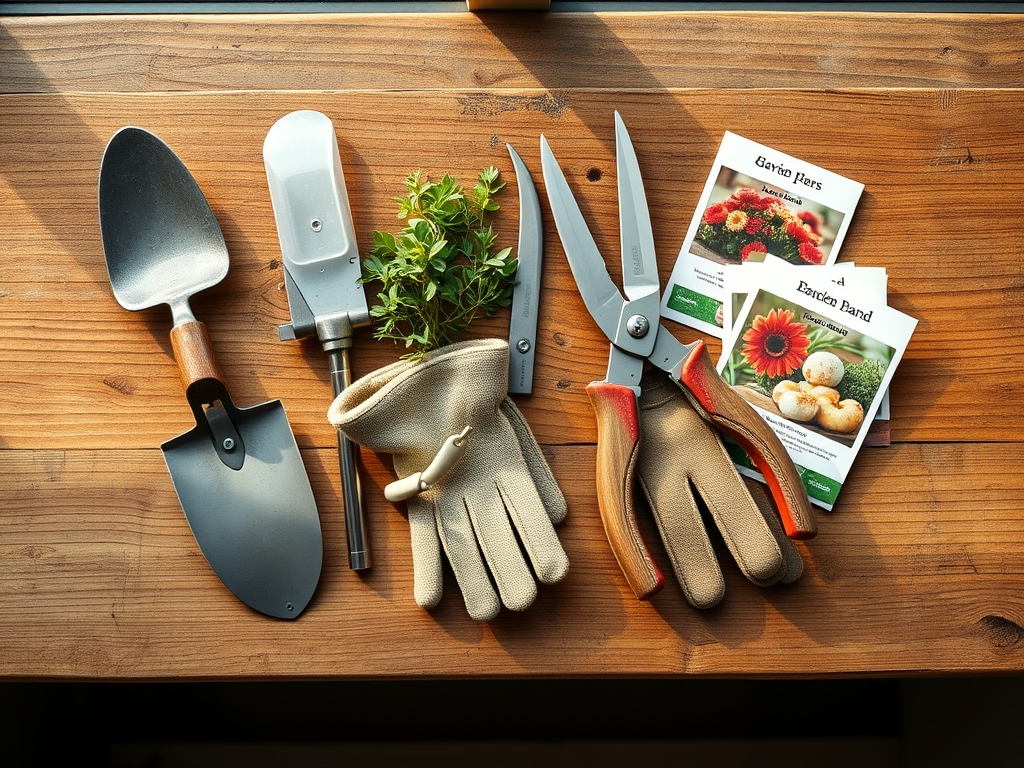
When installing edging near established plants, use a hori-hori knife to cleanly sever any encroaching roots rather than tearing them. A clean cut allows the plant to seal the wound quickly, preventing the entry of soil-borne pathogens like Phytophthora.
Pro-Tip: Apply a mycorrhizal inoculant to the trench before backfilling. This symbiotic relationship enhances the plant's ability to absorb phosphorus and water, offsetting the stress of the physical installation.
Establishing
Once the edging is secured with stakes or mortar, backfill with a mix of native soil and organic compost. Firm the soil to remove large air pockets, which can cause root desiccation. The gravel should be installed at a depth of 2 to 3 inches over a geotextile fabric to prevent weed emergence.
Pro-Tip: Use a soil moisture meter to monitor the transition zone. Edging can act as a dam, potentially causing localized anaerobic conditions if drainage is not properly managed through the use of weep holes or permeable base layers.
The Clinic:
Physiological disorders often manifest at the margin of gravel paths due to heat reflection or drainage issues.
- Symptom: Interveinal chlorosis (yellowing leaves with green veins).
- Solution: Check soil pH. If the edging is concrete or limestone, it may be leaching carbonates. Apply chelated iron or elemental sulfur to lower the pH to a range of 6.0 to 6.5.
- Symptom: Marginal leaf burn or scorching.
- Solution: This is often caused by heat radiation from the gravel. Increase irrigation frequency to maintain turgor pressure and consider a mulch layer between the edging and the plant stems.
- Symptom: Stunted growth and purpling of lower leaves.
- Solution: This indicates a Phosphorus deficiency, often exacerbated by cold, wet soils trapped against the edging. Improve drainage by adding perlite or coarse sand to the backfill.
Fix-It: For Nitrogen chlorosis (general paling of the entire leaf), apply a high-nitrogen liquid fertilizer at a rate of 1 pound of actual nitrogen per 1,000 square feet.
Maintenance:
Precision is the hallmark of a professional garden. Use bypass pruners to trim any foliage that hangs over the edging, as this can create a humid microclimate that encourages fungal spores. Monitor the gravel level annually; it should remain 0.5 inches below the top of the edging to prevent spillover.
Irrigation must be targeted. Deliver 1.5 inches of water per week at the drip line using a soaker hose or drip emitters. Avoid overhead watering, which can splash soil pathogens onto the foliage. Use a soil moisture meter twice weekly during the first growing season to ensure the soil at the edge does not dry out faster than the rest of the bed.
The Yield:
If your gravel path edges a kitchen garden, harvest timing is critical for nutrient density. Harvest leafy greens in the early morning when turgor pressure is at its peak. This ensures the cells are fully hydrated, extending the shelf life of the produce. For herbs, harvest just before the photoperiod triggers flowering to ensure the highest concentration of essential oils in the leaf tissue. Use a sharp hori-hori knife for clean harvests that do not stress the remaining plant structure.
FAQ:
What is the most durable edging for high-traffic gravel paths?
Weathered steel or Corten steel is the most durable. It resists mechanical damage from mowers and does not degrade when exposed to UV radiation or extreme freeze-thaw cycles in Hardiness Zones 3 through 9.
Does metal edging affect soil pH?
Aluminum and stainless steel are chemically inert and will not alter soil pH. Weathered steel develops a protective rust layer that is stable and does not leach significant iron into the rhizosphere or affect nutrient availability.
How deep should gravel path edging be installed?
Install edging to a depth of at least 4 inches. This depth is necessary to create a physical root barrier that prevents the lateral spread of rhizomatous weeds and ensures the edging remains stable during soil heaving.
Can I use wood edging in wet climates?
Wood edging in wet climates is susceptible to fungal decay. If used, select cedar or pressure-treated timber rated for ground contact. Ensure the soil has a high sand content to facilitate rapid drainage away from the wood.
How do I prevent weeds from growing at the edge of the path?
Install a heavy-duty geotextile fabric under the gravel and tuck it firmly against the edging. Maintain a sharp transition between the gravel and the soil to eliminate the pockets of loose organic matter where weed seeds germinate.