6 Anchoring Steps to Install a Vegetable Garden Statue
When the first garden statue settles onto soil tilled for tomatoes and squash, it anchors more than stone or resin. It creates a vertical reference point that defines pathways, marks quadrants, and transforms a utilitarian plot into a composed space. Steps for installing a garden statue in the veg patch require attention to drainage engineering, root-zone preservation, and soil compaction ratios. The weight of a 60-pound concrete figure demands subgrade preparation equal to a fence post or raised bed corner.
Materials
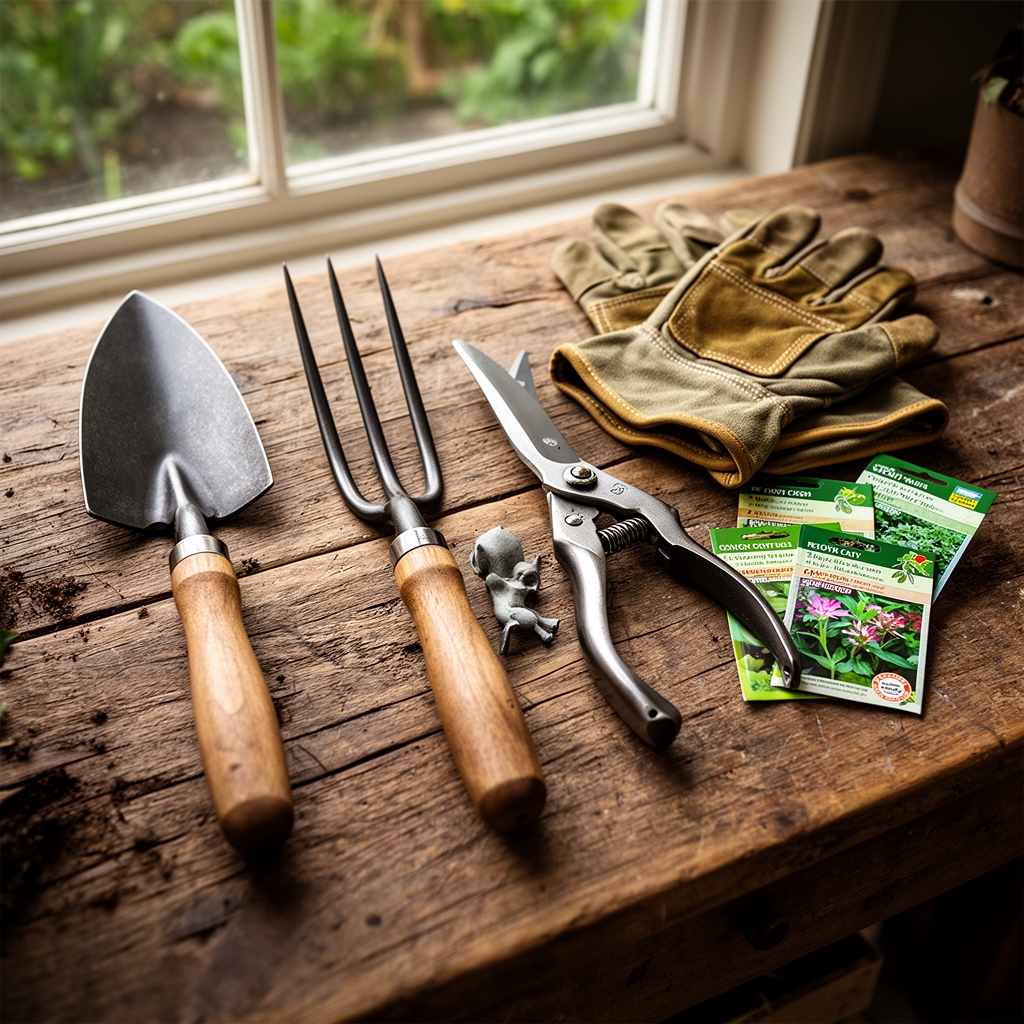
Assemble substrate layers that match the cation exchange capacity of your existing vegetable beds. A 4-inch base of crushed limestone screenings provides alkaline buffering for concrete pedestals, countering acid leachate from decomposing mulch. Pea gravel in the 3/8-inch grade offers drainage without migration. A 2:1 sand-to-compost leveling mix, pH-adjusted to 6.5, prevents settlement cracks while maintaining microbial activity.
For adhesive and stabilization, use exterior-grade polyurethane construction adhesive rated to 3,000 psi. Avoid Portland cement mortars in vegetable zones; they elevate soil pH within a 12-inch radius and interfere with iron chelation for leafy greens. If anchoring a statue exceeding 80 pounds, source galvanized rebar stakes, 18 inches long and 1/2 inch diameter, driven through drilled base holes into compacted subsoil.
Organic soil amendments nearby should follow a 4-4-4 NPK profile. Blood meal (12-0-0) or feather meal (12-0-0) can offset nitrogen immobilization from added carbonaceous drainage material. Bone char (0-16-0) supplies phosphorus without the pH spike of rock phosphate, critical when installing statues near calcium-sensitive crops like potatoes or brassicas.
Timing
Execute installation during dormancy windows in USDA Hardiness Zones 3 through 9. Late October through early March offers frozen or firm subsoil that resists compaction from foot traffic and material staging. Zones 10 and 11 permit year-round installation but require midday shade tarps to prevent rapid moisture loss from leveling sand.
Coordinate with your last spring frost date minus 21 days. This buffer allows soil structure to reconsolidate after excavation before transplanting warm-season crops like peppers or eggplants within 24 inches of the statue base. Mycorrhizal fungi networks, disrupted by digging, require 14 to 18 days to recolonize tilled interfaces under soil temperatures above 50°F.
Avoid installation during active root flush periods in May and June. Severing feeder roots of established perennials like asparagus or rhubarb redirects auxin distribution and delays harvest by 10 to 14 days. For fall gardens, complete statue work by August 15 in northern zones to protect cool-season transplants.
Phases

Excavation and Base Preparation
Mark a circle 4 inches wider than the statue footprint. Remove topsoil to a depth of 8 inches, preserving it in a tarp-lined wheelbarrow for reuse. Tamp subsoil with a hand tamper to 90% compaction, tested by heel pressure leaving no more than 1/4-inch depression. Spread limestone screenings in a 4-inch lift, compact, then add 2 inches of pea gravel. Check level with a 24-inch spirit level in four cardinal directions. Deviation must not exceed 1/8 inch over 2 feet.
Pro-Tip: Introduce granular Trichoderma harzianum fungal inoculum at 1 teaspoon per square foot into the base layer. This biocontrol organism colonizes the gravel-soil interface and suppresses Pythium root rot in adjacent vegetable plantings.
Pedestal and Statue Placement
Position the pedestal or integrated base onto the leveling layer. Apply a continuous 1/4-inch bead of polyurethane adhesive along contact surfaces if the statue arrives in sections. Align decorative features with primary sightlines before adhesive skins over (typically 8 minutes at 70°F). For two-piece installations, insert rebar stakes through pre-drilled holes, driving them 12 inches into subsoil at a 90-degree angle. Backfill around the perimeter with the reserved topsoil, mixing in 10% by volume of the 2:1 sand-compost blend to improve percolation.
Pro-Tip: Angle backfill slopes away from the statue at a 2% grade, dropping 1/4 inch per foot over a 3-foot radius. This grade prevents water pooling that promotes algae colonization on porous stone surfaces.
Mulch Integration and Edge Finishing
Apply a 2-inch layer of shredded hardwood bark mulch around the statue base, stopping 3 inches from any porous material to prevent moisture wicking. For statues near nitrogen-hungry crops like corn or cabbage, use aged compost (C:N ratio below 20:1) instead of raw wood chips, which immobilize soil nitrogen during lignin decomposition. Install a 4-inch steel or aluminum edging strip to maintain mulch boundaries and prevent soil creep during cultivation.
Pro-Tip: Embed a 6-inch subsurface drip line in a semicircle 18 inches from the statue if placing it in a high-traffic junction. Deliver 0.5 gallons per hour to surrounding plantings without overspray that stains statue surfaces with mineral deposits.
Troubleshooting
Symptom: Statue tilts 3 degrees or more within 60 days.
Solution: Excavate one side to the base layer. Add tamped screenings in 1-inch lifts, checking level after each addition. Re-compact to 95% density.
Symptom: White efflorescence crust appears on concrete surfaces.
Solution: Calcium carbonate leaching from uncured concrete. Scrub with a solution of 1 part white vinegar to 3 parts water. Seal with siloxane penetrating sealer after 90-day cure period.
Symptom: Surrounding vegetable plants show interveinal chlorosis within 18 inches of statue.
Solution: Excess lime from base materials raising pH above 7.2. Broadcast 2 pounds of elemental sulfur per 100 square feet, watered in with 1 inch of irrigation. Recheck pH after 30 days.
Symptom: Moss colonizes north-facing statue surfaces.
Solution: Shaded microclimate with poor air circulation. Prune overhead vegetation to increase solar exposure by 20%. Apply copper sulfate spray (1 tablespoon per gallon) in early spring before vegetable transplants.
Symptom: Gravel base subsides, creating a depression.
Solution: Insufficient compaction during installation. Lift statue with a furniture dolly. Remove gravel, re-compact subsoil, reinstall gravel in two 2-inch lifts with tamping between each.
Maintenance
Inspect leveling every 90 days during the growing season by placing a 24-inch level across the base in two perpendicular directions. Deviations beyond 1/4 inch require gravel top-dressing and re-compaction. Clean surfaces monthly with a stiff natural-bristle brush and plain water to prevent biofilm establishment that harbors fungus gnat larvae.
Irrigate adjacent plantings with 1 inch of water per week, measured with rain gauges placed 2 feet from the statue. Avoid overhead sprinklers within a 4-foot radius; use drip emitters or soaker hoses to prevent splash erosion that undercuts bases. Reapply mulch when depth falls below 1.5 inches, typically twice per season in decomposition-active zones.
Every 24 months, core-aerate soil within 30 inches of the statue using a manual or mechanical aerator set to 3-inch depth and 4-inch spacing. This relieves compaction from foot traffic without destabilizing the base structure. Topdress aeration holes with 1/4 inch of fine compost to restore organic matter displaced by installation excavation.
FAQ
Can I install a statue directly onto landscape fabric?
No. Fabric creates a shear plane that allows differential settling. Remove fabric in a 6-inch margin beyond the excavation perimeter.
What statue weight requires a concrete footing?
Figures exceeding 150 pounds need a poured footing 12 inches deep and 18 inches wide. Embed J-bolts for mechanical anchoring in zones with freeze-thaw cycling.
Do I need to seal all statue materials?
Porous cast concrete and limestone require siloxane or silane penetrating sealers applied after 90-day curing. Resin and glazed ceramic need no treatment.
How close to tomato plants can I install a statue?
Maintain 24 inches clearance. Tomato root zones extend 18 inches radially; closer installation severs feeder roots and reduces fruit set by 15%.
Should I remove the statue for winter?
Leave statues rated for freeze-thaw cycles in place. Remove non-frost-proof ceramics and store in an unheated shed where temperatures stay above 28°F to prevent glaze crazing.