8 Steps to Prepare a Natural Woodland Path Site
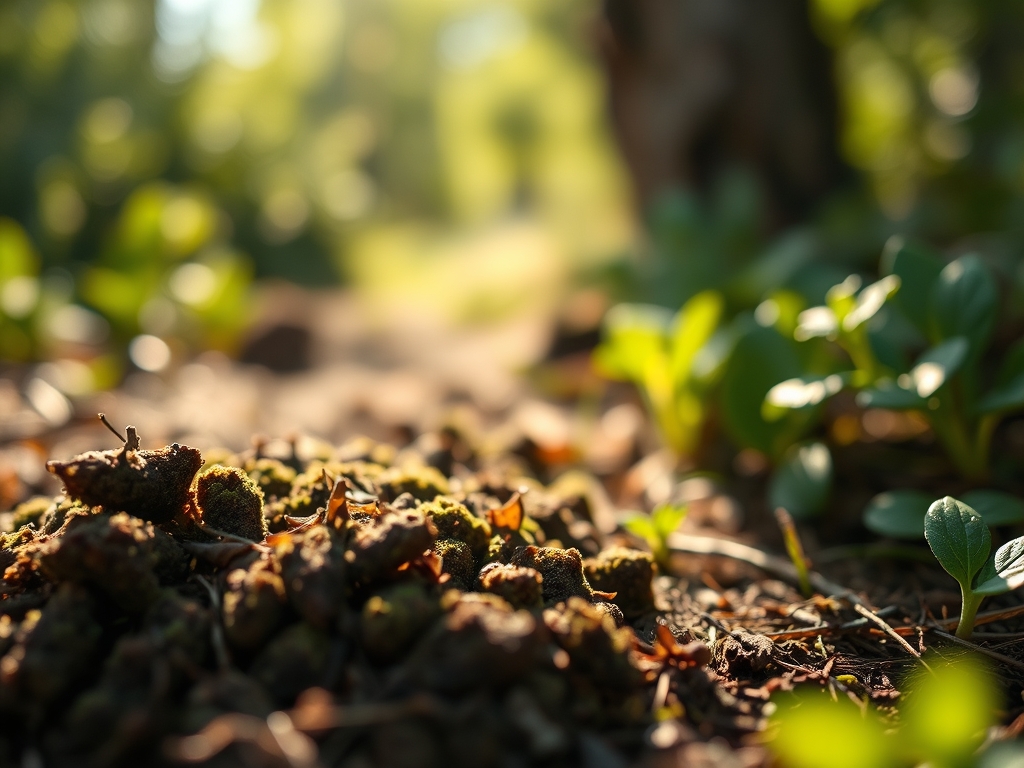
Damp leaf mold emits a sharp, geosmin-rich scent as the heel of a boot compresses the forest floor. The soil beneath a dense canopy maintains a high moisture content; this ensures the turgor pressure within the vascular tissues of shade-loving perennials remains optimal. Understanding how to prepare a garden for a woodland path requires more than aesthetic placement. It demands an interrogation of the existing soil structure and light infiltration. You are not merely clearing a trail; you are managing a micro-ecosystem where the rhizosphere must remain undisturbed to support the surrounding timber. Success depends on the mechanical stabilization of the path and the chemical optimization of the adjacent planting zones. Every shovel turn must account for the delicate balance of fungal networks and root respiration.
Materials:
The foundation of a woodland path relies on a friable loam substrate with a high percentage of organic matter. Ideally, the soil should maintain a pH between 5.5 and 6.5 to accommodate acidophilic woodland species like ferns and hostas. To support the surrounding vegetation, integrate a slow-release organic fertilizer with an NPK ratio of 5-10-5. This lower nitrogen content prevents leggy growth while the higher phosphorus levels encourage robust root development.
The Cation Exchange Capacity (CEC) of your path-side soil should be high, typically above 20 meq/100g. This ensures the soil can hold onto essential nutrients like calcium and magnesium against the leaching effects of heavy canopy drip. For the path surface, use coarse arborist wood chips or crushed limestone. Avoid fine-textured mulches that can compact and suffocate the aerobic bacteria necessary for nutrient cycling.
Timing:
In USDA Hardiness Zones 4 through 7, the optimal window for site preparation is late autumn or very early spring. Specifically, you should begin work when the soil temperature is consistently between 45 and 55 degrees Fahrenheit. This timing aligns with the biological clock of deciduous trees, which are in a state of dormancy or early bud break.
During the transition from vegetative to reproductive stages, plants redirect energy from leaf production to root expansion. By preparing the path during the dormant season, you minimize the risk of transplant shock for any relocated flora. Avoid working the ground during the first spring thaw when the soil is saturated; mechanical pressure on wet soil collapses macro-pores, leading to severe compaction and reduced oxygen availability for roots.
Phases:

Sowing and Site Clearing
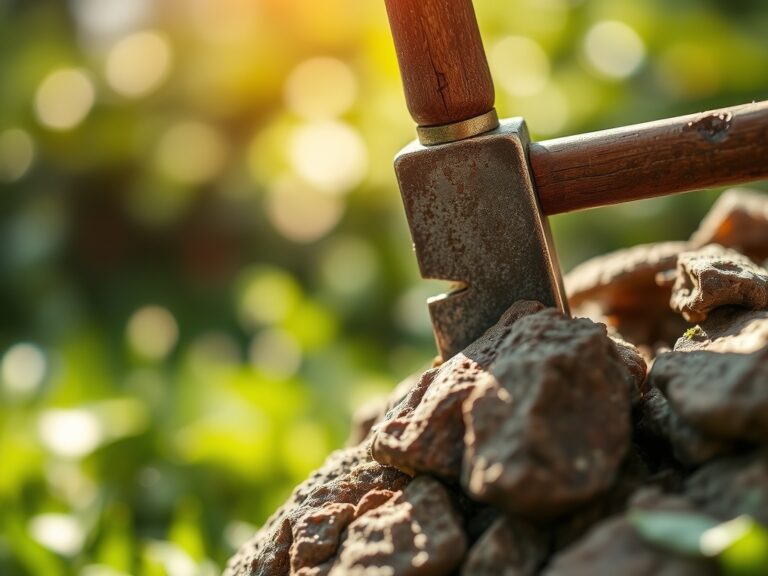
Clear the path of invasive species and excessive leaf litter. Use a hori-hori knife to extract taproots without disrupting the surrounding fungal hyphae. If sowing a shade-tolerant groundcover along the margins, ensure the seed-to-soil contact is firm.
Pro-Tip: Maintain the integrity of the mycorrhizal symbiosis. These fungal networks extend the reach of root systems by up to 1,000 percent, significantly increasing the uptake of phosphorus and water.
Transplanting
When moving plants to accommodate the path, keep the root ball intact. Dig a hole twice the width of the root system but no deeper than the original planting depth. This prevents the crown from rotting due to poor drainage.
Pro-Tip: Be mindful of auxin suppression. When you prune overhanging branches to allow light onto the path, you remove the source of apical dominance. This triggers lateral bud growth, resulting in a fuller, bushier understory.
Establishing
The establishment phase requires consistent monitoring of the water potential in the soil. Use a soil moisture meter to ensure the top 6 inches of the profile remain moist but not anaerobic.
Pro-Tip: Observe the phototropism of new plantings. If plants lean aggressively toward the path, it indicates the canopy is too dense; selective thinning of the upper story may be required to balance light distribution.
The Clinic:
Woodland environments are prone to specific physiological disorders caused by high humidity and low light.
- Symptom: Interveinal chlorosis (yellowing between leaf veins).
Solution: This often indicates a Nitrogen or Iron deficiency. Check the soil pH; if it exceeds 7.0, iron becomes chemically unavailable to the plant. Apply chelated iron or an ammonium-based fertilizer to lower pH. - Symptom: Powdery white residue on foliage.
Solution: This is a fungal infection caused by poor air circulation. Increase the spacing between plants and prune lower tree limbs to improve airflow. - Symptom: Leaf scorch or marginal necrosis.
Solution: This occurs when the transpiration rate exceeds the roots' ability to pull water. Increase mulch depth to 3 inches to regulate soil temperature and moisture. - Symptom: Stunted growth and purplish leaves.
Solution: This is a classic sign of Phosphorus deficiency, often exacerbated by cold, wet soils. Incorporate bone meal or rock phosphate into the rhizosphere.
Maintenance:
A woodland path requires disciplined maintenance to prevent the forest from reclaiming the space. Provide 1.5 inches of water per week at the drip line of the surrounding trees during dry spells. This prevents the trees from competing with your path-side plantings for surface moisture.
Use bypass pruners to make clean cuts on any encroaching woody stems; ragged tears are entry points for pathogens. Every spring, top-dress the path with a fresh 2-inch layer of organic mulch to suppress weeds and replenish the organic matter as it decomposes. Use a soil moisture meter bi-weekly to calibrate your irrigation schedule.
The Yield:
If your woodland path includes edible shade crops like ramps or wild ginger, harvest timing is critical. Harvest ramps when the leaves are fully expanded but before the flower stalk emerges. For floral yields like Hellebores, cut the stems when the first few bells have opened.
To maintain "day-one" freshness, submerge the cut stems in 40-degree Fahrenheit water immediately. This rapid cooling slows the metabolic rate and prevents the senescence of the plant tissue. For root-based harvests, use a hori-hori knife to lift the plant gently, ensuring the parent rhizome remains undisturbed for next year's growth.
FAQ:
How deep should I dig for a woodland path?
Excavate to a depth of 4 to 6 inches. This allows for a stable base of coarse material without severing the primary lateral roots of established trees, which typically reside in the top 12 inches of soil.
What is the best mulch for a natural path?
Arborist wood chips are superior. They provide a varied particle size that resists compaction, maintains high oxygen levels for the soil microbes, and decomposes slowly to provide a steady supply of carbon to the rhizosphere.
Can I use landscape fabric under the path?
Avoid landscape fabric in woodland settings. It interferes with the natural gas exchange of the soil and prevents the downward movement of organic matter, which is essential for maintaining the Cation Exchange Capacity of the forest floor.
How do I stop the path from becoming muddy?
Ensure a slight 2 percent grade for drainage. Incorporating coarse grit or crushed stone into the base layer improves the percolation rate, preventing the soil from reaching its saturation point and becoming anaerobic during heavy rains.