9 Splitting Steps for Repotting a Peace Lily
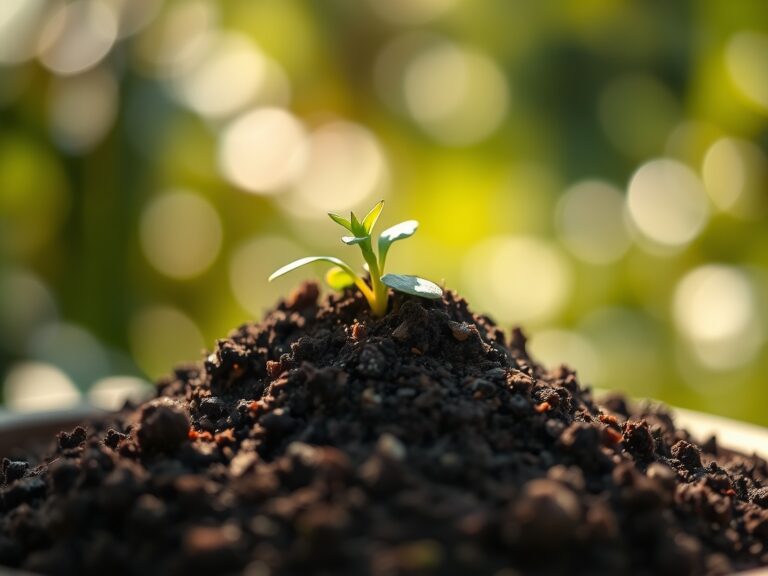
Damp earth carries a sharp, metallic scent of geosmin when the rhizosphere is disturbed. A healthy peace lily (Spathiphyllum) displays high turgor pressure; its leaves stand rigid and dark green due to optimal chlorophyll density. When the roots begin to circle the interior of the pot, the plant enters a state of physiological stress. This constriction limits nutrient uptake and disrupts the cation exchange capacity of the aging substrate. Mastering the steps for repotting a peace lily ensures the specimen transitions from a root-bound state to a period of renewed vegetative vigor. You must handle the fleshy rhizomes with precision to avoid mechanical damage that invites pathogens. Successful propagation through division requires a sharp eye for natural separation points within the root mass. By refreshing the medium and expanding the available volume for root expansion, you reset the biological clock of the plant. This process is not merely maintenance; it is a calculated intervention in the life cycle of the Spathiphyllum to prevent premature senescence and ensure continued atmospheric filtration through its broad, stomata-dense foliage.
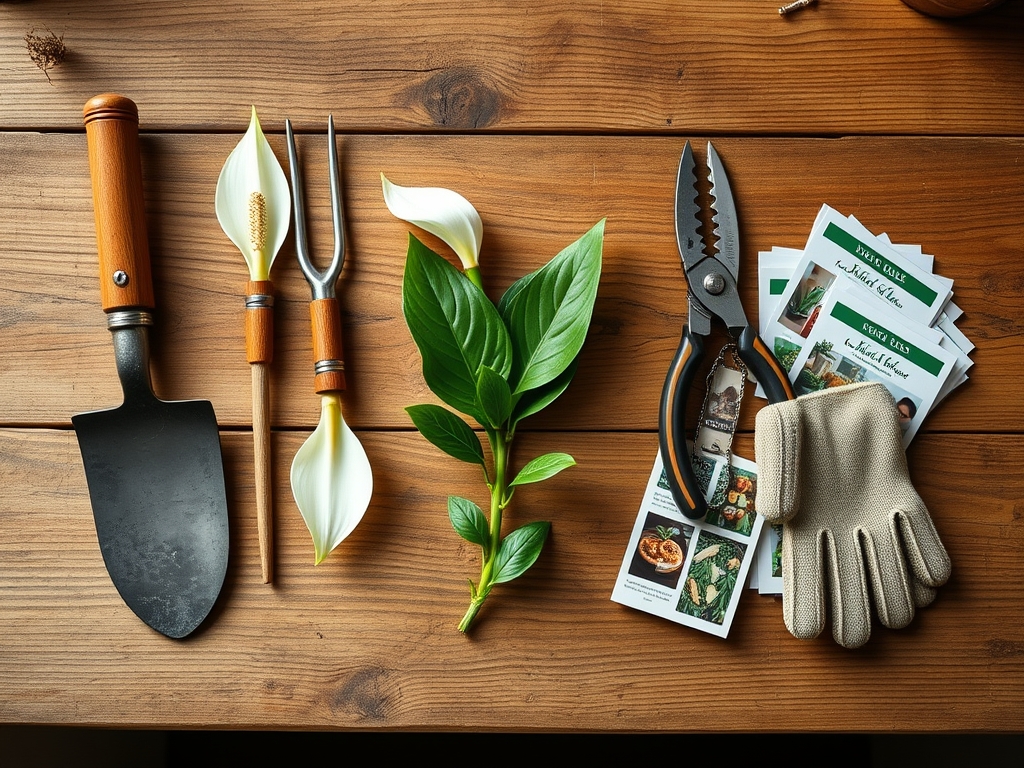
Materials:
The substrate is the foundation of plant health. You require a friable loam with high porosity to facilitate gas exchange. The ideal mix consists of **60 percent peat moss or coconut coir, 20 percent perlite, and 20 percent pine bark**. This composition maintains a **pH range between 5.8 and 6.5**, which is the window for maximum nutrient bioavailability.
Incorporate a slow-release fertilizer with an NPK ratio of 20-20-20 or a balanced 10-10-10 at a rate of one tablespoon per gallon of soil. Peace lilies are sensitive to salt accumulation; therefore, the medium must have a high Cation Exchange Capacity (CEC) to hold nutrients without burning the sensitive root hairs. Ensure your new containers are only 2 inches wider than the current root ball. Excessive soil volume leads to "perched water tables," where the bottom of the pot remains anaerobic, rotting the roots.
Timing:
Spathiphyllum are tropical understory plants adapted to USDA Hardiness Zones 11 through 12. For indoor specimens, the biological clock is governed by light intensity and ambient temperature rather than frost dates. The optimal window for repotting is late winter or early spring, just as the plant exits its slower winter metabolic phase.
Monitor the plant for the transition from the vegetative stage to the reproductive stage. If the lily is actively pushing out white spathes (flowers), delay repotting. The energetic cost of flowering is high; diverting resources to root repair during this time can cause "transplant shock." Aim for a period when the plant shows new leaf spikes but no floral development. Ambient temperatures should remain consistent between 65 and 85 degrees Fahrenheit to facilitate rapid cell division in the wounded rhizomes.
Phases:
Sowing and Preparation
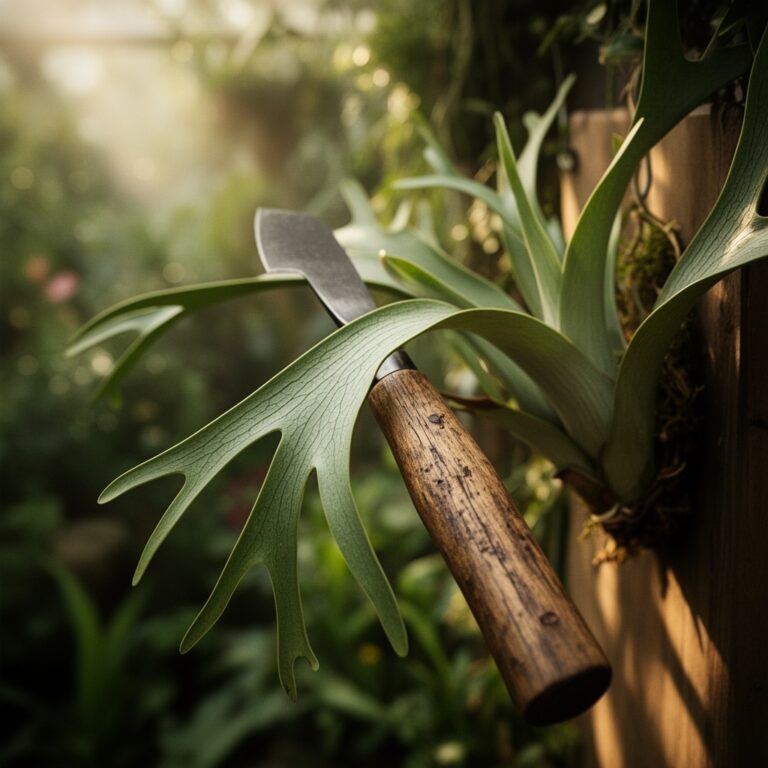
Before the first cut, hydrate the plant 24 hours in advance. This ensures the cells are at maximum turgidity, making them more resilient to handling. Use a hori-hori knife to circle the inner perimeter of the pot, severing any roots that have fused to the clay or plastic. Gently slide the root ball out, keeping the soil intact to protect the delicate mycorrhizal networks.
Pro-Tip: Maintaining high turgor pressure before repotting prevents the vascular system from collapsing during the transition. This is a matter of hydraulic conductivity; a well-hydrated plant can better withstand the temporary loss of fine root hairs that occurs during soil removal.
Transplanting and Division
Locate the natural crowns where the leaves emerge from the soil. Use a sterilized blade to slice through the rhizome, ensuring each division has at least three to five leaves and a robust cluster of roots. Examine the roots for any signs of decay. Healthy roots are firm and white; necrotic roots are brown, mushy, and emit a sulfurous odor. Trim away any dead tissue using bypass pruners disinfected with 70 percent isopropyl alcohol.
Pro-Tip: When dividing the rhizome, you are manipulating auxin suppression. By separating the crowns, you remove the apical dominance of the main plant, signaling the dormant lateral buds to begin new growth. This results in a fuller, bushier plant within 60 to 90 days.
Establishing the New Medium
Place the division in the center of the new pot. Position the crown so it sits exactly at the soil line. Planting too deep leads to crown rot; planting too shallow causes the rhizome to desiccate. Firm the soil gently to remove large air pockets, but do not compress it so tightly that you collapse the macropores required for oxygen diffusion.
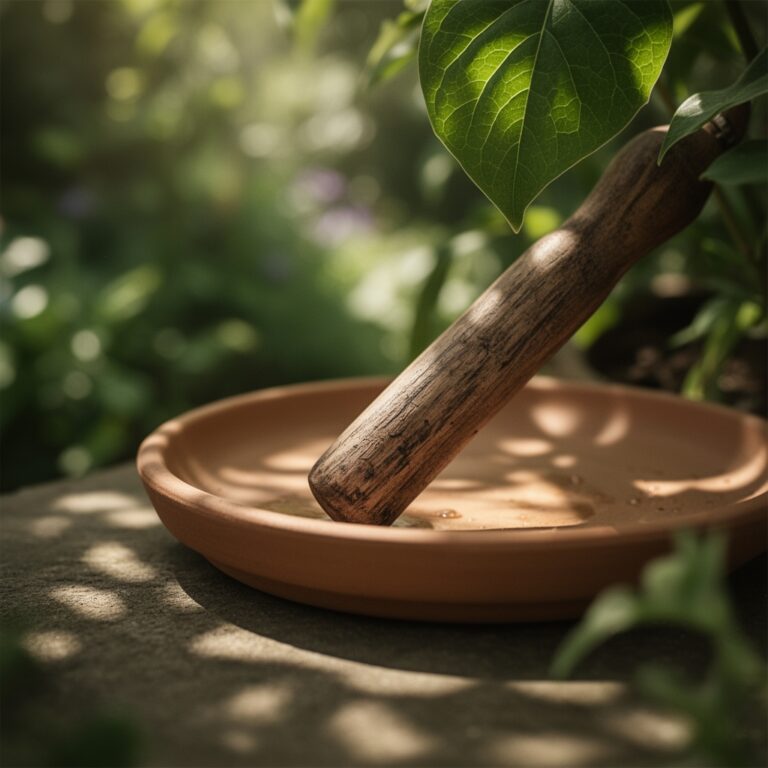
Pro-Tip: Immediate watering after transplanting is critical for capillary action. The water settles the soil particles around the roots, ensuring direct contact between the root epidermis and the nutrient-rich moisture in the substrate. This minimizes the "lag phase" in growth.
The Clinic:
Physiological disorders often manifest shortly after repotting if the environment is not controlled.
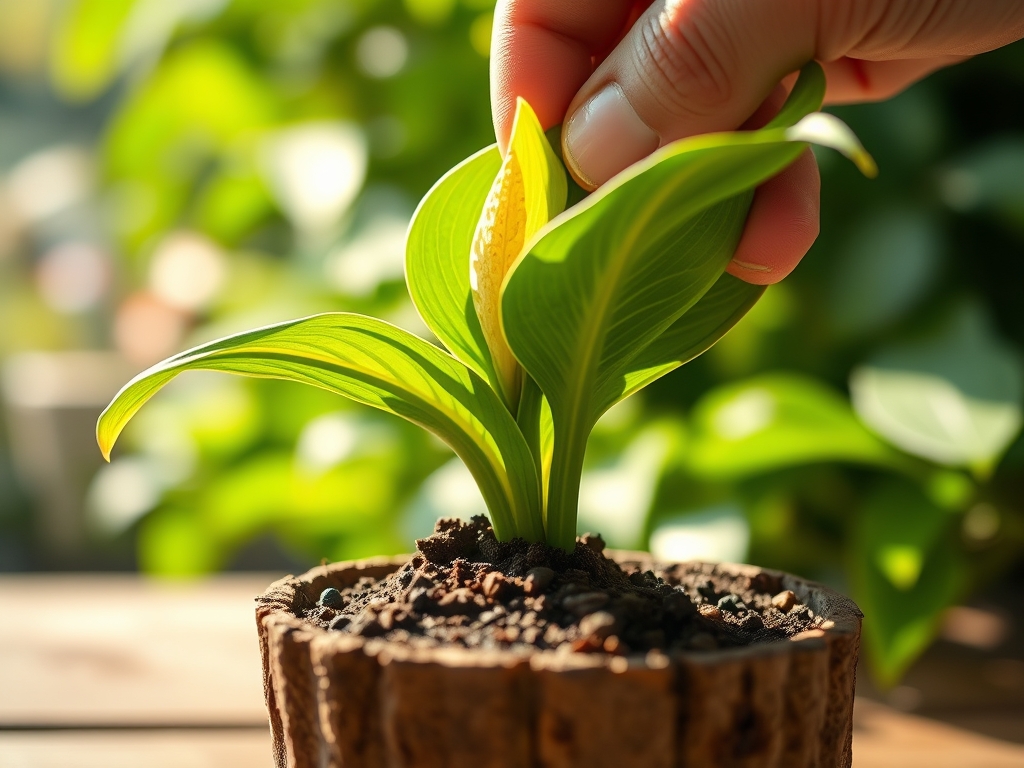
- Symptom: Yellowing of lower leaves (Nitrogen Chlorosis).
- Solution: Check the soil pH. If the pH is above 7.0, nitrogen becomes locked. Lower the pH using a sulfur-based soil acidifier to a range of 6.0.
- Symptom: Brown, crispy leaf tips (Fluoride Toxicity).
- Solution: Peace lilies are sensitive to fluoride in municipal water. Switch to distilled water or rainwater. Ensure the soil has adequate calcium to bind with fluoride ions.
- Symptom: Sudden wilting despite wet soil (Root Rot/Pythium).
- Solution: This indicates anaerobic conditions. Remove the plant, prune necrotic roots, and repot in a mix with 30 percent perlite for increased aeration.
- Symptom: Stunted growth and pale foliage (General Nutrient Deficiency).
- Solution: Apply a water-soluble fertilizer at half strength once new growth is visible. Do not fertilize a stressed plant immediately after repotting.
Maintenance:
Post-repotting care requires technical precision. Use a soil moisture meter to ensure the substrate stays within the "moist but not saturated" range. Typically, this requires 1.0 to 1.5 inches of water per week, delivered evenly across the soil surface. Do not water at the base of the stems; water at the edges of the pot to encourage the roots to grow outward.
Maintain a relative humidity of 50 to 60 percent. If the air is too dry, the plant will increase its transpiration rate, outstripping the capacity of the newly moved roots to provide water. Clean the leaves monthly with a damp cloth to remove dust. This prevents the clogging of stomata and ensures maximum photosynthetic efficiency. Monitor the light levels using a light meter; the target is 1,000 to 2,500 foot-candles of indirect light.
The Yield:
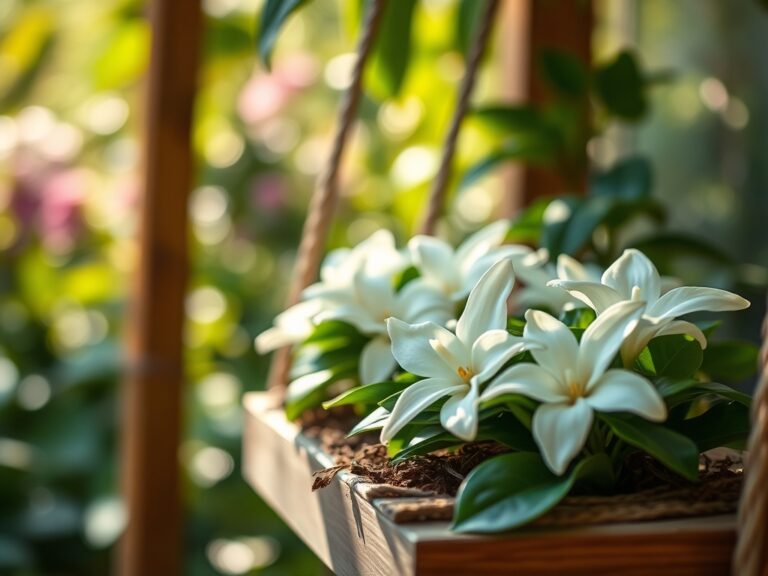
While peace lilies are not edible, their "yield" is measured in floral production and air purification. To maximize the white spathes, ensure the plant receives a distinct "rest period" in winter with slightly cooler temperatures around 60 degrees Fahrenheit and reduced water. When spring arrives, increase light exposure.
To harvest a flower for a vase, cut the stalk at the base using bypass pruners. For "day-one" freshness, immediately plunge the stem into distilled water at room temperature. This prevents air embolisms from forming in the xylem, allowing the flower to remain turgid for up to 14 days.
FAQ:
How do I know my peace lily needs repotting?
Observe the drainage holes. If roots emerge from the bottom or the plant wilts within two days of watering, it is root-bound. This indicates the root-to-soil ratio is too high, necessitating a larger vessel and fresh substrate.
What is the best soil for a peace lily?
A well-draining, peat-based mix with a pH of 5.8 to 6.5 is ideal. Use a blend of 60% peat, 20% perlite, and 20% composted bark to ensure high cation exchange and proper aeration of the rhizosphere.
Can I divide a peace lily at any time?
Division is best performed in early spring. This coincides with the plant's natural surge in growth hormones. Dividing during the winter dormancy or peak flowering stage can lead to prolonged transplant shock and root desiccation.
Why are the leaves drooping after I repotted?
This is typically transplant shock caused by damage to fine root hairs. Maintain high humidity and keep the soil consistently moist. Avoid direct sunlight for seven to ten days until the roots re-establish hydraulic contact with the new soil.