8 Acid-Loving Steps to Prepare an Acid-Loving Plant Shelf
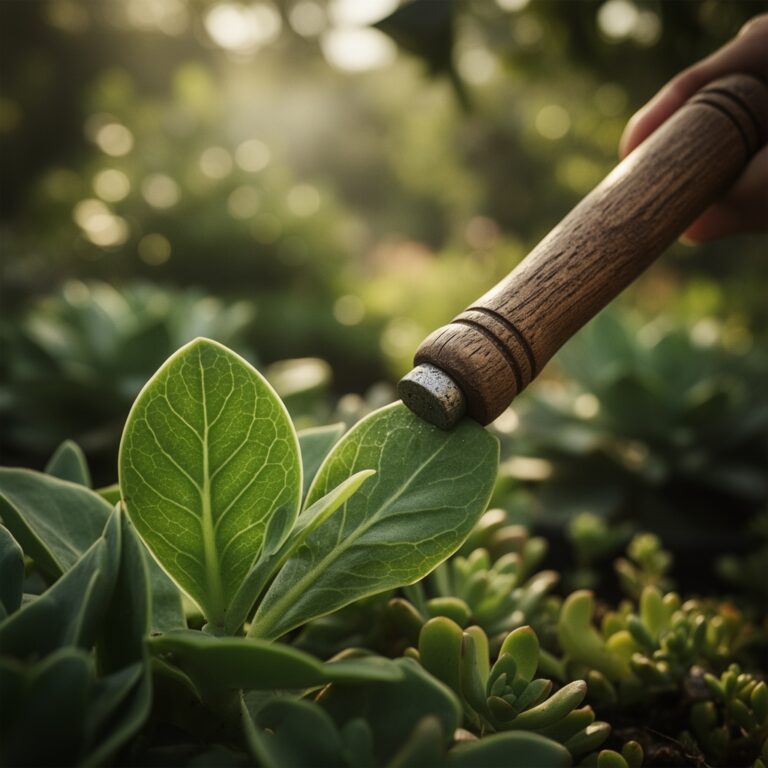
Crushing a handful of damp peat moss reveals the structural integrity of a medium designed for high acidity. The smell of earthy tannins and the firm turgor of a waxy leaf indicate a plant in peak physiological health. When learning how to prepare a plant shelf for gardenias, you must prioritize the chemical environment of the rhizosphere. Gardenias demand a substrate pH between 5.0 and 6.0 to facilitate nutrient uptake. Failure to maintain this acidity results in iron chlorosis and total vascular collapse. A successful indoor shelf setup mimics the humid, well-drained conditions of a subtropical understory. You are not merely placing a pot on a surface; you are engineering a microclimate where humidity, light intensity, and soil chemistry converge to support heavy floral production. Success requires a focus on Cation Exchange Capacity (CEC) and precise moisture management. By controlling the light cycle and the mineral density of the water, you ensure the plant maintains the metabolic energy required to produce its signature white blooms without premature bud abscission.
Materials:
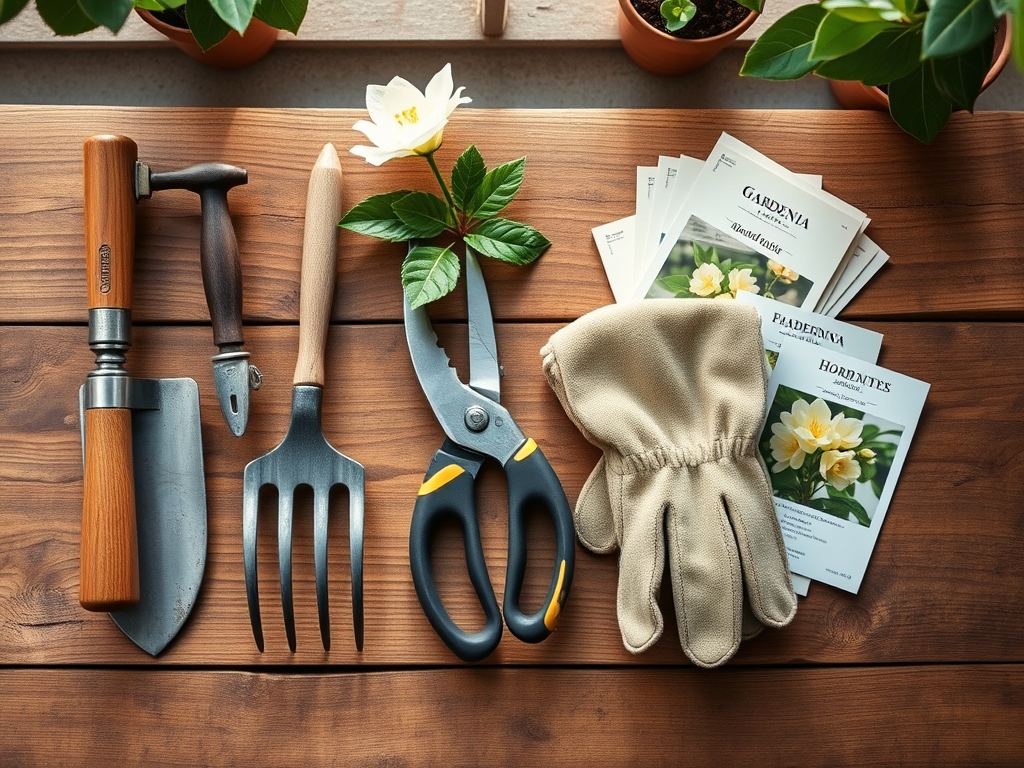
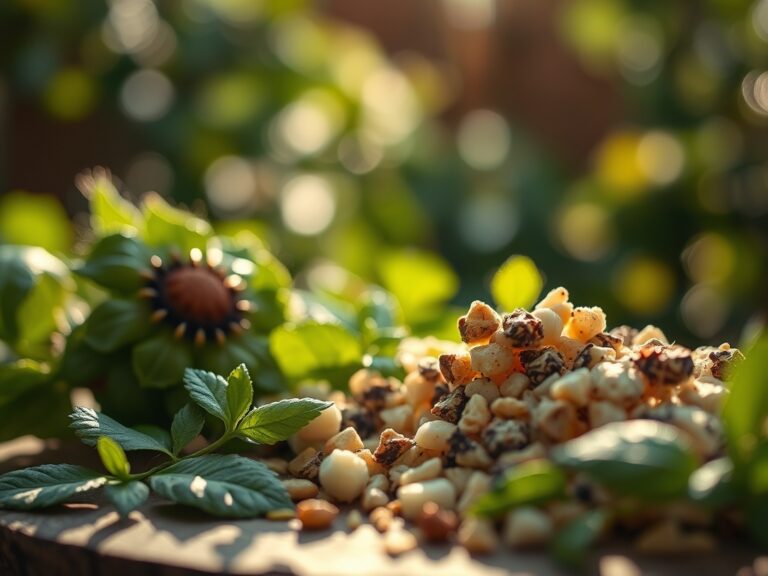
The substrate must be a friable loam that balances aeration with water retention. Avoid standard potting mixes that contain high levels of lime, as these will neutralize the acidity required by the roots. Utilize a mix consisting of two parts peat moss, one part perlite, and one part composted pine bark. This combination ensures a low pH while maintaining a high CEC, allowing the roots to hold onto essential micronutrients.
For fertilization, select a water-soluble NPK ratio of 30-10-10 or a specialized acid-loving formula like 10-5-4. Nitrogen must be supplied in the form of ammonium sulfate or urea, which helps maintain the acidic profile of the soil over time. Avoid nitrate-based fertilizers that can cause the pH to drift upward. Ensure your shelf is equipped with full-spectrum LED grow lights capable of delivering 2,500 to 3,000 foot-candles of light intensity. A digital soil moisture meter and a calibrated pH probe are mandatory for monitoring the root zone environment.
Timing:
Gardenias are most successful in USDA Hardiness Zones 8 through 11, but when grown on an indoor shelf, the "Biological Clock" is governed by the photoperiod. The transition from the vegetative stage to the reproductive stage is triggered by cool night temperatures between 55 and 62 degrees Fahrenheit. If night temperatures exceed 70 degrees, the plant may fail to set buds or suffer from sudden drop.
Begin your shelf preparation in late winter, approximately six weeks before the spring equinox. This timing aligns with the plant's natural surge in metabolic activity as day lengths increase. During this period, the gardenia moves out of its semi-dormant state and begins rapid leaf expansion. Monitor the transition carefully; once the apical meristem begins to differentiate into a flower bud, the plant's demand for phosphorus and potassium increases.
Phases:
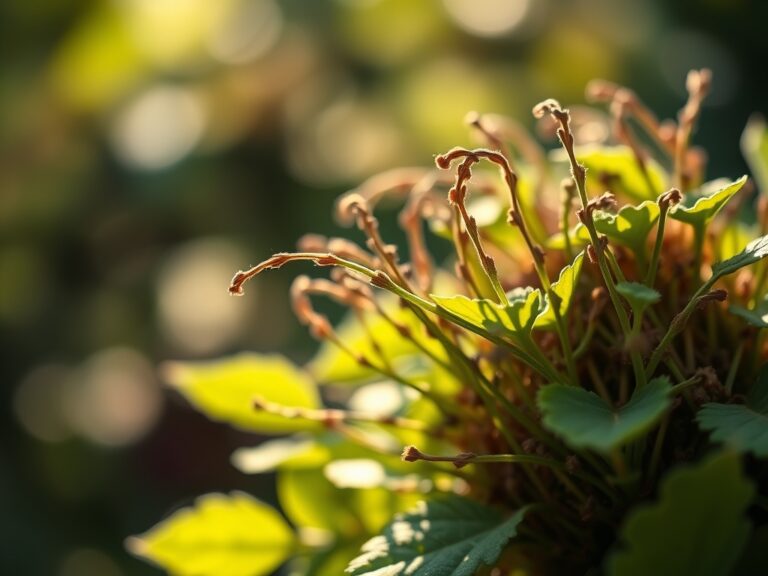
Sowing and Propagation
While most enthusiasts start with established plants, propagation via softwood cuttings is the most effective way to expand your collection. Take a 4-inch cutting from the current season's growth, ensuring at least two nodes are present. Dip the proximal end in a 0.3 percent Indole-3-butyric acid (IBA) rooting hormone.
Pro-Tip: Maintaining high humidity around the cutting prevents transpirational pull from desiccating the tissue before roots form. This is a biological necessity because the cutting lacks a root system to replace water lost through the stomata.
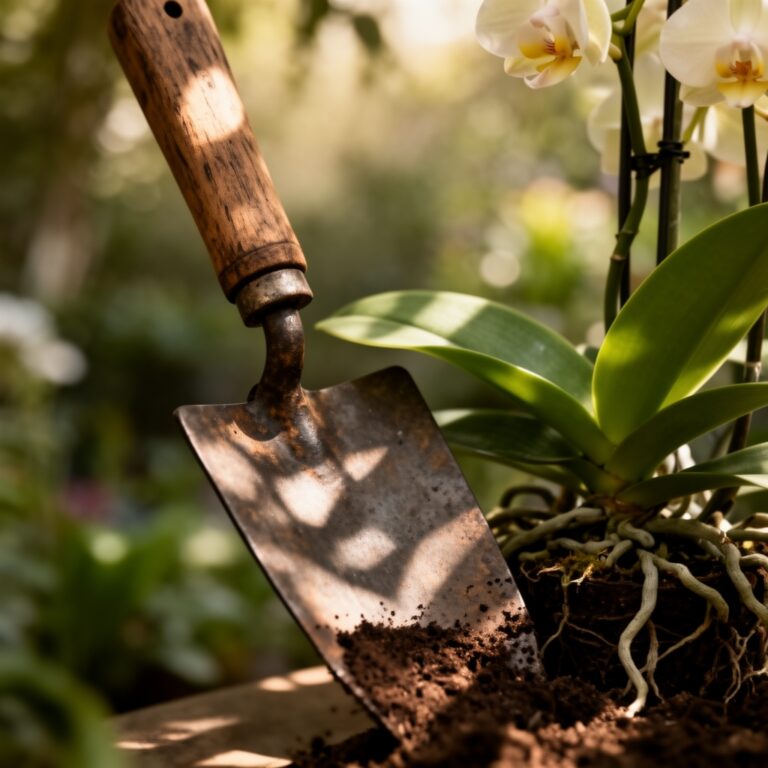
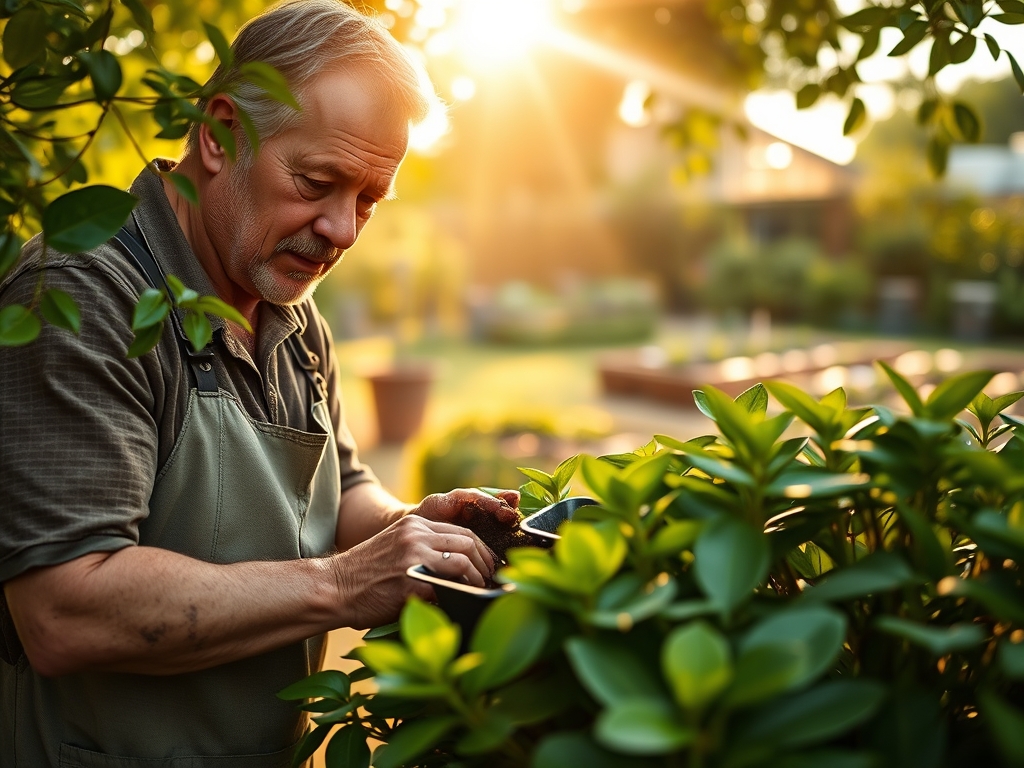
Transplanting
When moving a gardenia to its permanent shelf home, ensure the container has ample drainage. The root ball should be placed so the top sits exactly level with the soil surface. Planting too deep leads to stem rot, while planting too shallow causes the upper roots to desiccate.
Pro-Tip: Introduce mycorrhizal fungi to the root zone during transplanting. This symbiotic relationship expands the surface area of the root system, significantly increasing the plant's ability to absorb phosphorus and water in acidic conditions.
Establishing
Once situated, the gardenia requires a stabilization period of 14 to 21 days. During this time, do not apply heavy fertilizers. Focus on maintaining a consistent 70 percent humidity level around the foliage. Use a pebble tray or a dedicated humidifier to prevent the leaf margins from browning.
Pro-Tip: Avoid moving the pots once buds have formed to prevent auxin suppression. Sudden changes in light direction or intensity cause a hormonal shift that leads to bud drop, as the plant reallocates energy to leaf orientation rather than reproduction.
The Clinic:
Monitoring physiological disorders is essential for maintaining a high-performance plant shelf.
Symptom: Interveinal Chlorosis (Yellow leaves with green veins).
Solution: This is typically an iron deficiency caused by a pH above 7.0.
Fix-It: Apply chelated iron as a foliar spray for immediate relief and drench the soil with an elemental sulfur additive to lower the pH to 5.5.
Symptom: Bud Drop (Unopened flowers falling off).
Solution: This is caused by low humidity or temperature fluctuations.
Fix-It: Stabilize night temperatures to below 65 degrees and ensure the soil remains consistently moist but not saturated.
Symptom: Leaf Abscission (Lower leaves turning yellow and falling).
Solution: This indicates Nitrogen deficiency or poor drainage.
Fix-It: Apply a 10-0-0 liquid nitrogen supplement and check the container's drainage holes for blockages.
Maintenance:
Precision is the difference between a surviving plant and a thriving one. Provide 1.5 inches of water per week, applied directly to the soil surface to avoid wetting the foliage, which can encourage fungal pathogens. Use a soil moisture meter to ensure the substrate never dries out beyond the top inch.
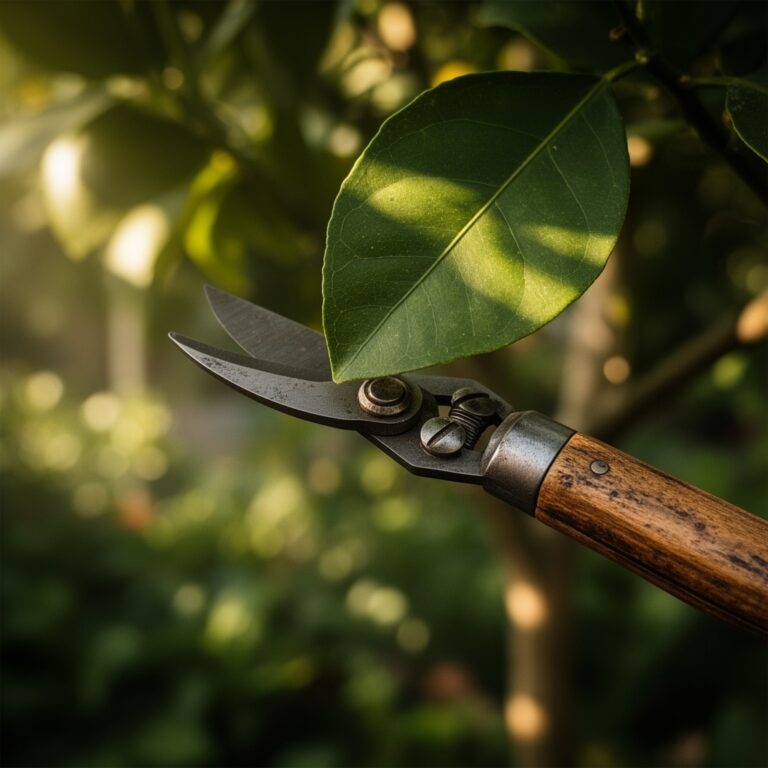
Pruning should be performed with sharp bypass pruners immediately after the flowering cycle ends. Remove "leggy" growth to encourage a bushier habit and cut back to just above a leaf node. Use a hori-hori knife to occasionally probe the soil for compaction; if the soil becomes too dense, the roots will suffer from hypoxia. Every three months, flush the soil with distilled water to remove accumulated salts from fertilizers.
The Yield:
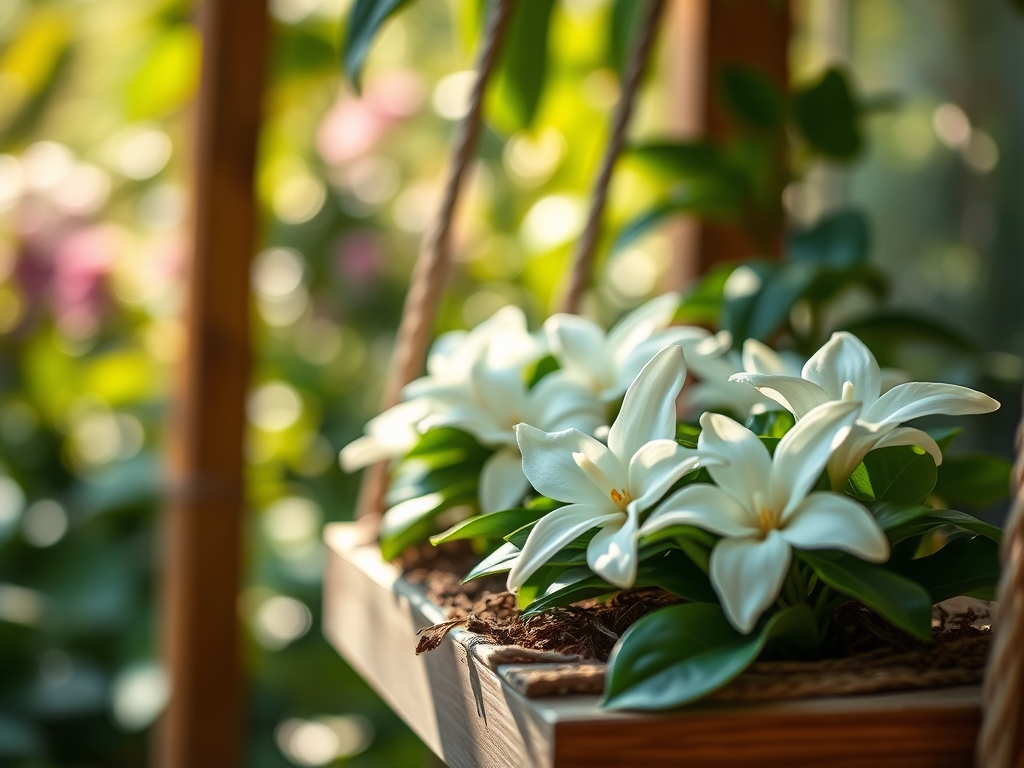
Harvesting gardenia blooms requires a delicate touch to preserve the volatile oils responsible for their scent. Cut the flowers in the early morning when turgor pressure is at its highest. Use a sharp blade to cut the stem at a 45-degree angle and immediately submerge the base in lukewarm water.
To maintain "day-one" freshness, store the cut flowers in a cool environment away from direct sunlight. Gardenias are highly sensitive to ethylene gas, so keep them away from ripening fruit. If the petals begin to wilt, a brief misting with distilled water can help restore cellular turgor, though direct contact with petals should be minimized to prevent bruising.
FAQ:
What is the best pH for gardenia soil?
Gardenias require an acidic environment with a pH between 5.0 and 6.0. This range ensures that essential micronutrients, particularly iron and manganese, remain chemically available for root uptake. Use elemental sulfur or peat-based mixes to maintain these levels.
How much light do indoor gardenias need?
Indoor gardenias need 6 to 8 hours of bright, indirect light daily. On a plant shelf, use full-spectrum LED lights providing 2,500 to 3,000 foot-candles. Insufficient light leads to poor bloom production and weak, elongated stems.
Why are my gardenia leaves turning yellow?
Yellow leaves with green veins usually indicate iron chlorosis, often caused by soil that is too alkaline. If the entire leaf turns yellow, it may signify a nitrogen deficiency or overwatering, which leads to root hypoxia.
How often should I water my shelf gardenias?
Water when the top one inch of soil feels dry. Gardenias require consistent moisture but cannot tolerate "wet feet." Aim for approximately 1.5 inches of water per week, ensuring the container has excellent drainage to prevent root rot.