9 Expert Ways How to Design a Multi Level Garden
The scent of damp, mineral-rich earth rising from a freshly cut terrace is the first indicator of a successful site excavation. When you learn how to design a multi level garden, you are managing more than just aesthetics; you are manipulating gravitational potential energy and hydraulic pressure. A healthy leaf maintains high turgor pressure only when the root zone is protected from the erosive forces common on sloped terrain. By segmenting a vertical space into distinct horizontal planes, you create microclimates that stabilize soil temperature and optimize drainage. This technical approach prevents the leaching of vital nitrates and phosphates that typically occurs on a singular, steep incline. Designing these levels requires a firm understanding of structural load-bearing and the biological needs of the rhizosphere. You must account for the angle of repose for your specific soil type to prevent catastrophic slope failure. Success in a tiered landscape is measured by the stability of the retaining walls and the vigor of the biomass they support.
Materials:

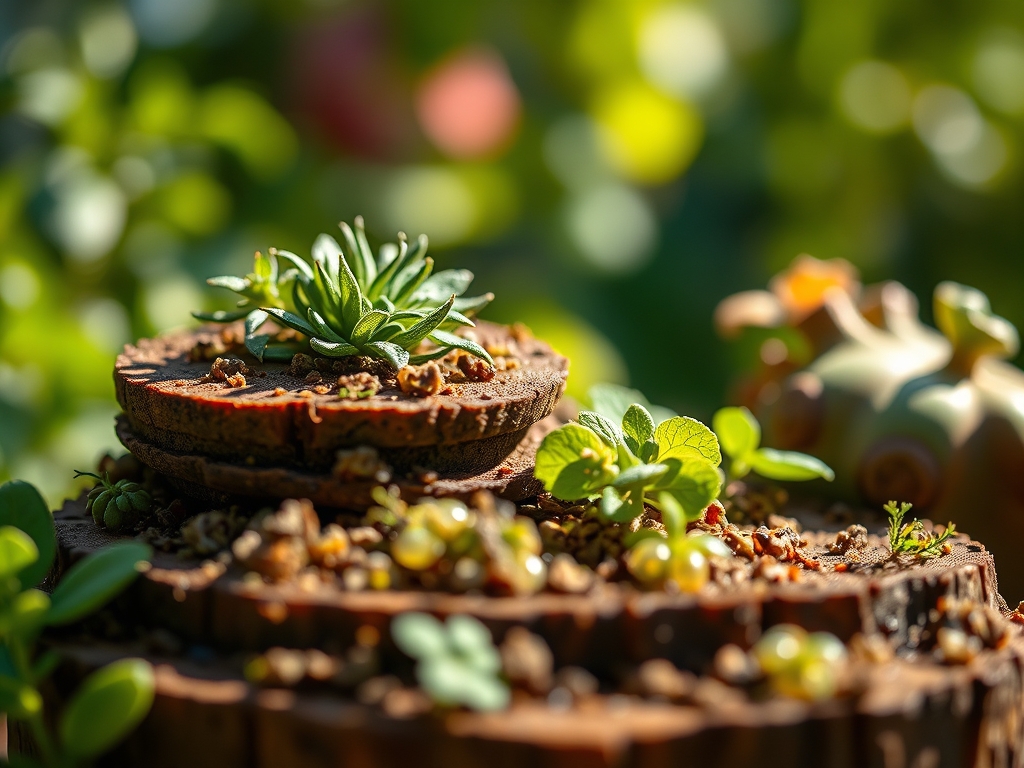
The foundation of a multi level system is the substrate. For the upper tiers, which drain more rapidly, use a **friable loam** with a high organic matter content to increase water retention. Aim for a **soil pH between 6.2 and 6.8** to ensure maximum nutrient availability. The Cation Exchange Capacity (CEC) should be high, ideally above **15 meq/100g**, to hold onto essential minerals.
For the initial planting phase, incorporate a balanced NPK ratio of 10-10-10 to support both root development and vegetative growth. As plants transition to reproductive stages, shift the ratio to 5-10-15 to provide the potassium necessary for cellular strength and drought resistance. In lower tiers where moisture accumulates, integrate perlite or coarse builder's sand to increase macropore space. This prevents anaerobic conditions that lead to root rot. The physical texture should be gritty yet cohesive; when squeezed, the soil should form a ball that crumbles easily under slight pressure.
Timing:
Timing is dictated by your specific USDA Hardiness Zone. In Zones 5 through 7, structural hardscaping must be completed before the first hard freeze to prevent frost heave from displacing retaining blocks. The biological clock of your garden begins with the spring equinox. Most woody perennials should be installed when the soil temperature consistently reaches 50 degrees Fahrenheit.
The transition from the vegetative stage to the reproductive stage is governed by the photoperiod. In a multi level design, upper terraces receive more solar radiation and will reach these thermal thresholds earlier than shaded lower tiers. You must time your plantings so that root systems are established at least six weeks before the first frost date of autumn. This ensures the plant has sufficient carbohydrate reserves in its root tissues to survive winter dormancy.
Phases:

Sowing and Site Preparation
Begin by marking your contours using a transit level. Excavate the tiers, ensuring each level has a slight 1 percent pitch toward the back for drainage pipes or toward the front for runoff control. Install a 4-inch perforated drain pipe encased in geotextile fabric at the base of each retaining wall. This prevents hydrostatic pressure from collapsing your structure.
Pro-Tip: Proper drainage management encourages mycorrhizal symbiosis. These beneficial fungi require aerobic conditions to extend their hyphae, which effectively increases the root surface area for nutrient uptake.
Transplanting
When moving plants into their tiered beds, dig a hole twice as wide as the root ball but no deeper. Ensure the crown of the plant sits exactly at the soil line. For sloped transitions, use groundcovers with rhizomatous root systems to knit the soil together. Space plants based on their mature width to avoid overcrowding, which reduces airflow and increases fungal pathogens.
Pro-Tip: Use a transplant shock liquid high in B-vitamins and auxins. This suppresses the plant's immediate stress response and encourages rapid root elongation into the new substrate.
Establishing
The first 21 days are critical for establishment. Maintain consistent moisture levels in the top 6 inches of soil. Use a soil moisture meter to verify that the lower tiers are not becoming waterlogged from upper-level runoff. Mulch with 3 inches of organic straw or wood chips to regulate soil temperature and suppress weed competition.
Pro-Tip: Strategic placement of taller plants on northern tiers prevents them from shading out smaller specimens. This maximizes photosynthetic efficiency across the entire vertical gradient.
The Clinic:
Physiological disorders in multi level gardens often stem from uneven water distribution or structural heat retention.
- Symptom: Interveinal Chlorosis. The leaves turn yellow while the veins remain green.
- Solution: This indicates a Manganese or Iron deficiency, often caused by a pH above 7.0. Apply elemental sulfur to lower the pH.
- Symptom: Blossom End Rot. Dark, leathery spots on the bottom of fruit.
- Solution: This is caused by a Calcium deficiency linked to erratic watering. Maintain consistent moisture to ensure calcium ions can move through the xylem.
- Symptom: Leaf Scorch. Brown, crispy edges on leaves in upper tiers.
- Solution: This is a result of high transpiration rates exceeding water uptake. Install 30 percent shade cloth during peak summer heat.
Fix-It for Nitrogen Chlorosis: If the oldest leaves are turning pale green or yellow, apply a quick-release high-nitrogen fertilizer (20-0-0). This will restore chlorophyll production and stimulate new vegetative growth.
Maintenance:
Precision is required for long-term stability. Provide 1.5 inches of water per week delivered at the drip line via drip irrigation to minimize evaporation. Use a hori-hori knife to remove deep-taproot weeds without disturbing the structural integrity of the terrace.
Prune woody shrubs with bypass pruners during their dormant season to maintain the desired scale and prevent them from overhanging the paths. Every three years, check the "batter" or the backward lean of your retaining walls. If the wall has shifted more than 0.5 inches, you must excavate and reset the blocks to prevent total failure. Test the soil every two years to monitor the Cation Exchange Capacity and adjust mineral inputs accordingly.
The Yield:
For those growing edibles or cut flowers in their tiers, harvest timing is essential. Harvest leafy greens and herbs in the early morning when turgor pressure is at its peak. This ensures the cell walls are fully hydrated, providing a crisp texture. Use sharp snips to make clean cuts, preventing jagged wounds that invite pathogens.
For fruiting crops, wait until the fruit reaches its physiological maturity, indicated by a change in color and a slight softening of the tissue. Post-harvest, immediately move the produce to a cool, shaded area. Removing "field heat" slows down the rate of senescence and preserves the nutritional density of the harvest for several days.
FAQ:
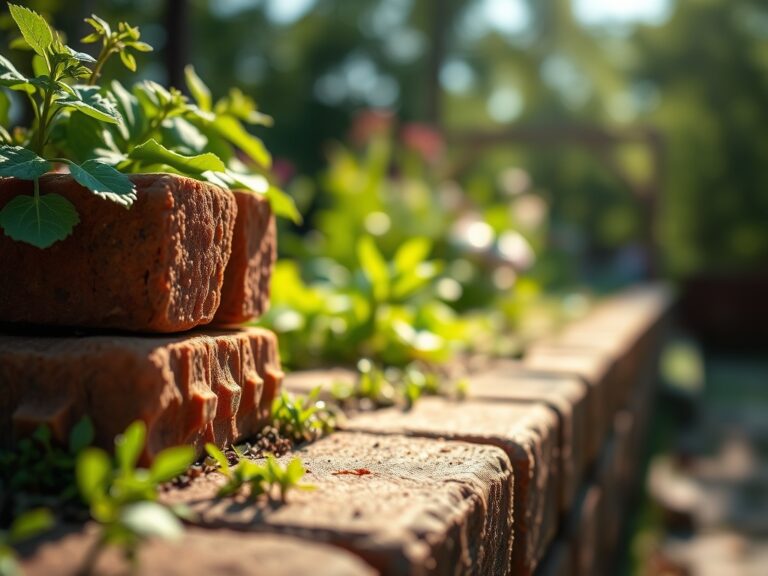
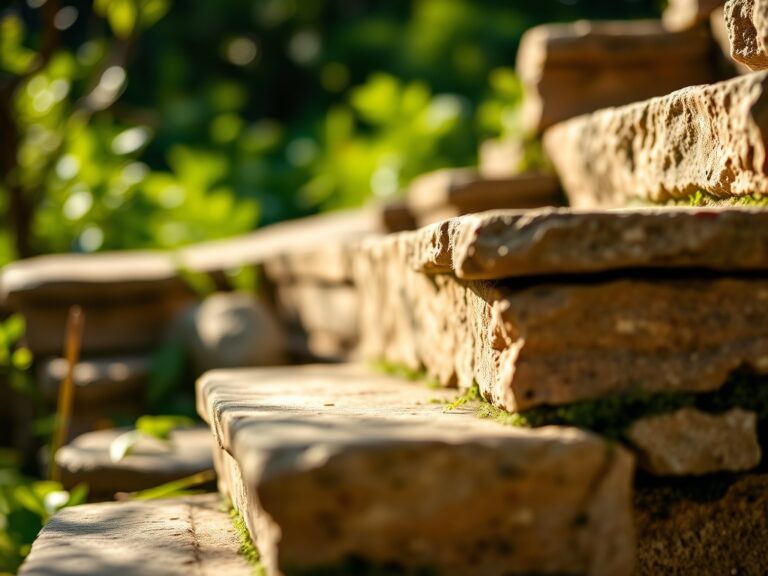
How do I prevent soil erosion on steep levels?
Install retaining walls and use geotextile fabric behind the stone. Plant deep-rooted perennials and apply a 3-inch layer of mulch to stabilize the surface and reduce the impact of heavy rainfall on the soil structure.
What is the best material for retaining walls?
For heights under 3 feet, use interlocking concrete blocks or rot-resistant timber like cedar. For heights over 3 feet, professional engineering is required to manage the lateral earth pressure and ensure the safety of the garden tiers.
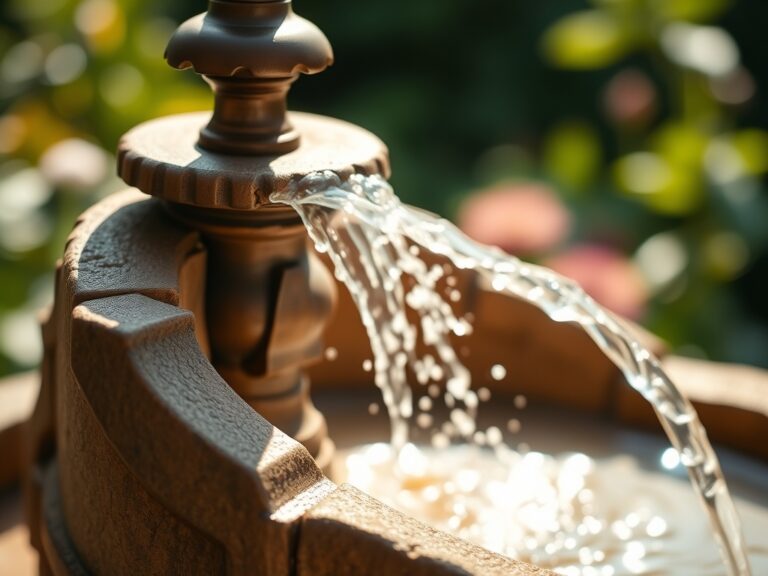
How do I water a multi level garden efficiently?
Install a drip irrigation system with pressure-compensating emitters. This ensures that the upper tiers receive the same volume of water as the lower tiers, despite the changes in elevation and potential pressure drops in the line.
Can I build a multi level garden on a budget?
Yes, by using the cut-and-fill method. Move soil from the high side of the slope to the low side to create level benches. Use recycled materials like broken concrete (urbanite) for small, functional retaining walls to save on costs.