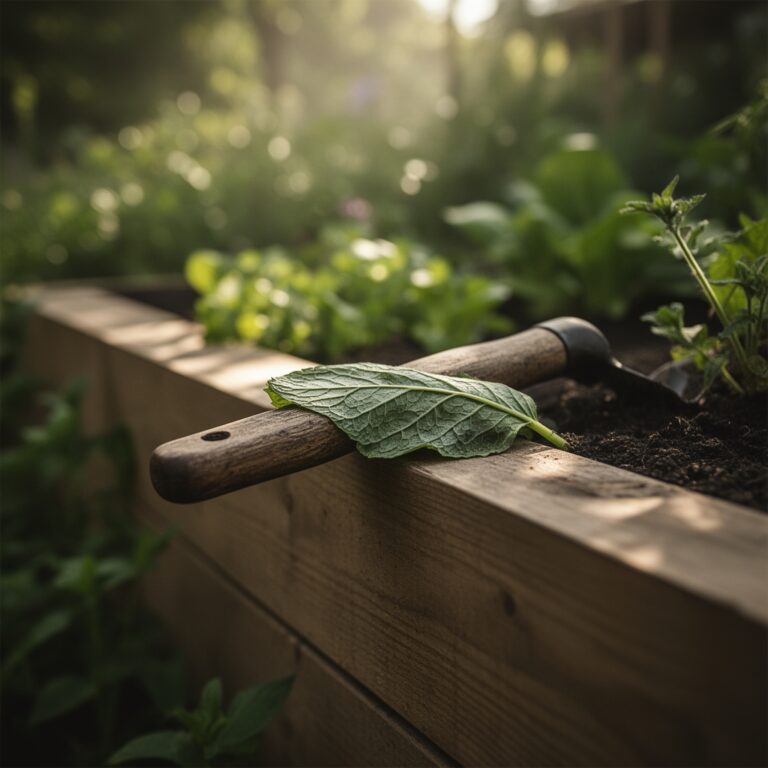
6 Vital Steps to Build a Stone Staircase
The smell of damp, disturbed earth signals the start of a permanent landscape modification. When the soil is saturated to its field capacity, the weight of a stone riser interacts directly with the turgor pressure of the surrounding turf. Building a permanent transition requires more than just stacking rock; it requires an understanding of how gravity and hydrology affect the rhizosphere. Mastering the steps to build a stone staircase involves calculating the rise and run to prevent erosion while ensuring the structural integrity of the slope. Every stone placed must counteract the natural tendency of the hillside to undergo senescence through soil creep. We begin by excavating into the subsoil, reaching past the organic layer to the mineral-rich horizons where stability lives.
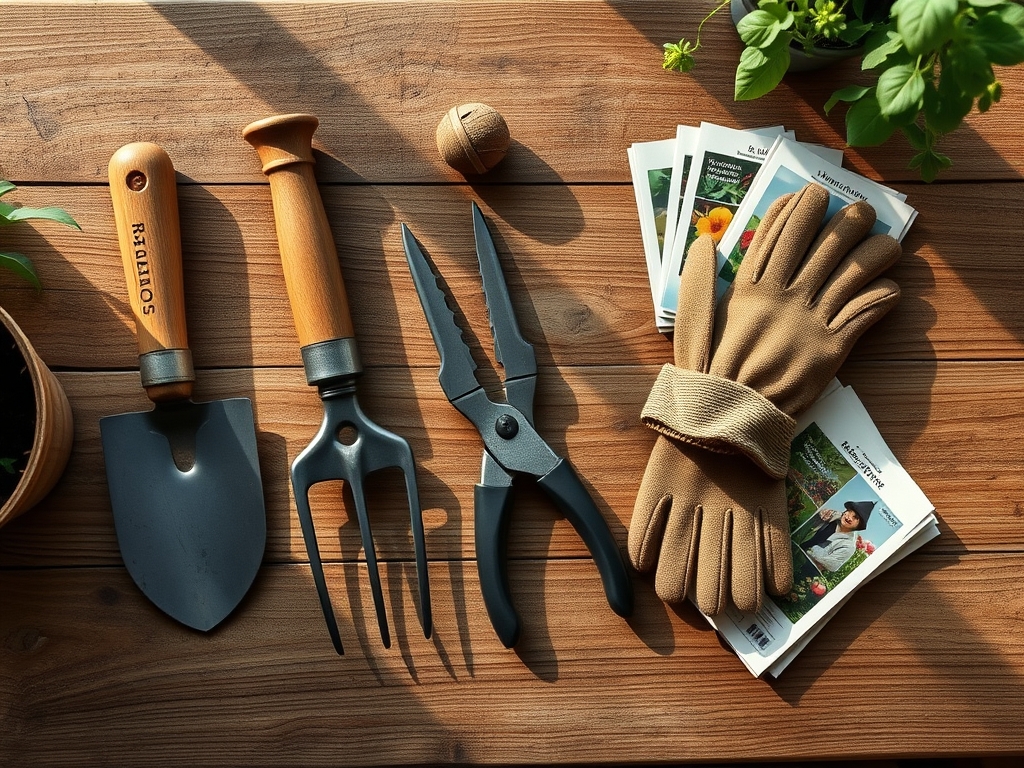
Materials:
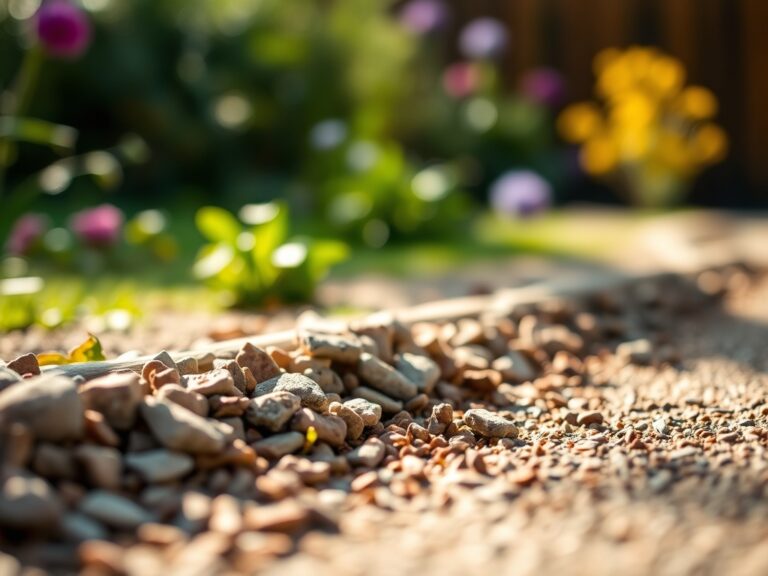
The foundation of a stone staircase requires a specific substrate to prevent frost heave. You must replace native soil with a **friable loam** or a well-draining crushed aggregate. For the surrounding vegetation, maintain a soil **pH between 6.2 and 6.8** to ensure nutrient availability. The ideal backfill for plantings flanking the stairs should include a balanced **NPK ratio of 10-10-10** to support root establishment without over-stimulating top growth.
The physical texture of your base material should be a 3/4-inch minus crushed limestone. This material provides a high Cation Exchange Capacity (CEC) when integrated with organic matter, allowing the soil to hold onto essential ions like calcium and magnesium. Avoid using rounded river rock for the base; the lack of angular edges prevents the "interlocking" necessary to support the weight of a 200-pound thermal-top tread.
Timing:
Construction should occur during the dormant season or early spring before the "Biological Clock" triggers the transition from vegetative to reproductive stages in local flora. In Hardiness Zones 4 through 7, the ideal window opens after the final hard frost when the ground is workable but before the spring equinox.
Working during this window prevents excessive compaction of the rhizosphere. If you excavate during the peak growing season, you risk severing active feeder roots during their highest period of transpiration. Aim for a soil temperature of at least 45 degrees Fahrenheit to ensure that any supplemental plantings can begin the process of mycorrhizal symbiosis immediately upon installation.
Phases:
Sowing the Foundation
Excavate the trench to a depth of 6 inches below the desired grade of the first step. Compact the subsoil using a plate compactor to eliminate air pockets that lead to settling. Fill the trench with 4 inches of compacted aggregate.
Pro-Tip: Ensure the base is level to within 1/8th of an inch. This precision prevents auxin suppression in nearby groundcovers, as uneven stones create micro-climates that can trap excess moisture and lead to localized root rot.
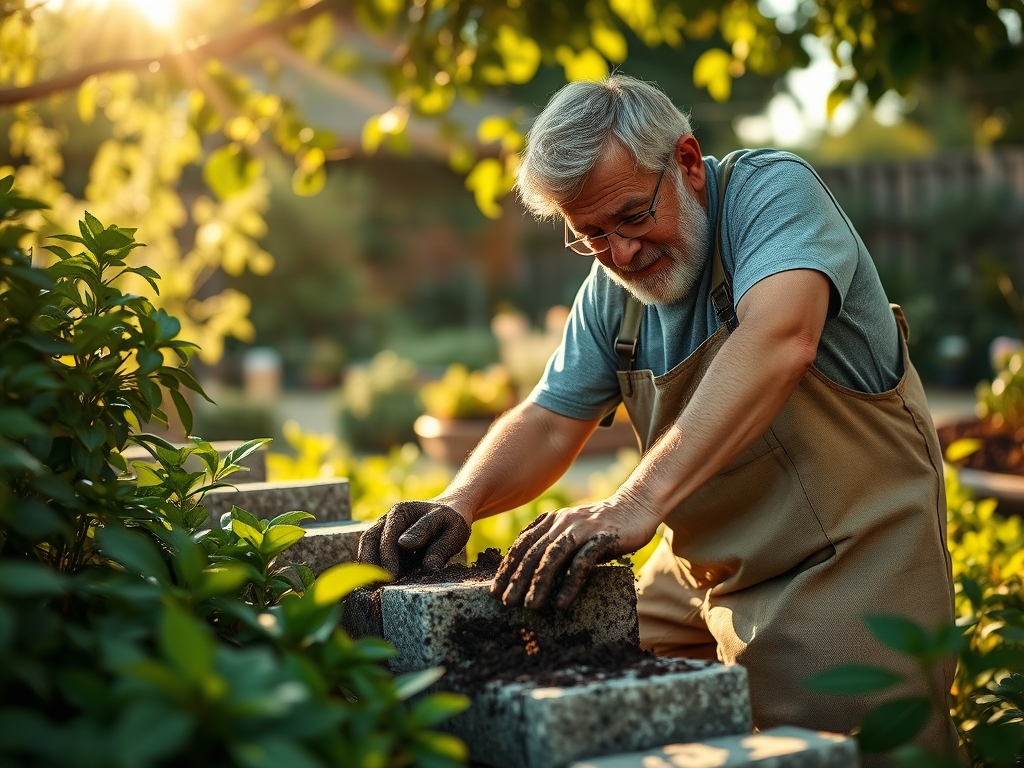
Transplanting the Risers
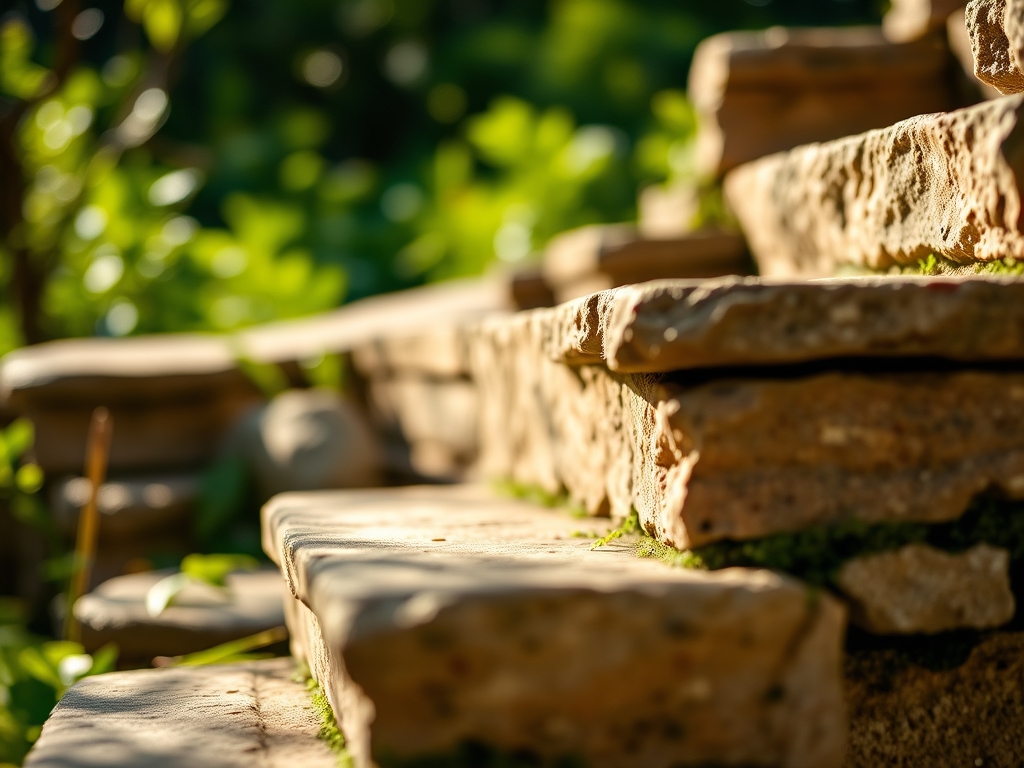
Set the first stone, known as the "header," at the lowest point of the slope. Each subsequent stone must overlap the one below it by at least 2 inches. This creates a mechanical bond that mimics the natural stratification of bedrock.
Pro-Tip: Use a slight 1-degree pitch forward on each tread. This encourages water runoff, preventing the pooling that leads to anaerobic conditions in the soil pores directly beneath the stone, which would otherwise kill beneficial aerobic bacteria.
Establishing the Grade
Backfill the area behind each stone with crushed stone for drainage, followed by a layer of topsoil. Firmly tamp the soil to ensure there are no voids.
Pro-Tip: Integrate mycorrhizal fungi inoculants into the backfill. This promotes a symbiotic relationship with plant roots, extending their reach for phosphorus and water, which stabilizes the soil through a dense network of fungal hyphae.
The Clinic:
Physiological disorders in the landscape surrounding your staircase often stem from altered drainage patterns.
Symptom: Interveinal chlorosis (yellowing leaves with green veins) on nearby shrubs.
Solution: This indicates a Manganese or Iron deficiency, often caused by the high pH of concrete or limestone runoff. Apply a chelated iron drench to lower the localized pH.
Symptom: Leaf wilting despite moist soil.
Solution: This is likely Root Asphyxiation. The compaction from construction has eliminated the oxygen in the soil pores. Use a garden fork to aerate the soil 12 inches deep around the drip line.
Symptom: Stunted growth and "purpling" of lower leaves.
Solution: This is a Phosphorus deficiency. Low soil temperatures or high compaction can limit phosphorus uptake. Incorporate a 0-20-0 superphosphate fertilizer into the top 2 inches of soil.
Fix-It for Nitrogen Chlorosis: If the entire leaf turns a pale lime green, apply a high-nitrogen fertilizer with a ratio of 21-0-0 (Ammonium Sulfate) at a rate of 1 pound per 1,000 square feet.
Maintenance:
A stone staircase is a living part of the ecosystem. Monitor the surrounding soil with a soil moisture meter to ensure it maintains a consistent 25% to 30% moisture content. Provide exactly 1.5 inches of water per week at the drip line of any structural plantings to maintain turgor pressure.
Use a hori-hori knife to remove invasive weeds that emerge in the joints; these weeds can exert up to 300 PSI of pressure, eventually shifting heavy stones. Prune overhanging branches with bypass pruners to ensure the staircase receives enough sunlight to prevent the growth of slippery biofilm or moss, unless a bryophyte cover is specifically desired for erosion control.
The Yield:
When using the staircase as a framework for an edible rock garden (such as creeping thyme or rosemary), harvest timing is critical. Collect herbs just as the morning dew evaporates but before the sun reaches its zenith. This is when the essential oil concentration is highest.
Cut no more than one-third of the plant's biomass at a time to avoid triggering senescence. Place the harvest immediately into a cool, shaded container to maintain "day-one" freshness and prevent the degradation of volatile compounds.
FAQ:
How deep should the base for stone steps be?
Excavate at least 6 to 8 inches deep. Fill with 4 inches of compacted 3/4-inch angular stone and 2 inches of stone dust. This depth ensures stability and prevents frost heave in most Hardiness Zones.
What is the best stone for outdoor stairs?
Use dense, non-porous stones like granite, bluestone, or fieldstone. These materials resist the freeze-thaw cycle and have high structural integrity. Ensure each tread is at least 2 inches thick to prevent cracking under weight.
How do I prevent weeds between the stones?
Install a heavy-duty geotextile fabric beneath the aggregate base. For the joints, use polymeric sand or a dense groundcover like Sagina subulata. This creates a physical barrier that limits the light and space available for weed germination.
Why are my stones shifting after winter?
Shifting is usually caused by poor drainage or an inadequate base. Water trapped beneath the stone freezes and expands, a process known as frost heave. Ensure a 1-degree pitch and use a well-draining mineral substrate to mitigate this.