7 Simple Steps to Plant Hyssop Flowers
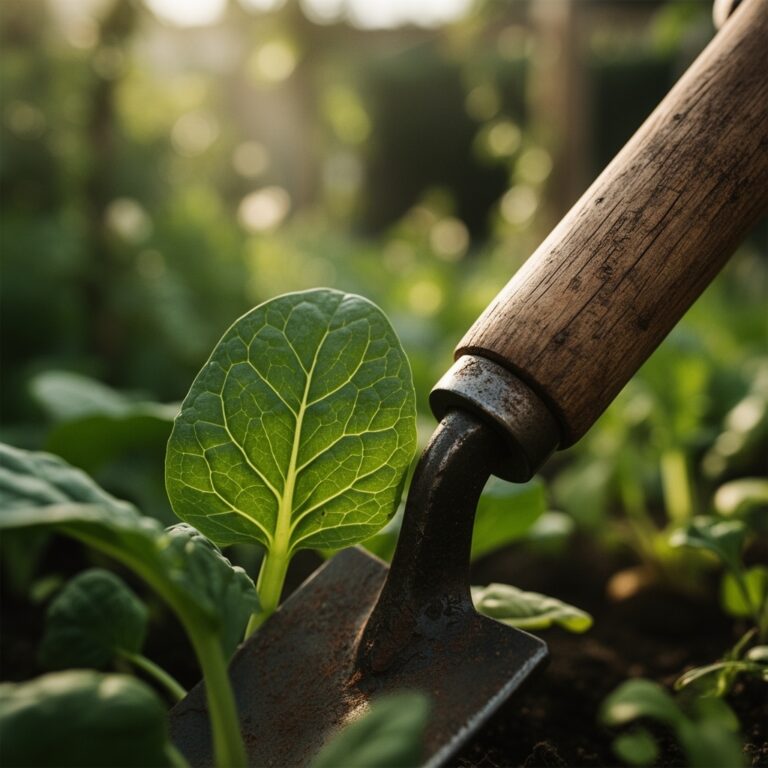
Crushing a fresh leaf of Hyssopus officinalis between your thumb and forefinger releases a pungent, camphoraceous aroma that signals high concentrations of volatile terpenoids. This woody perennial demands a specific environmental profile to maintain high turgor pressure within its cellular walls. Success depends on precise timing and substrate management. By following the correct steps to plant hyssop flowers, you ensure the development of a robust root system capable of supporting dense, spicate inflorescences. This plant thrives in well drained environments where the rhizosphere remains oxygenated. Neglecting the physical properties of your soil will lead to root hypoxia and secondary fungal infections. Mastery of this species requires an understanding of its Mediterranean origins and its preference for alkaline conditions.
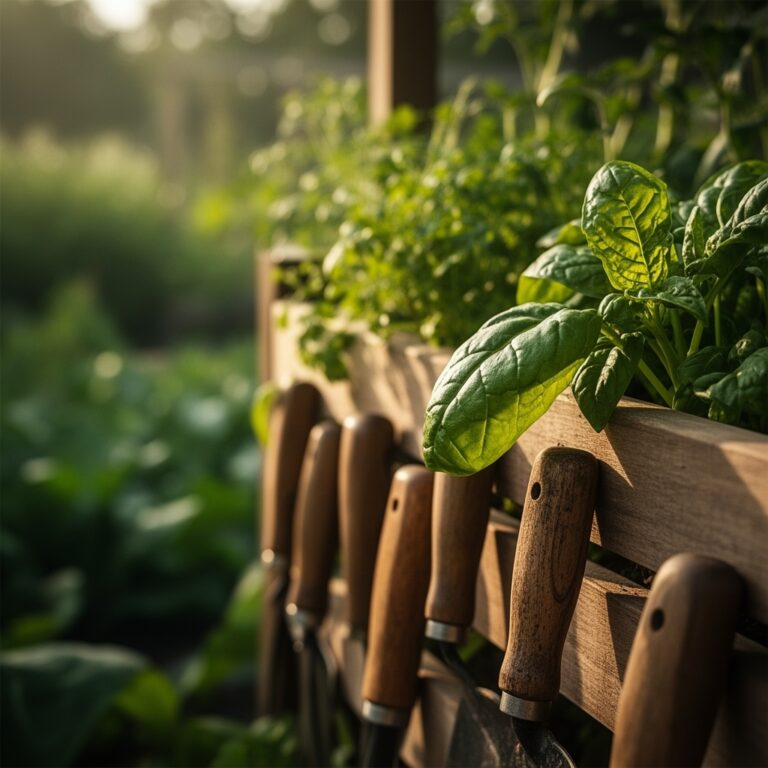
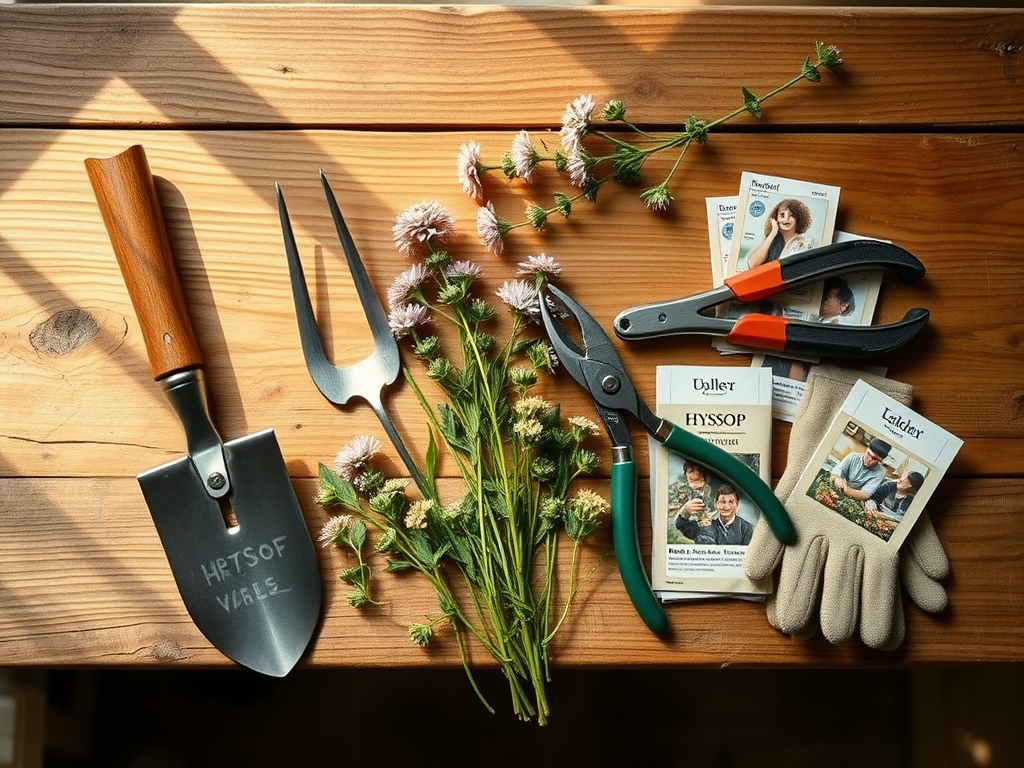
Materials:
The ideal substrate for hyssop is a friable loam with a high sand content to facilitate rapid drainage. You must achieve a soil pH between 6.7 and 7.5. If your soil test indicates acidity, incorporate pelletized lime at a rate of 5 pounds per 100 square feet to raise the alkalinity.
Nutrient requirements are modest; hyssop is sensitive to excessive nitrogen which can lead to leggy, weak growth and diminished essential oil production. Utilize a slow release fertilizer with an NPK ratio of 5-10-10. This phosphorus heavy blend encourages strong vascular development and prolific flowering rather than excessive foliar biomass. Ensure your growing medium has a Cation Exchange Capacity (CEC) of 15 to 25 meq/100g to allow for efficient nutrient uptake. If planting in containers, use a mix of 60% peat moss, 20% perlite, and 20% coarse builder's sand to mimic its native rocky habitat.
Timing:
Hyssop is hardy in USDA Zones 4 through 9. The biological clock of this plant is governed by the photoperiod and temperature fluctuations. Seeds require a period of cold stratification if you are in a warmer climate; however, in most zones, sowing occurs when the soil temperature consistently reaches 60 to 65 degrees Fahrenheit.
The transition from the vegetative stage to the reproductive stage is triggered by increasing day length and cumulative heat units. For optimal establishment, initiate the steps to plant hyssop flowers approximately 6 to 8 weeks before the last predicted frost if starting indoors. If direct sowing, wait until the danger of frost has passed and the soil is workable. The plant enters a state of semi-dormancy during the winter months; therefore, late summer plantings must be established at least 60 days before the first hard freeze to ensure the root crown has sufficient carbohydrate reserves for overwintering.
Phases:

Sowing and Germination
Sow seeds on the surface of the moistened medium. These seeds are photoblastic, meaning they require light exposure to break dormancy and initiate the germination process. Press them lightly into the soil but do not cover them with more than 1/8 inch of fine vermiculite. Maintain a consistent temperature of 70 degrees Fahrenheit. Germination typically occurs within 14 to 21 days.
Pro-Tip: Maintain high humidity during the first 10 days to prevent the seed coat from hardening. This ensures the emerging radicle can penetrate the substrate without losing turgor pressure.
Transplanting and Spacing
Once seedlings develop two sets of true leaves, they are ready for hardening off. Gradually expose them to outdoor conditions over a 7 to 10 day period. Dig holes twice the width of the root ball using a hori-hori knife. Space individual plants 12 to 18 inches apart to allow for adequate air circulation, which prevents the accumulation of moisture on the foliage.
Pro-Tip: When transplanting, avoid disturbing the root hairs. These microscopic structures are responsible for the bulk of water and mineral absorption via mycorrhizal symbiosis with soil fungi.
Establishing the Stand
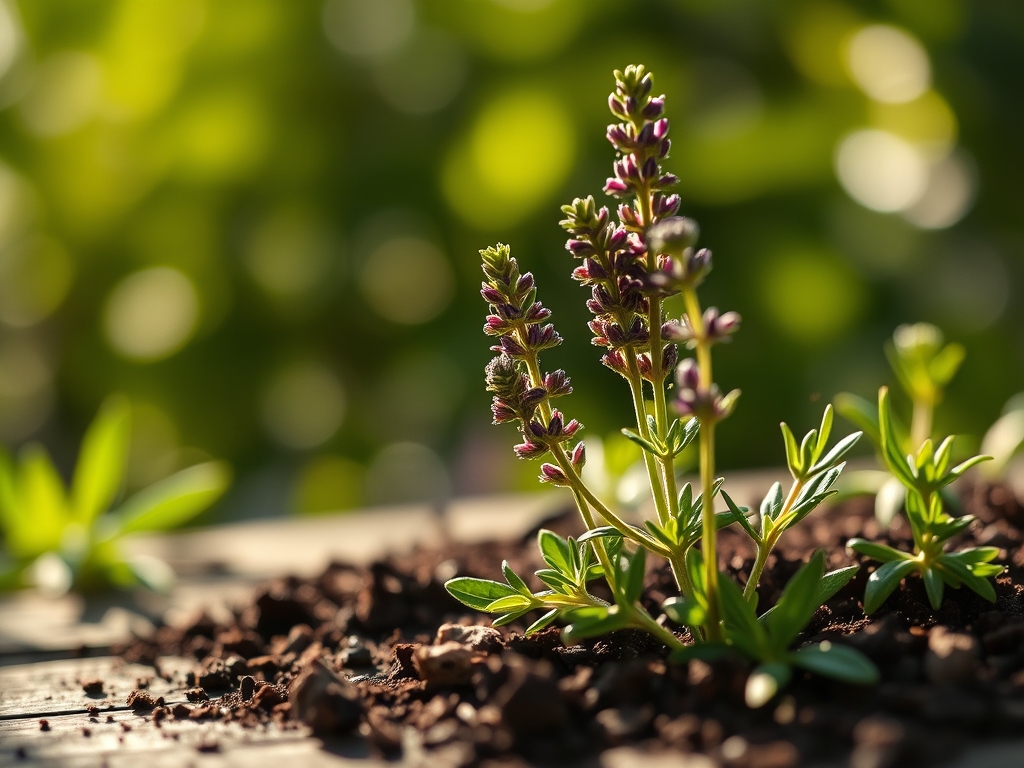
During the first growing season, focus on root architecture rather than flower production. Remove any early flower spikes to redirect the plant's energy toward the root system. This process, known as auxin suppression, encourages lateral branching and a more compact, resilient form.
Pro-Tip: Apply a 1 inch layer of pea gravel mulch around the base. This reflects light back into the lower canopy and prevents soil borne pathogens from splashing onto the leaves during irrigation.
The Clinic:
Physiological disorders in hyssop are often related to moisture imbalances or localized nutrient deficiencies. Use this diagnostic guide to maintain plant health.
- Symptom: Yellowing of lower leaves (Chlorosis).
Solution: This typically indicates a Nitrogen deficiency. Apply a diluted fish emulsion or a balanced liquid fertilizer to restore chlorophyll production. - Symptom: White, powdery coating on leaves.
Solution: This is Powdery Mildew, a fungal infection caused by high humidity and poor airflow. Increase spacing and prune the center of the plant to improve ventilation. - Symptom: Wilting despite moist soil.
Solution: This indicates Phytophthora root rot. The soil is likely saturated, causing root death. Improve drainage immediately by incorporating grit or moving the plant to a raised bed. - Symptom: Purple tinting on stems and leaves.
Solution: This suggests Phosphorus deficiency, often occurring in cold soils where the nutrient becomes chemically unavailable. Ensure soil temperatures are above 55 degrees Fahrenheit.
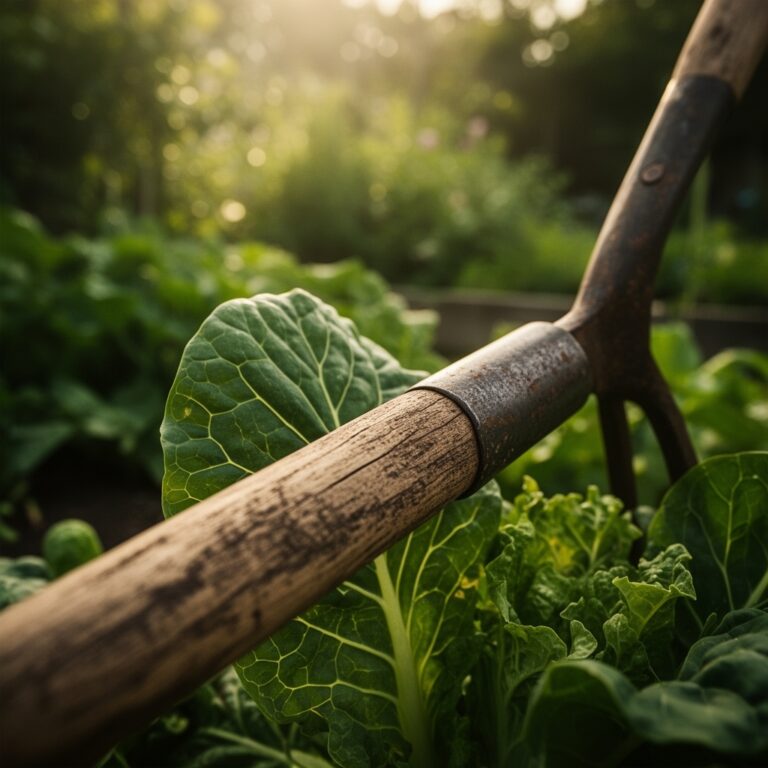
Maintenance:
Hyssop is drought tolerant once established, but it requires specific intervention during its active growth phases. Provide 1.5 inches of water per week delivered at the drip line to keep the foliage dry. Use a soil moisture meter to ensure the top 2 inches of soil dry out between watering cycles.
Pruning is essential for preventing woodiness and promoting a second flush of blooms. Use bypass pruners to cut the plant back by one third in early spring just as new growth appears. During the summer, deadhead spent flower spikes to prevent the plant from entering early senescence (biological aging). This redirecting of energy keeps the plant in a perpetual vegetative/flowering loop until the autumn cool down.
The Yield:
Harvesting hyssop requires precision to preserve the integrity of the essential oils. The peak concentration of medicinal compounds occurs just as the flowers begin to open. Use sharp shears to cut the top 6 inches of the flowering stems in the mid morning, after the dew has evaporated but before the midday sun causes the oils to volatilize.
To maintain "day-one" freshness, bundle the stems loosely and hang them upside down in a dark, well ventilated area with temperatures between 65 and 75 degrees Fahrenheit. Avoid direct sunlight, which degrades the chemical constituents. Once the leaves are crisp to the touch, strip them from the woody stems and store them in airtight glass containers. Properly dried hyssop retains its aromatic potency for up to 12 months.
FAQ:
How much sun does hyssop need?
Hyssop requires full sun, meaning at least 6 to 8 hours of direct solar radiation daily. Insufficient light leads to weak stems, reduced flowering, and a lower concentration of essential oils within the leaf tissues.
Can I grow hyssop in heavy clay?
Heavy clay is unsuitable because it lacks adequate macropores for drainage. If you must plant in clay, amend the area heavily with organic matter and coarse sand to increase the porosity and aeration of the root zone.
How often should I fertilize established hyssop?
Apply a light top dressing of compost or a low nitrogen organic fertilizer once per year in early spring. Over-fertilization reduces the aromatic quality of the plant and makes it more susceptible to environmental stressors.
Does hyssop attract beneficial insects?
Yes, the high nectar production and specific flower morphology of hyssop make it a primary target for pollinators like honeybees and butterflies. It is frequently used in integrated pest management strategies to support local biodiversity.