9 Deep-Dive Steps to Use a Garden Fork for Double Digging
Using a garden fork for double digging vegetable soil transforms compacted ground into an aerated root zone that extends eighteen to twenty-four inches deep. The fork's tines slice through clay and loam without inverting soil horizons, preserving beneficial microbial populations that reside in distinct layers. Each thrust penetrates vertical planes, fracturing hardpan while maintaining aggregate structure. The method dates to Victorian kitchen gardens, where intensive bed systems demanded deep cultivation to support succession planting of root crops and brassicas. Modern soil science confirms the practice: doubled rooting depth correlates with a forty percent increase in nutrient uptake efficiency, particularly for phosphorus, which remains immobile beyond the top six inches in undisturbed profiles.
Materials
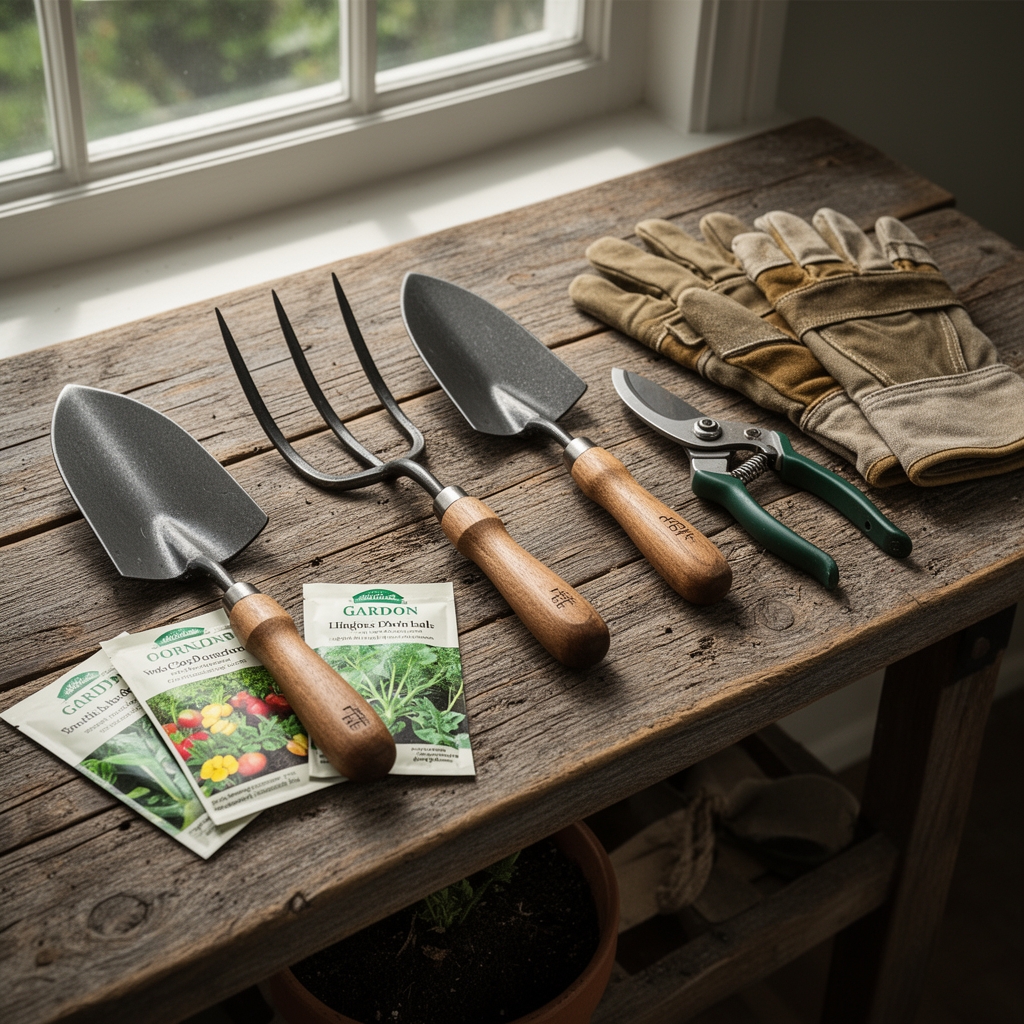
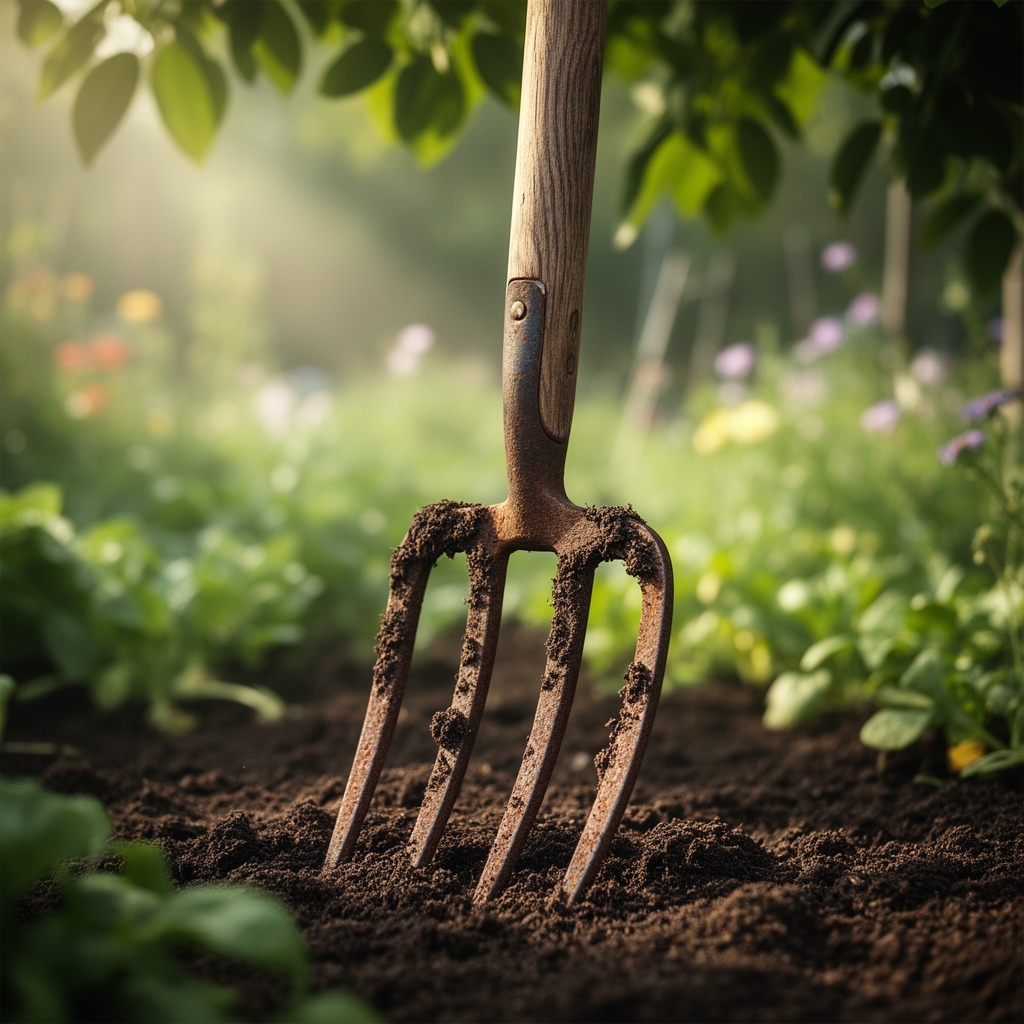
Select a four-tine digging fork with tines measuring ten to twelve inches in length and spaced two inches apart. Ash or hickory handles outlast softwoods under torque. Collect one five-gallon bucket for soil transport and a carpenter's level for trench alignment.
Amendments depend on initial soil chemistry. For soils testing below pH 6.2, incorporate dolomitic lime at two pounds per one hundred square feet. Balanced organic meals rated 4-4-4 supply baseline macronutrients: four percent nitrogen, four percent phosphorus, and four percent potassium. Aged compost contributes humus and elevates cation exchange capacity, enabling clay particles to retain calcium, magnesium, and potassium ions. Mycorrhizal inoculant powder (endo-type for vegetables) establishes symbiotic networks that extend effective root surface area by a factor of ten. Bone meal (3-15-0) addresses phosphorus deficiency in alkaline soils, while blood meal (12-0-0) corrects nitrogen shortfalls in sandy profiles.
Timing
Initiate double digging six weeks before the last spring frost in Zones 5 through 7, or during late autumn after harvest in Zones 8 through 10. Soil moisture governs workability: squeeze a handful and observe. If it forms a ribbon that shatters when tapped, proceed. If it forms a sticky ball, wait three days. Waterlogged soil compacts under pressure, destroying pore space that took decades to develop. In Mediterranean climates (Zones 9 and 10), schedule work for November through January when rainfall softens ground but drainage remains active. High-altitude gardens in Zones 3 and 4 require late April to early May windows after snowmelt completes and soil temperature at four inches reaches forty-five degrees Fahrenheit.
Phases

Preparation Phase
Mark a bed four feet wide and any desired length. Stretch strings along edges and verify parallel spacing with a measuring tape. Excavate the first trench twelve inches wide and one fork-depth (ten to twelve inches) deep across the bed's width. Transport excavated soil to the far end in the bucket; this material will fill the final trench. Inspect the exposed trench bottom for hardpan, a dense layer restricting drainage. Press the fork into the trench floor at a vertical angle, then rock the handle forward twenty degrees. Withdraw and repeat at six-inch intervals along the trench. This loosens the subsoil without mixing it into the topsoil layer.
Pro-Tip: Dust exposed subsoil with mycorrhizal inoculant at one ounce per ten linear feet before backfilling to colonize deeper root zones.
Excavation Phase
Move backward one fork-width. Insert the fork vertically into undisturbed soil adjacent to the first trench. Lever the handle backward to fracture the soil block, then lift and invert it gently into the open trench. Clods larger than three inches should be struck with the fork to break along natural fracture planes. Repeat across the bed width, creating a second trench while filling the first. Scatter compost at a half-inch layer over the newly filled trench, then broadcast 4-4-4 organic meal at three tablespoons per square foot. Rake amendments into the top four inches to position nutrients within the active root zone.
Pro-Tip: Angle fork tines fifteen degrees off vertical when working clay soils to reduce wrist strain and improve leverage through dense profiles.
Completion Phase
Continue trench-by-trench progression to the bed's end. Fill the final trench with reserved soil from the first excavation. Smooth the surface with a rake, then irrigate deeply to settle aggregates and eliminate air pockets. Allow the bed to rest for seven to ten days before planting. This settling period permits auxin distribution within root systems to adjust to new substrate geometry. Soil respiration increases during this window as microbes colonize fresh organic matter.
Pro-Tip: Plant cover crops like crimson clover (Trifolium incarnatum) immediately after digging in autumn beds. Roots stabilize aggregates over winter, and spring incorporation adds sixty to eighty pounds of nitrogen per acre.
Troubleshooting
Symptom: Fork tines bend or snap during insertion.
Solution: Harden the subsoil by irrigating twenty-four hours prior. Wet soil yields under pressure rather than resisting. Replace forks rated below 1.2 percent carbon steel.
Symptom: Trench walls collapse inward, mixing horizons.
Solution: Soil is too wet. Halt work and allow three days of drying. Collapsed trenches destroy structure and bury topsoil biology beneath anaerobic layers.
Symptom: White grubs (Phyllophaga spp.) exposed during excavation.
Solution: Handpick and discard. Apply beneficial nematodes (Heterorhabditis bacteriophora) at twenty-five million per one thousand square feet to parasitize remaining larvae in surrounding soil.
Symptom: Grayish hardpan layer resists fork penetration at depth.
Solution: Introduce gypsum (calcium sulfate) at five pounds per one hundred square feet into the trench bottom. Gypsum flocculates clay particles, increasing porosity without altering pH.
Symptom: Surface crusting appears after irrigation post-digging.
Solution: Mulch immediately with two inches of straw or shredded leaves. Crusting indicates low organic matter (below two percent). Retest and increase compost application to one inch per season.
Maintenance
Water double-dug beds to a depth of twelve inches weekly during establishment. Insert a soil probe or a long screwdriver to verify penetration. Beds require one inch of water per week from combined rainfall and irrigation. Apply liquid kelp fertilizer (0-0-1 with trace elements) at two tablespoons per gallon every fourteen days for the first eight weeks. Kelp's cytokinin content promotes lateral root branching, exploiting newly aerated zones. Side-dress nitrogen-demanding crops like brassicas with blood meal at one tablespoon per plant when true leaves emerge. Avoid tilling or compacting beds post-digging. Walk on perimeter paths only. Foot traffic compresses aggregates and reduces pore space by thirty percent in a single season.
FAQ
How often should beds be double dug?
Once every three to five years. Annual amendments maintain structure without repeated excavation. Excessive digging disrupts fungal networks and depletes soil carbon.
Can a spade substitute for a fork?
No. Spades slice and invert, mixing horizons. Forks lift and fracture, preserving stratification and biology.
What depth should roots reach in double-dug beds?
Carrots and parsnips extend twenty inches. Tomatoes and peppers root to eighteen inches, accessing subsoil moisture during drought.
Does double digging work in sandy soil?
Yes, but prioritize organic matter over mechanical loosening. Sandy profiles drain freely but lack nutrient retention. Incorporate three inches of compost per pass.
Should amendments be mixed into subsoil?
No. Surface-apply only. Subsoil microbes differ from topsoil populations and cannot process raw organic matter efficiently. Let roots and earthworms transport nutrients downward.