8 Targeted Steps for Treating Nutrient Deficiency
The scent of damp, mineral rich earth signifies a healthy rhizosphere, but the true indicator of plant health is the turgor pressure within the cell walls. When a leaf loses its structural rigidity or displays interveinal chlorosis, the vascular system is failing to transport essential elements. Identifying these physiological stalls is the first move in restoration. Implementing specific steps for treating nutrient deficiency with liquid food allows for immediate bioavailability, bypassing the slower mineralization process of granular organics. A liquid application reaches the root hairs through mass flow and diffusion, providing a rapid correction to metabolic imbalances. You must monitor the plant for 48 hours following application to observe the re-establishment of chlorophyll production. If the foliage remains limp or pale, the issue likely resides in the soil cation exchange capacity (CEC) rather than a simple lack of inputs. Precision in these early stages prevents permanent stunting or premature senescence. This guide focuses on the technical execution of nutrient recovery to ensure every square inch of your acreage or garden bed operates at peak photosynthetic efficiency.
Materials:
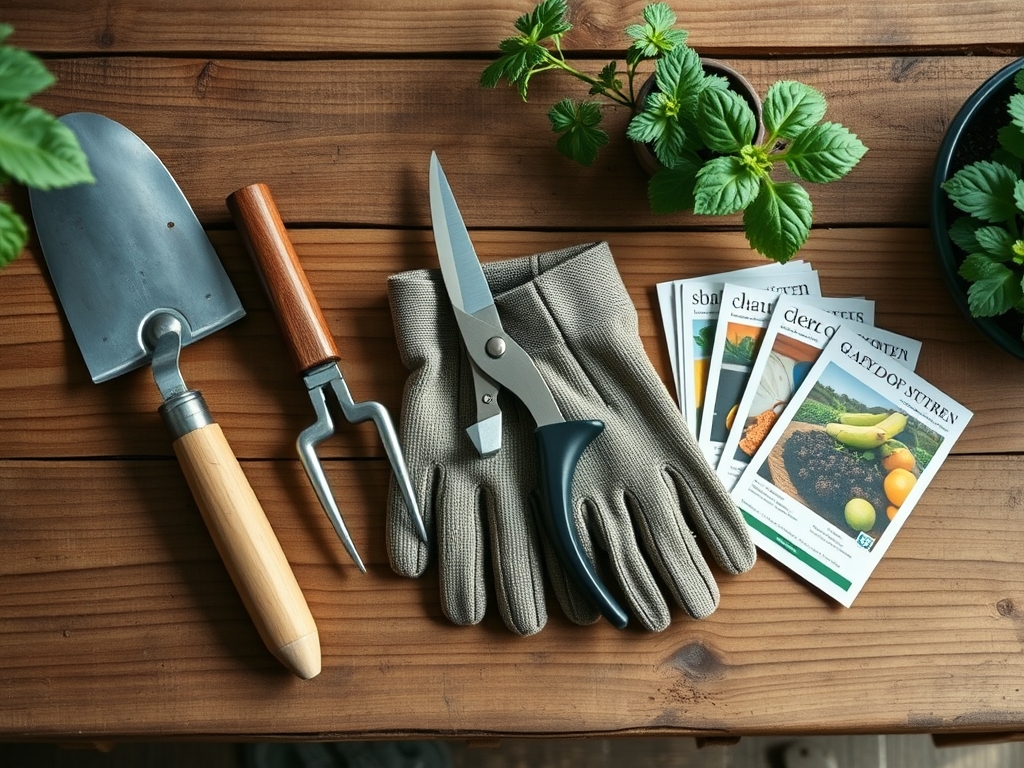
Success begins with a **friable loam** substrate that maintains a **bulk density of approximately 1.1 to 1.3 grams per cubic centimeter**. You require a liquid concentrate with a specific NPK ratio tailored to the deficiency. For vegetative recovery, use a **10-5-5 high-nitrogen blend**. For flowering or fruiting stages, pivot to a **5-15-15 ratio** to support phosphorus and potassium demands. Ensure your water source is buffered to a **pH of 6.2 to 6.8** for most terrestrial plants; acidic-loving species like blueberries require a **pH of 4.5 to 5.5**. You will also need a calibrated **digital pH pen** and a **TDS (Total Dissolved Solids) meter** to measure the electrical conductivity (EC) of your solution. Aim for an **EC of 1.2 to 2.0 mS/cm** for mature plants.
Timing:
In Hardiness Zones 5 through 7, the window for nutrient intervention opens once soil temperatures consistently hit 55 degrees Fahrenheit. Liquid feeding should occur during the early morning hours, specifically between 6:00 AM and 9:00 AM, to minimize evaporative loss and prevent leaf scorch. This timing aligns with the opening of the stomata, facilitating better foliar absorption if you are using a spray application. Pay close attention to the transition from the vegetative stage to the reproductive stage. This "Biological Clock" shift increases the plant's demand for phosphorus and potassium. Avoid liquid feeding within 48 hours of a predicted hard frost, as forced new growth is highly susceptible to ice crystal formation within the cellular tissue.
Phases:

Sowing and Initial Hydration
Before seeds are even placed in the furrow, the medium must be primed. Use a diluted seaweed extract or a 0.5-0.5-0.5 liquid starter. This provides trace minerals without the risk of osmotic shock to delicate radicles. Keep the medium consistently moist but not anaerobic.
Pro-Tip: Mycorrhizal symbiosis is critical here. Introducing beneficial fungi during sowing increases the effective root surface area by up to 1,000 times, allowing the plant to access phosphorus that is otherwise chemically "locked" in the soil.
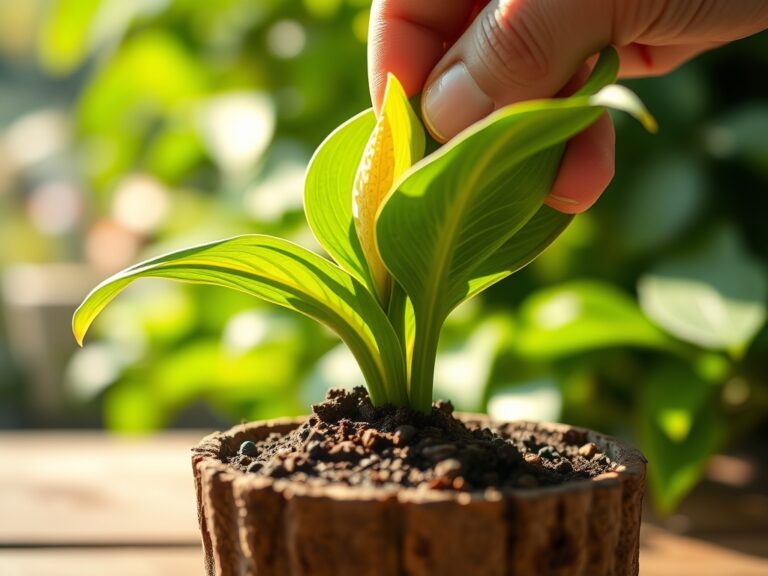
Transplanting and Root Establishment
When moving seedlings, the primary goal is to mitigate transplant shock. Apply a liquid food high in phosphorus and Vitamin B1. Ensure the root ball is saturated before it enters the planting hole. Firm the soil to remove air pockets that cause root desiccation.
Pro-Tip: High phosphorus levels at transplanting stimulate lateral root branching. This is driven by auxin suppression in the apical meristem, which redirects the plant's energy from upward growth to foundational root development.
Establishing the Canopy
Once the plant has four sets of true leaves, increase the nitrogen concentration. This phase requires the most frequent monitoring of turgor pressure. Apply liquid food every 10 to 14 days depending on the leaching rate of your soil.
Pro-Tip: Phototropism dictates how your plant will lean. By ensuring uniform nutrient distribution in the rhizosphere, you encourage a balanced canopy, which prevents one side of the plant from becoming dominant and shading out its own lower nodes.
The Clinic:
Symptom: Nitrogen Chlorosis
Description: Older, lower leaves turn a uniform pale yellow while the rest of the plant remains light green.
Solution: Apply a high-nitrogen liquid fertilizer (e.g., Fish emulsion 5-1-1) at the base of the plant.
Fix-It: Nitrogen is mobile within the plant; the organism pulls N from old growth to support new leaves. A liquid dose will be absorbed by the roots and translocated within 24 to 72 hours.
Symptom: Magnesium Deficiency
Description: Interveinal chlorosis on older leaves; the veins stay green while the tissue between them turns yellow or bronze.
Solution: Dissolve 1 tablespoon of Epsom salts (magnesium sulfate) per gallon of water.
Fix-It: Magnesium is the central atom in the chlorophyll molecule. Without it, photosynthesis halts. A foliar spray provides the fastest recovery for this specific metabolic bottleneck.
Symptom: Calcium Deficiency (Blossom End Rot)
Description: New leaves appear distorted or "hooked," and fruit develops a sunken, black necrotic spot at the base.
Solution: Use a liquid Calcium-Magnesium (Cal-Mag) supplement.
Fix-It: Calcium is immobile. It moves only through the xylem via transpiration. Ensure consistent watering to keep the calcium moving from the soil into the fruit tissue.
Maintenance:
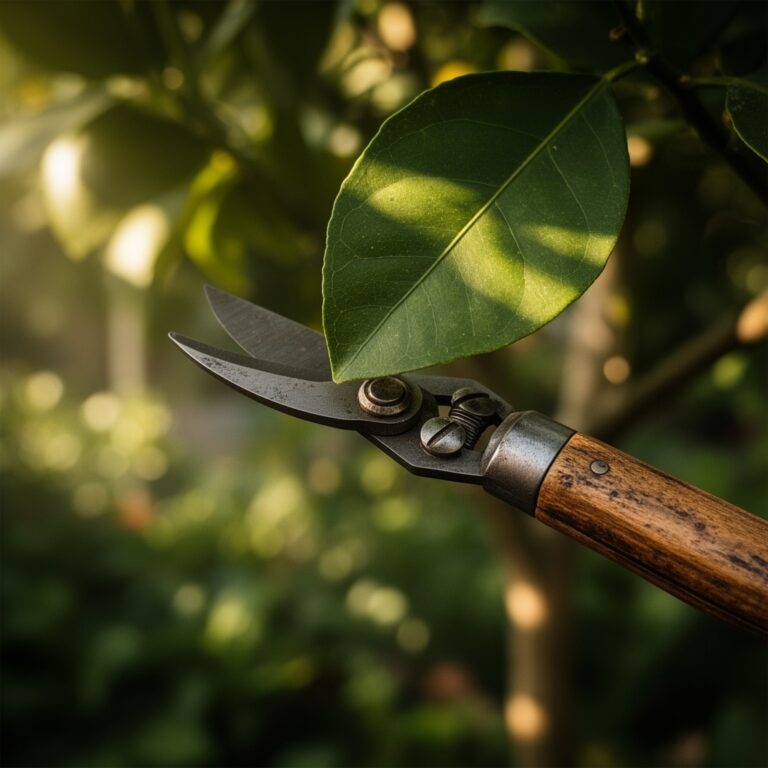
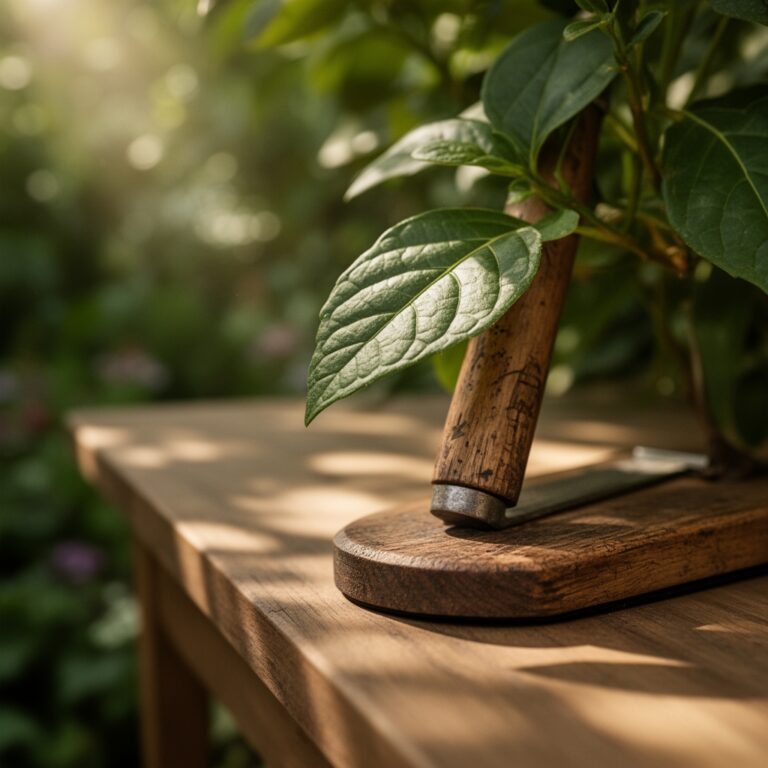
Precision maintenance requires a soil moisture meter to ensure you are not over-saturating the root zone, which leads to root rot (Phytophthora). Deliver 1.5 inches of water per week at the drip line, rather than at the main stem, to encourage the roots to reach outward. Use a hori-hori knife to remove deep-rooted weeds that compete for the liquid nutrients you apply. When pruning, use sharp bypass pruners to make clean cuts at a 45-degree angle, which prevents water from pooling on the wound and inviting fungal pathogens. Always clean your tools with a 70 percent isopropyl alcohol solution between plants to prevent the cross-contamination of viral loads.
The Yield:
Harvesting is the culmination of your nutrient management. For leafy greens, harvest in the pre-dawn hours when turgor pressure is at its maximum. For fruiting crops, use the "ground spot" or "thump" method to verify internal brix levels. Once harvested, submerge greens in 40-degree Fahrenheit water to remove field heat immediately. This process, known as hydro-cooling, slows down the respiration rate and preserves the cellular structure. For woody perennials or flowers, use your bypass pruners to cut stems, then immediately place them in a solution of water and a citric acid based preservative to maintain a pH of 3.5 to 4.5, ensuring the vascular tubes remain open for hydration.
FAQ:
How often should I use liquid food?
Apply liquid nutrients every 10 to 14 days during the active growing season. Monitor the Electrical Conductivity (EC) of your soil runoff to ensure you are not building up excess salts, which can lead to root dehydration.
Can I mix different liquid fertilizers?
Yes, provided you calculate the final NPK ratio. Avoid mixing concentrated calcium with phosphates or sulfates in the same vessel, as they can precipitate out of the solution into a solid form that plants cannot absorb.
Why are my leaves turning brown at the tips?
This is often "fertilizer burn" caused by an over-concentration of salts. Flush the soil with three times the volume of the container using plain, pH-balanced water to leach out the excess minerals and restore osmotic balance.
Does liquid food work faster than granular?
Yes. Liquid nutrients are already in an ionic state, meaning the plant can absorb them immediately through the roots or leaf stomata. Granular fertilizers must be broken down by soil microbes, a process that takes weeks.