7 Best Jointing Compound for Stone
The scent of damp, mineralized earth rising from a freshly excavated trench signals the start of a permanent landscape installation. Success in stonework depends on the structural integrity of the interface between the substrate and the masonry. Selecting the best jointing compound for stone is not merely an aesthetic choice; it is a technical requirement to prevent hydrostatic pressure buildup and weed colonization within the gaps. A failure in the mortar or polymeric sand leads to a loss of turgor in the surrounding soil as water bypasses the intended drainage channels. Professional installations require materials that balance permeability with compressive strength. This guide examines the chemical and physical properties of the top seven jointing solutions used by master horticulturists to ensure that hardscaping supports, rather than hinders, the biological health of the surrounding rhizosphere.
Materials:
The ideal substrate for stone installation must be a **friable loam** or a well-compacted aggregate base with high Cation Exchange Capacity (CEC) to manage nutrient runoff. When integrating plantings near stone, the soil pH should be maintained between **6.0 and 7.0** to ensure nutrient bioavailability. The following materials are categorized by their chemical compatibility with the landscape:
- Polymeric Sand (Standard Grade): Best for narrow joints (1/8 to 1 inch). It utilizes organic binders that resist erosion while remaining flexible.
- Two-Part Resin Mortar: High-strength epoxy-based compounds designed for heavy traffic. These are impermeable and require a specific pitch for drainage.
- Traditional Lime Mortar: A breathable option with a pH of 12.0, suitable for historic stone that requires moisture vapor transmission.
- Permeable Jointing Grout: Engineered for high infiltration rates, allowing water to reach the roots of nearby specimens.
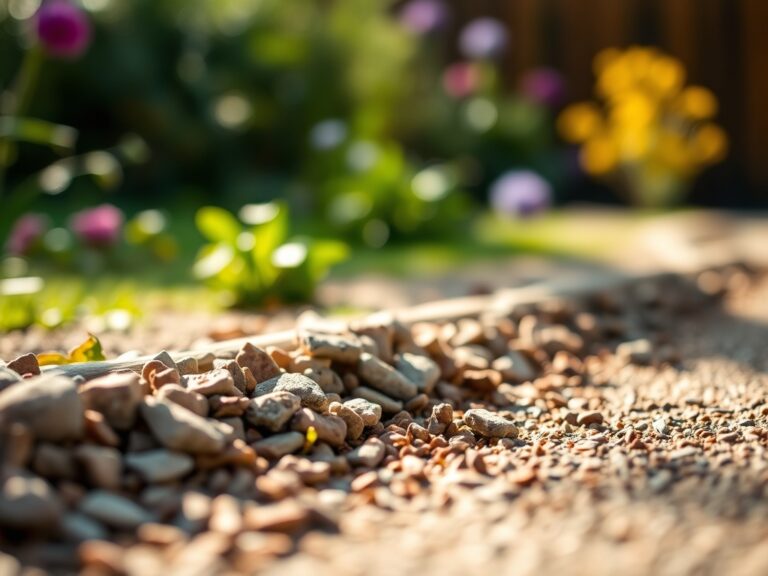
- Stone Dust with Admixtures: A high-density mineral filler with a specific gravity of 2.6 to 2.7.
- One-Part Vacuum-Packed Compound: Air-cured resins that are easy to sweep in and do not require mechanical mixing.
- Cementitious Grout: High-compressive strength (over 5,000 PSI) for rigid installations where no movement is permitted.
For the surrounding vegetation, an NPK ratio of 10-10-10 provides a balanced start for establishing root systems adjacent to new masonry. Ensure the aggregate base is free of excess salts to prevent osmotic stress in the root zone.
Timing:
Installation windows are governed by Hardiness Zones and local frost dates. In Zones 5 through 7, jointing should occur when the ambient temperature remains between 50 and 80 degrees Fahrenheit for at least 48 hours. This ensures the chemical cross-linking of resins or the hydration of cementitious bonds occurs at a steady rate.
The biological clock of the surrounding landscape must be considered. Perform heavy stonework during the dormant season or early spring before the transition from vegetative to reproductive stages. This prevents physical damage to plants during their peak metabolic periods. Avoid installation during periods of high humidity or imminent rainfall, as excess moisture can cause "washout" or inhibit the curing process of the best jointing compound for stone.
Phases:
Sowing and Site Prep
Before placing stone, the soil must be cleared of all organic debris. Use a soil moisture meter to confirm the base is at 15% to 20% moisture content for optimal compaction.
Pro-Tip: Proper compaction prevents soil settling that leads to air pockets. This is vital because mycorrhizal symbiosis requires stable contact between fungal hyphae and root surfaces; shifting stones can sever these delicate biological bridges.
Transplanting and Placement
Position the stones with a minimum 1/4-inch gap to allow for thermal expansion. If planting between "steppers," ensure the root ball is placed 1 inch below the stone surface to protect the crown from foot traffic.
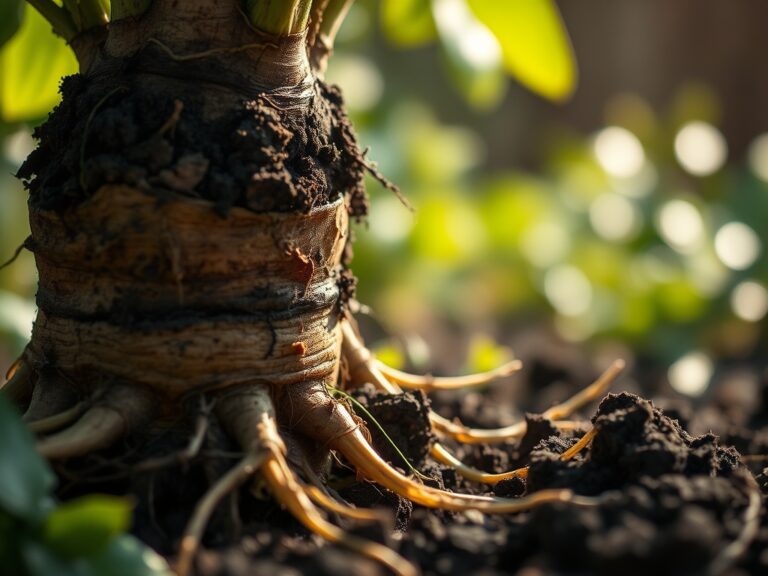
Pro-Tip: Use a hori-hori knife to slice through circling roots before placement. This stimulates auxin suppression at the tips, forcing the plant to generate new, lateral roots that anchor the plant firmly against the stone edges.
Establishing the Joint
Sweep the compound into the joints until they are filled to within 1/8 inch of the stone surface. Use a plate compactor or rubber mallet to vibrate the material, ensuring no voids remain.
Pro-Tip: For permeable joints, the pore size must be large enough to allow gas exchange. This prevents root asphyxiation by ensuring oxygen reaches the rhizosphere, maintaining the aerobic conditions necessary for nutrient uptake.
The Clinic:
Physiological disorders often manifest at the intersection of hardscaping and biology.
- Symptom: Marginal leaf scorch on nearby shrubs.
- Solution: Check for high alkalinity leaching from fresh concrete or mortar. Apply elemental sulfur to lower the pH.
- Symptom: Efflorescence (white powdery substance) on stone joints.
- Solution: This is caused by mineral salts migrating to the surface. Scrub with a stiff brush and ensure proper drainage to stop the capillary action.
- Symptom: Nitrogen Chlorosis (yellowing of older leaves).
- Solution: Often caused by high-carbon mulches or sawdust used during construction. Apply a high-nitrogen fertilizer (NPK 20-0-0) to correct the imbalance.
- Symptom: Algal bloom in joints.
- Solution: Indicates poor drainage and low sunlight. Increase the pitch of the stone surface to 2% to ensure water runoff.
Maintenance:
A professional landscape requires calibrated upkeep. Use a soil moisture meter weekly to ensure the ground receives 1.5 inches of water at the drip line. Avoid using pressure washers on jointing compounds, as they can dislodge the aggregate. Instead, use a soft-bristle brush and low-pressure water.
Prune encroaching vegetation with bypass pruners to maintain a 2-inch clearance between foliage and stone surfaces. This prevents moisture traps that lead to fungal pathogens. Every three years, inspect the joints for cracks; localized repairs prevent the freeze-thaw cycle from heaving the entire installation.
The Yield:
While stonework does not "ripen," the yield of a successful installation is the longevity of the landscape. For edible "step-over" herbs like creeping thyme planted in joints, harvest by snipping the top 1/3 of the growth. Handle the harvest gently to maintain turgor pressure; place stems immediately in cold water to ensure "day-one" freshness for culinary use. Proper jointing ensures these plants have a stable thermal mass to regulate their root temperatures during summer peaks.
FAQ:
What is the best jointing compound for stone on a driveway?
Use a two-part epoxy resin or a high-strength polymeric sand. These materials withstand the shear forces of vehicular tires and provide a compressive strength exceeding 4,000 PSI, preventing joint failure and stone shifting under heavy loads.
How long does jointing compound take to cure?
Most air-cured compounds require 24 to 48 hours of dry weather. Cement-based mortars reach initial set in 4 hours but require 28 days for full chemical hydration and maximum structural load-bearing capacity.
Can I use jointing compound in the rain?
No. Excess water during the application phase dilutes the polymers and prevents proper adhesion. This leads to a "soft" joint that will wash out. Always wait for a 48-hour dry window before starting the installation.
Why is my jointing compound cracking?
Cracking usually results from an unstable base or "bridging" where the compound is too shallow. Ensure the joint depth is at least 1 inch and the base is compacted to 95% proctor density to minimize movement.